Prerequisites
- A Revit installation supported by the Speckle Connector — Revit 2023, 2024, 2025, 2026, or 2027 New.
- Your Real-Time LCA Speckle credentials for
https://api.realtimelca.com(sent by email when you activated your account — see Introduction to Speckle). - A Real-Time LCA project configured with a Speckle Connection (see Create a new project).
Install the connector
Install the Speckle Connector for Revit from releases.speckle.systems. Restart Revit after installation — the connector appears as a Speckle tab in the ribbon.Sign in to the Real-Time LCA Speckle server
The first time you launch the connector, the Welcome to Speckle dialog opens with the public Speckle server (https://app.speckle.systems) pre-filled.
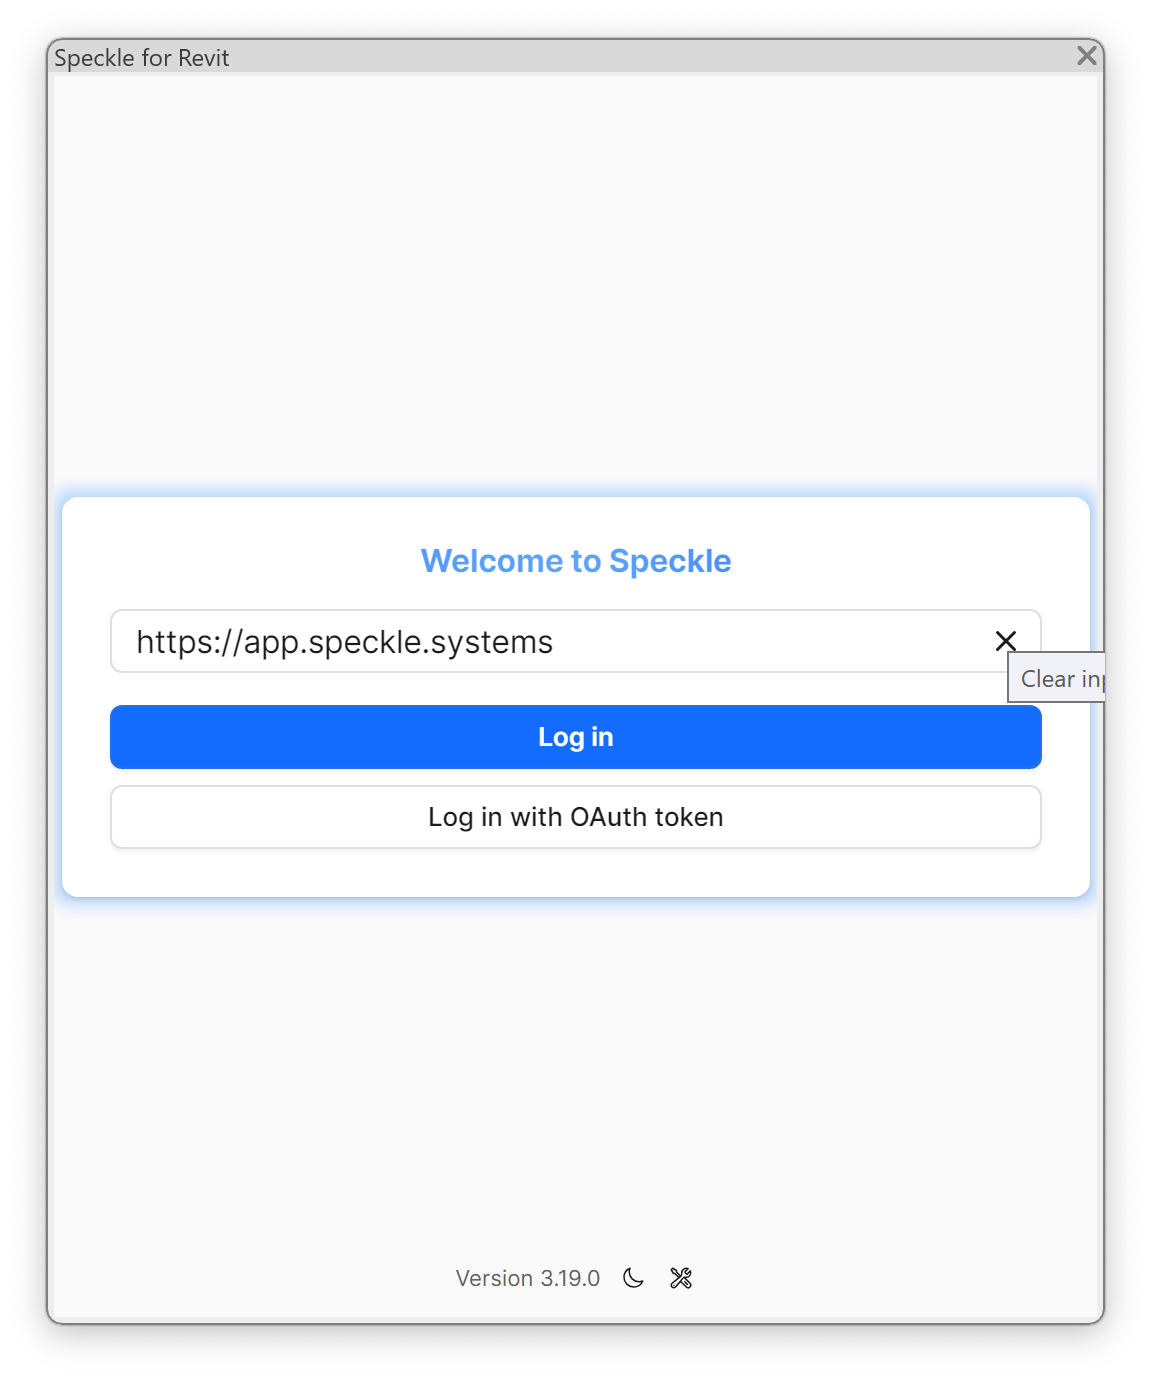

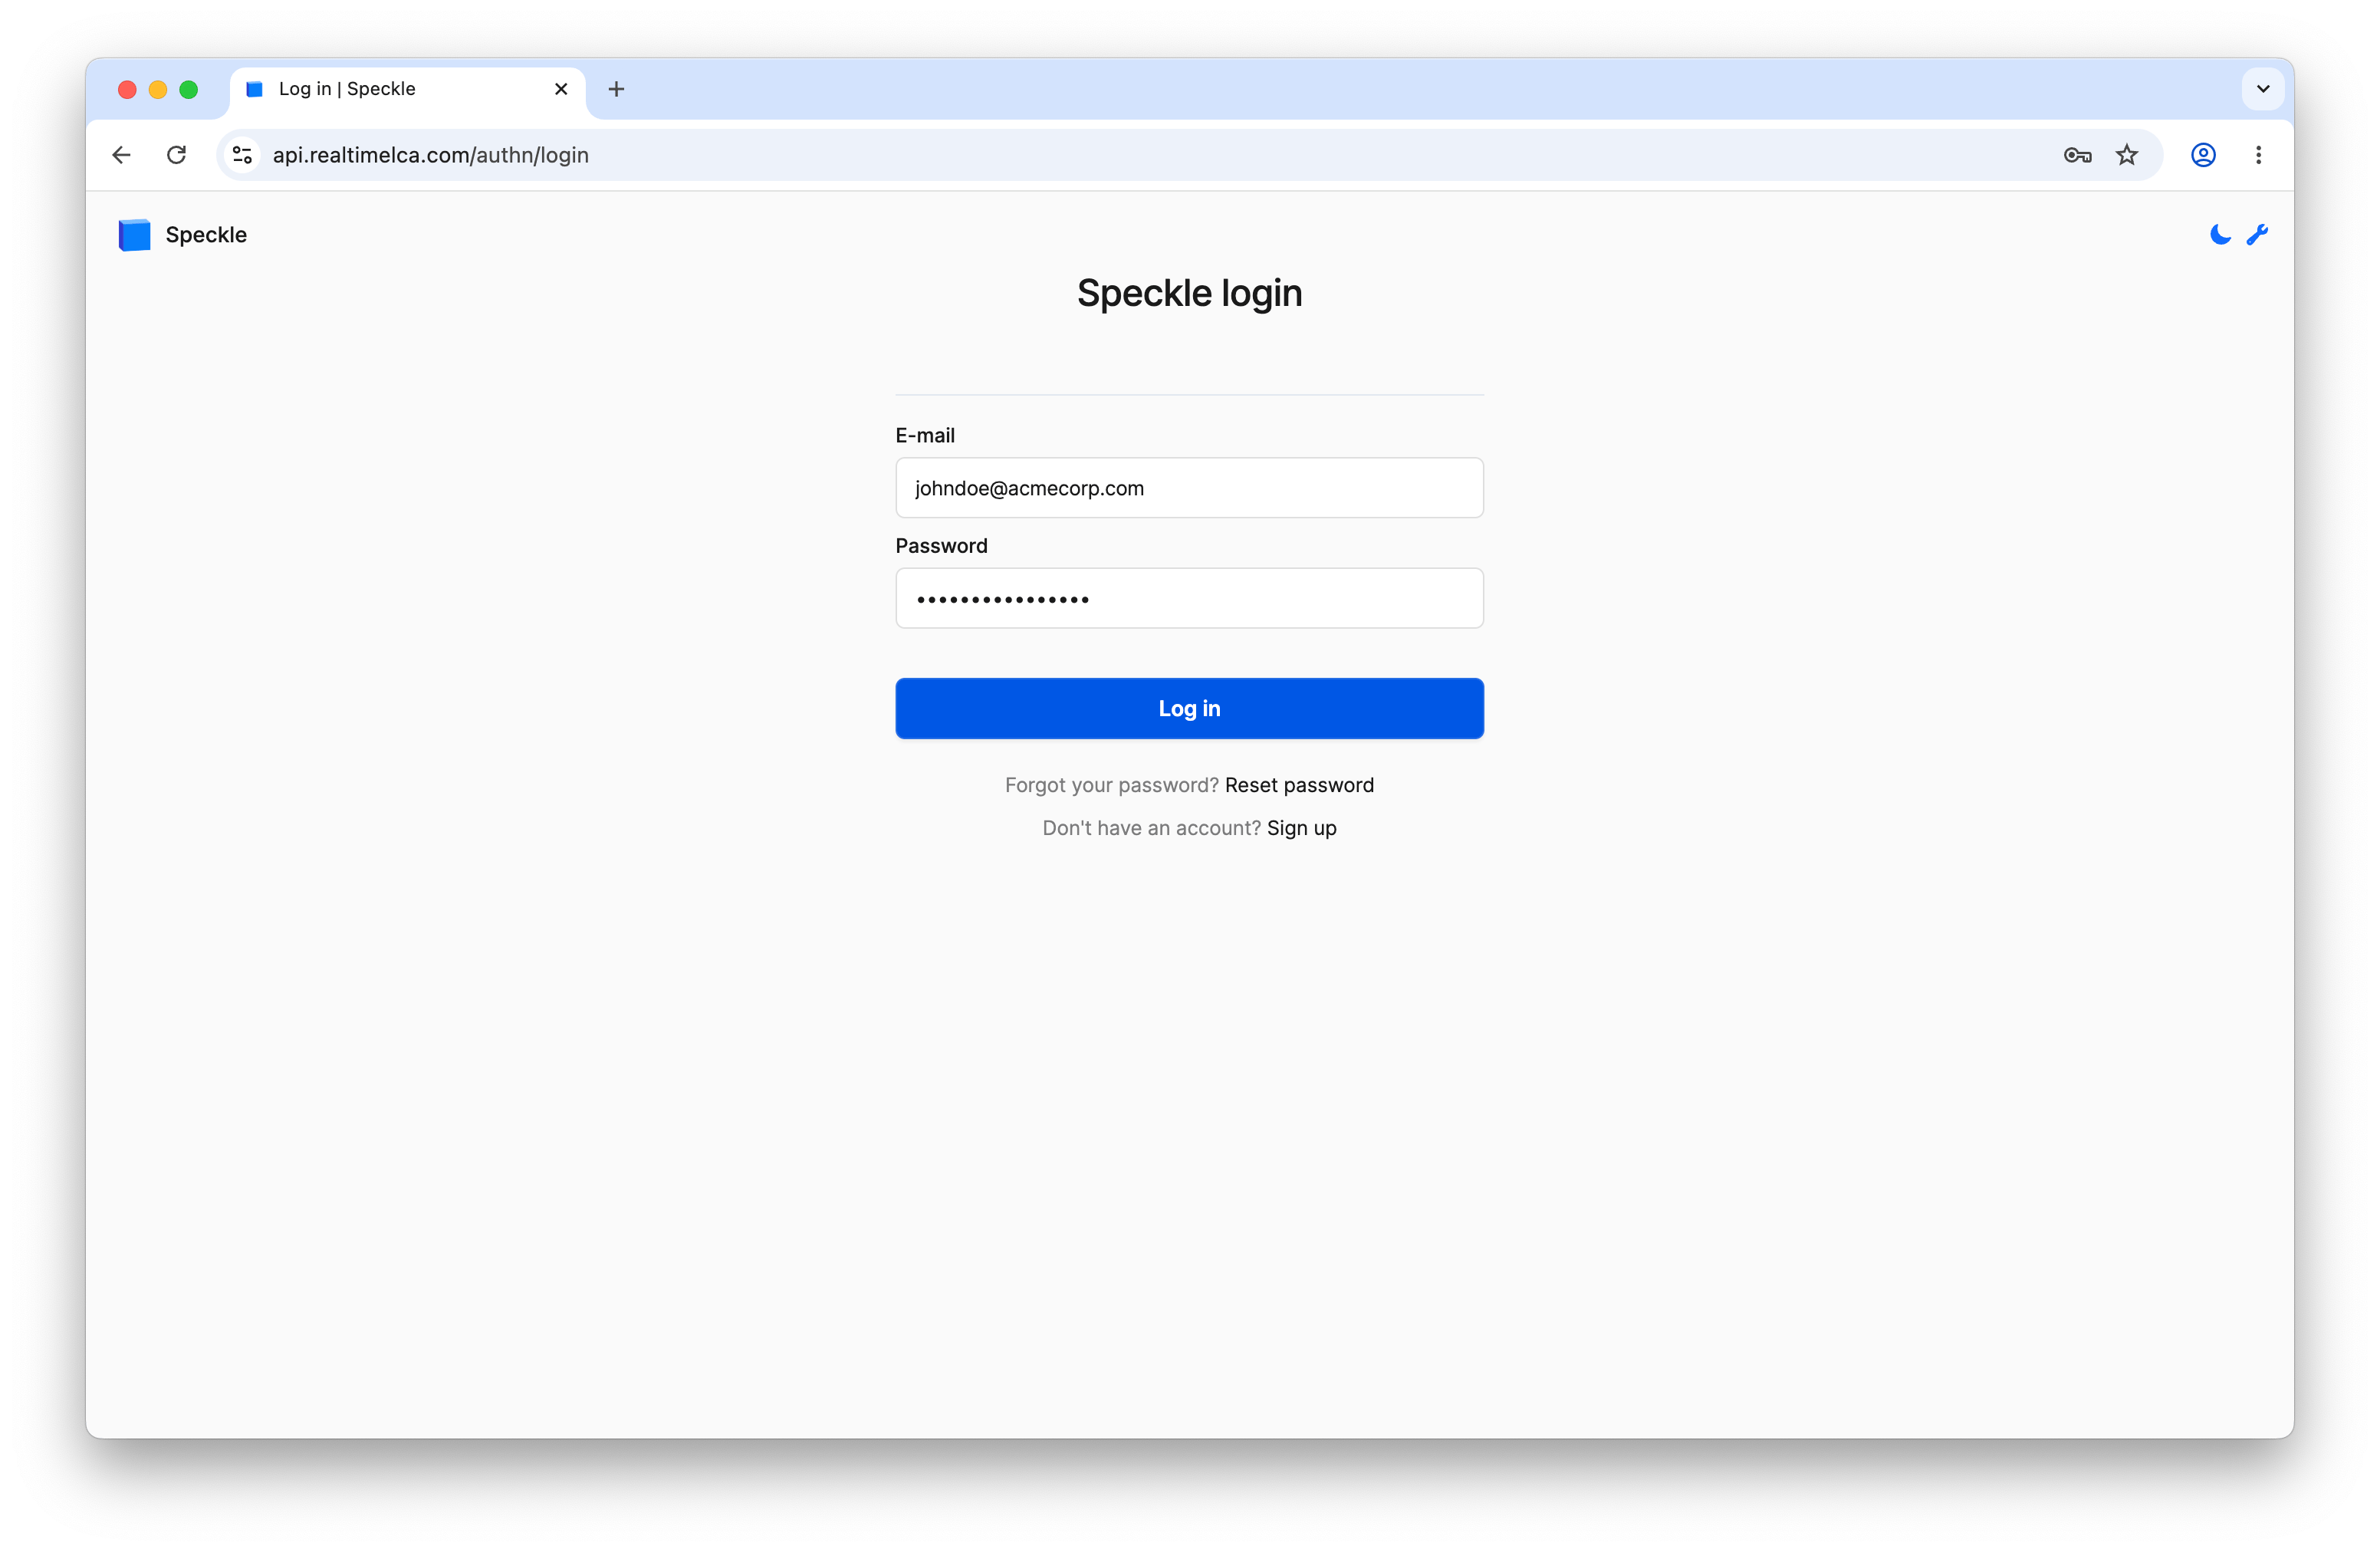
api.realtimelca.com/authn/login.
Authorize the connector
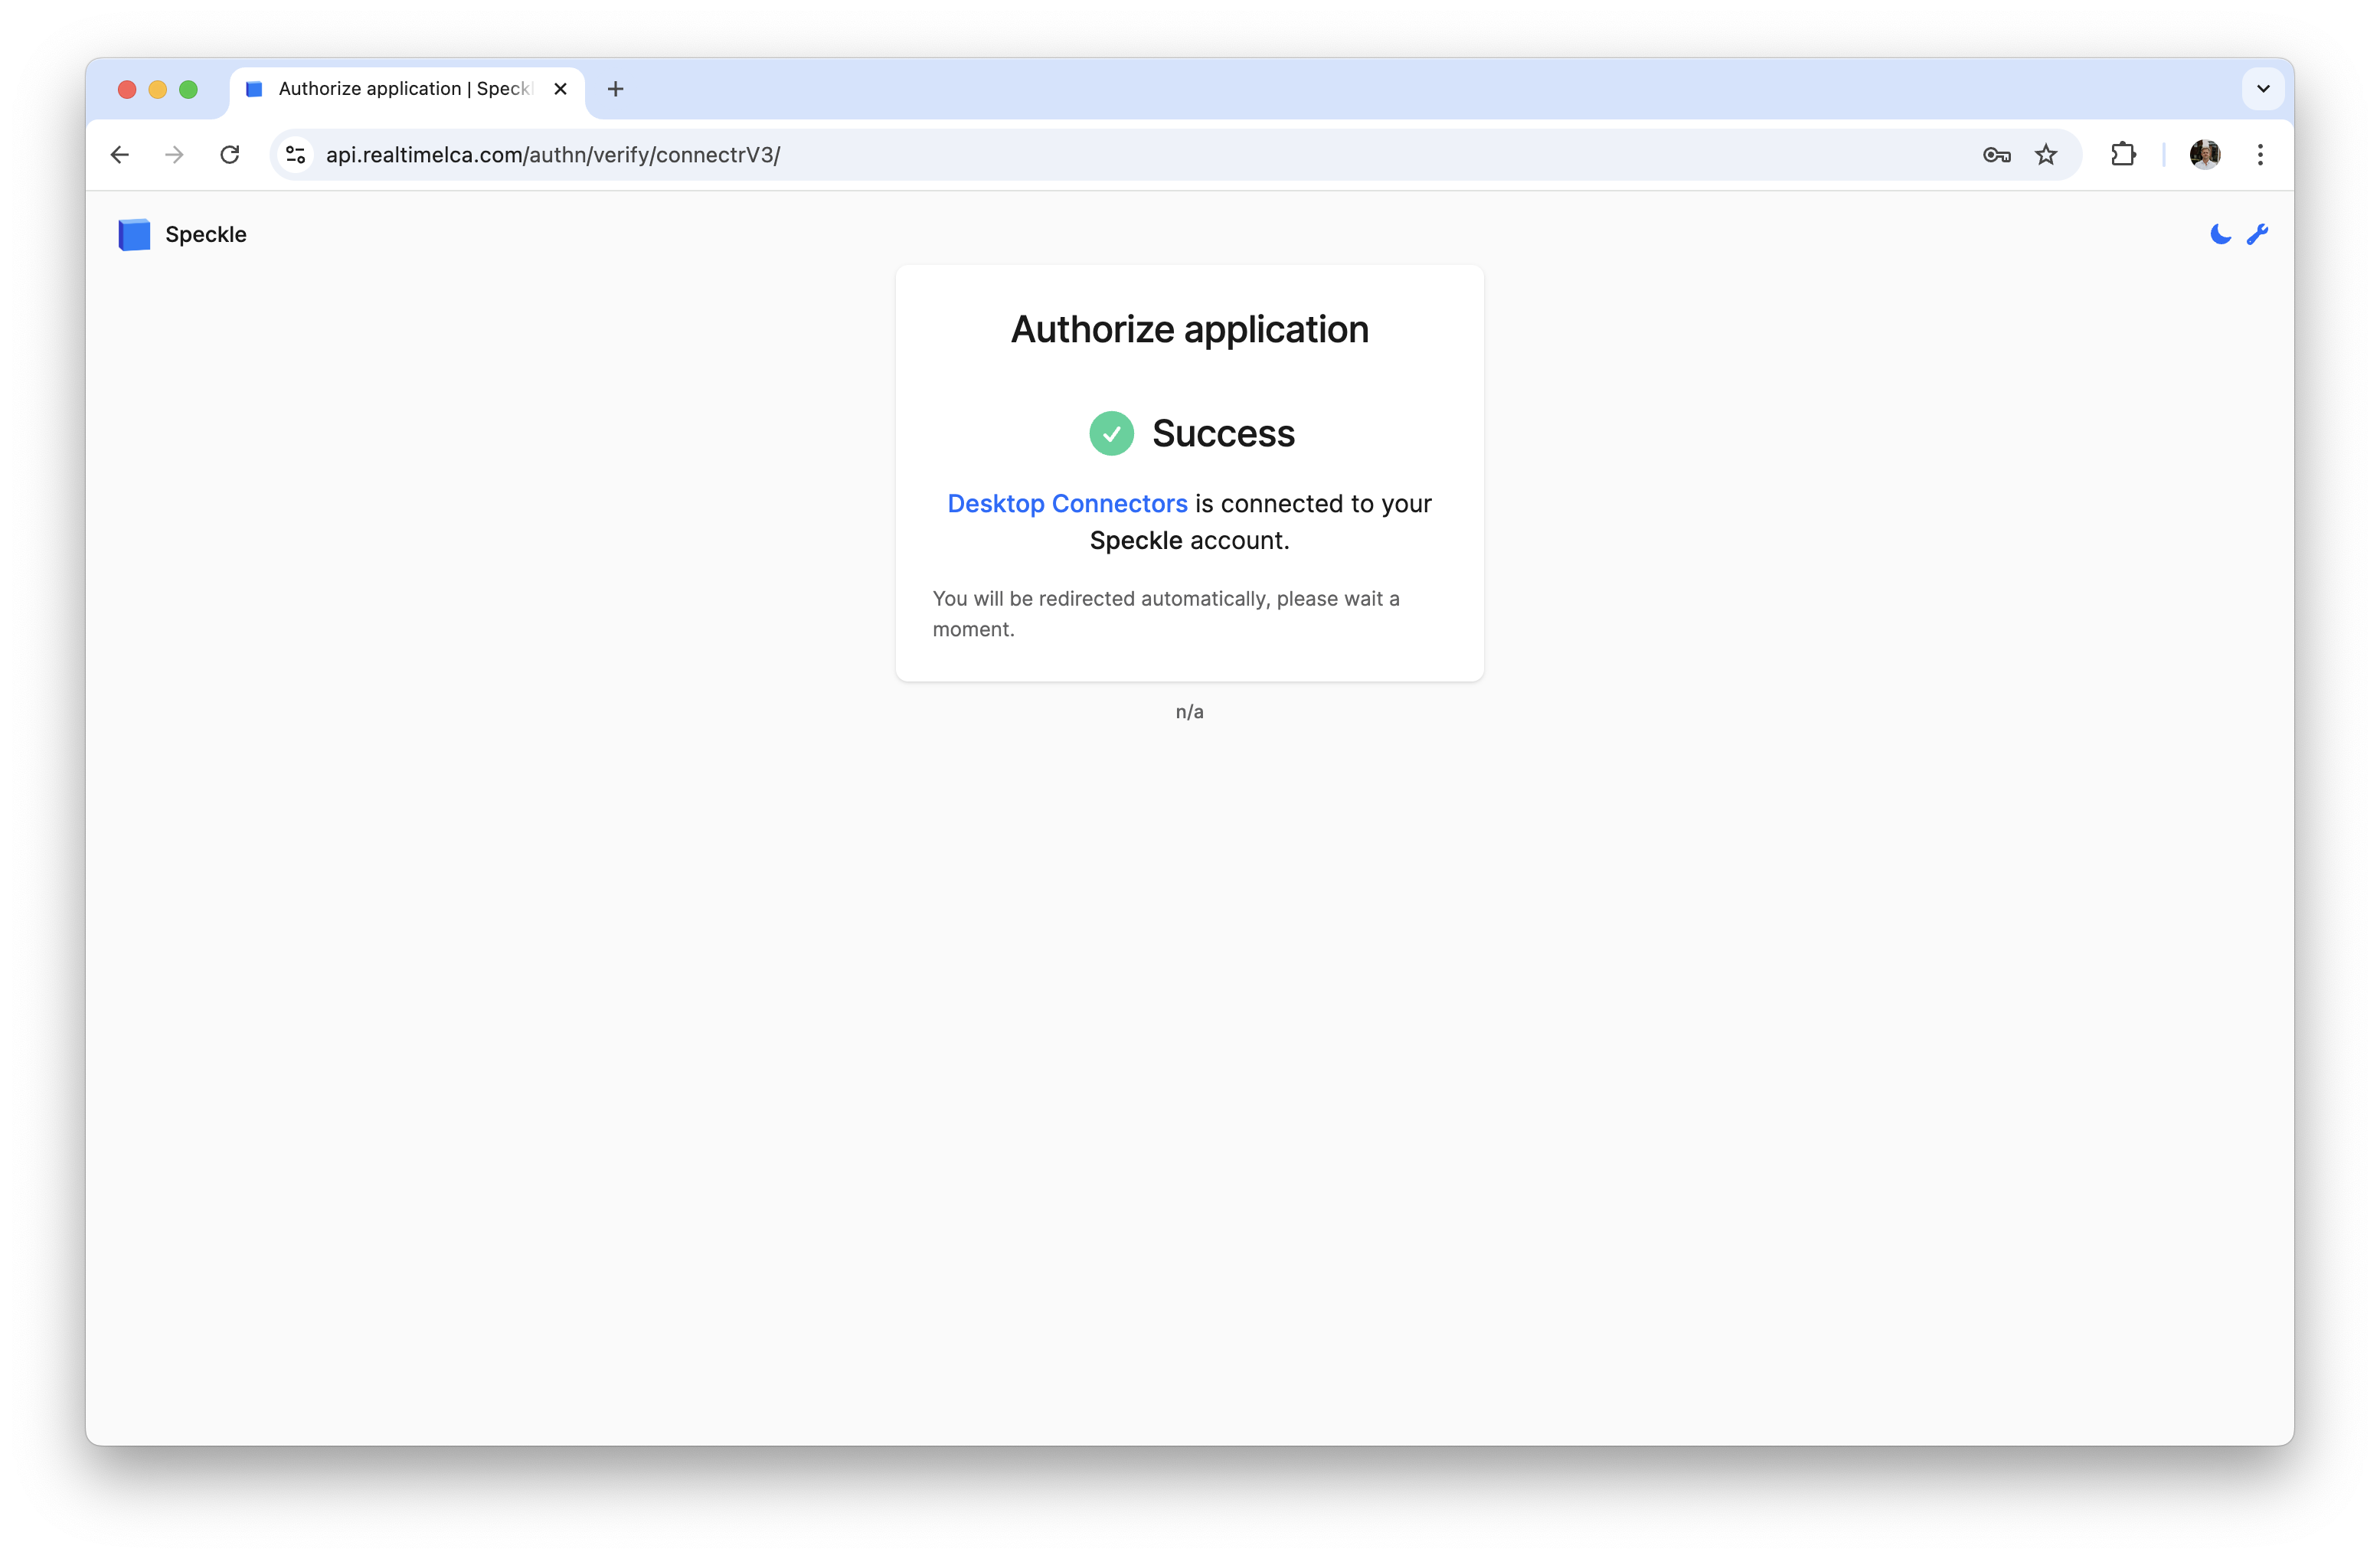
After logging in, Speckle asks you to authorize Desktop Connectors to access your account.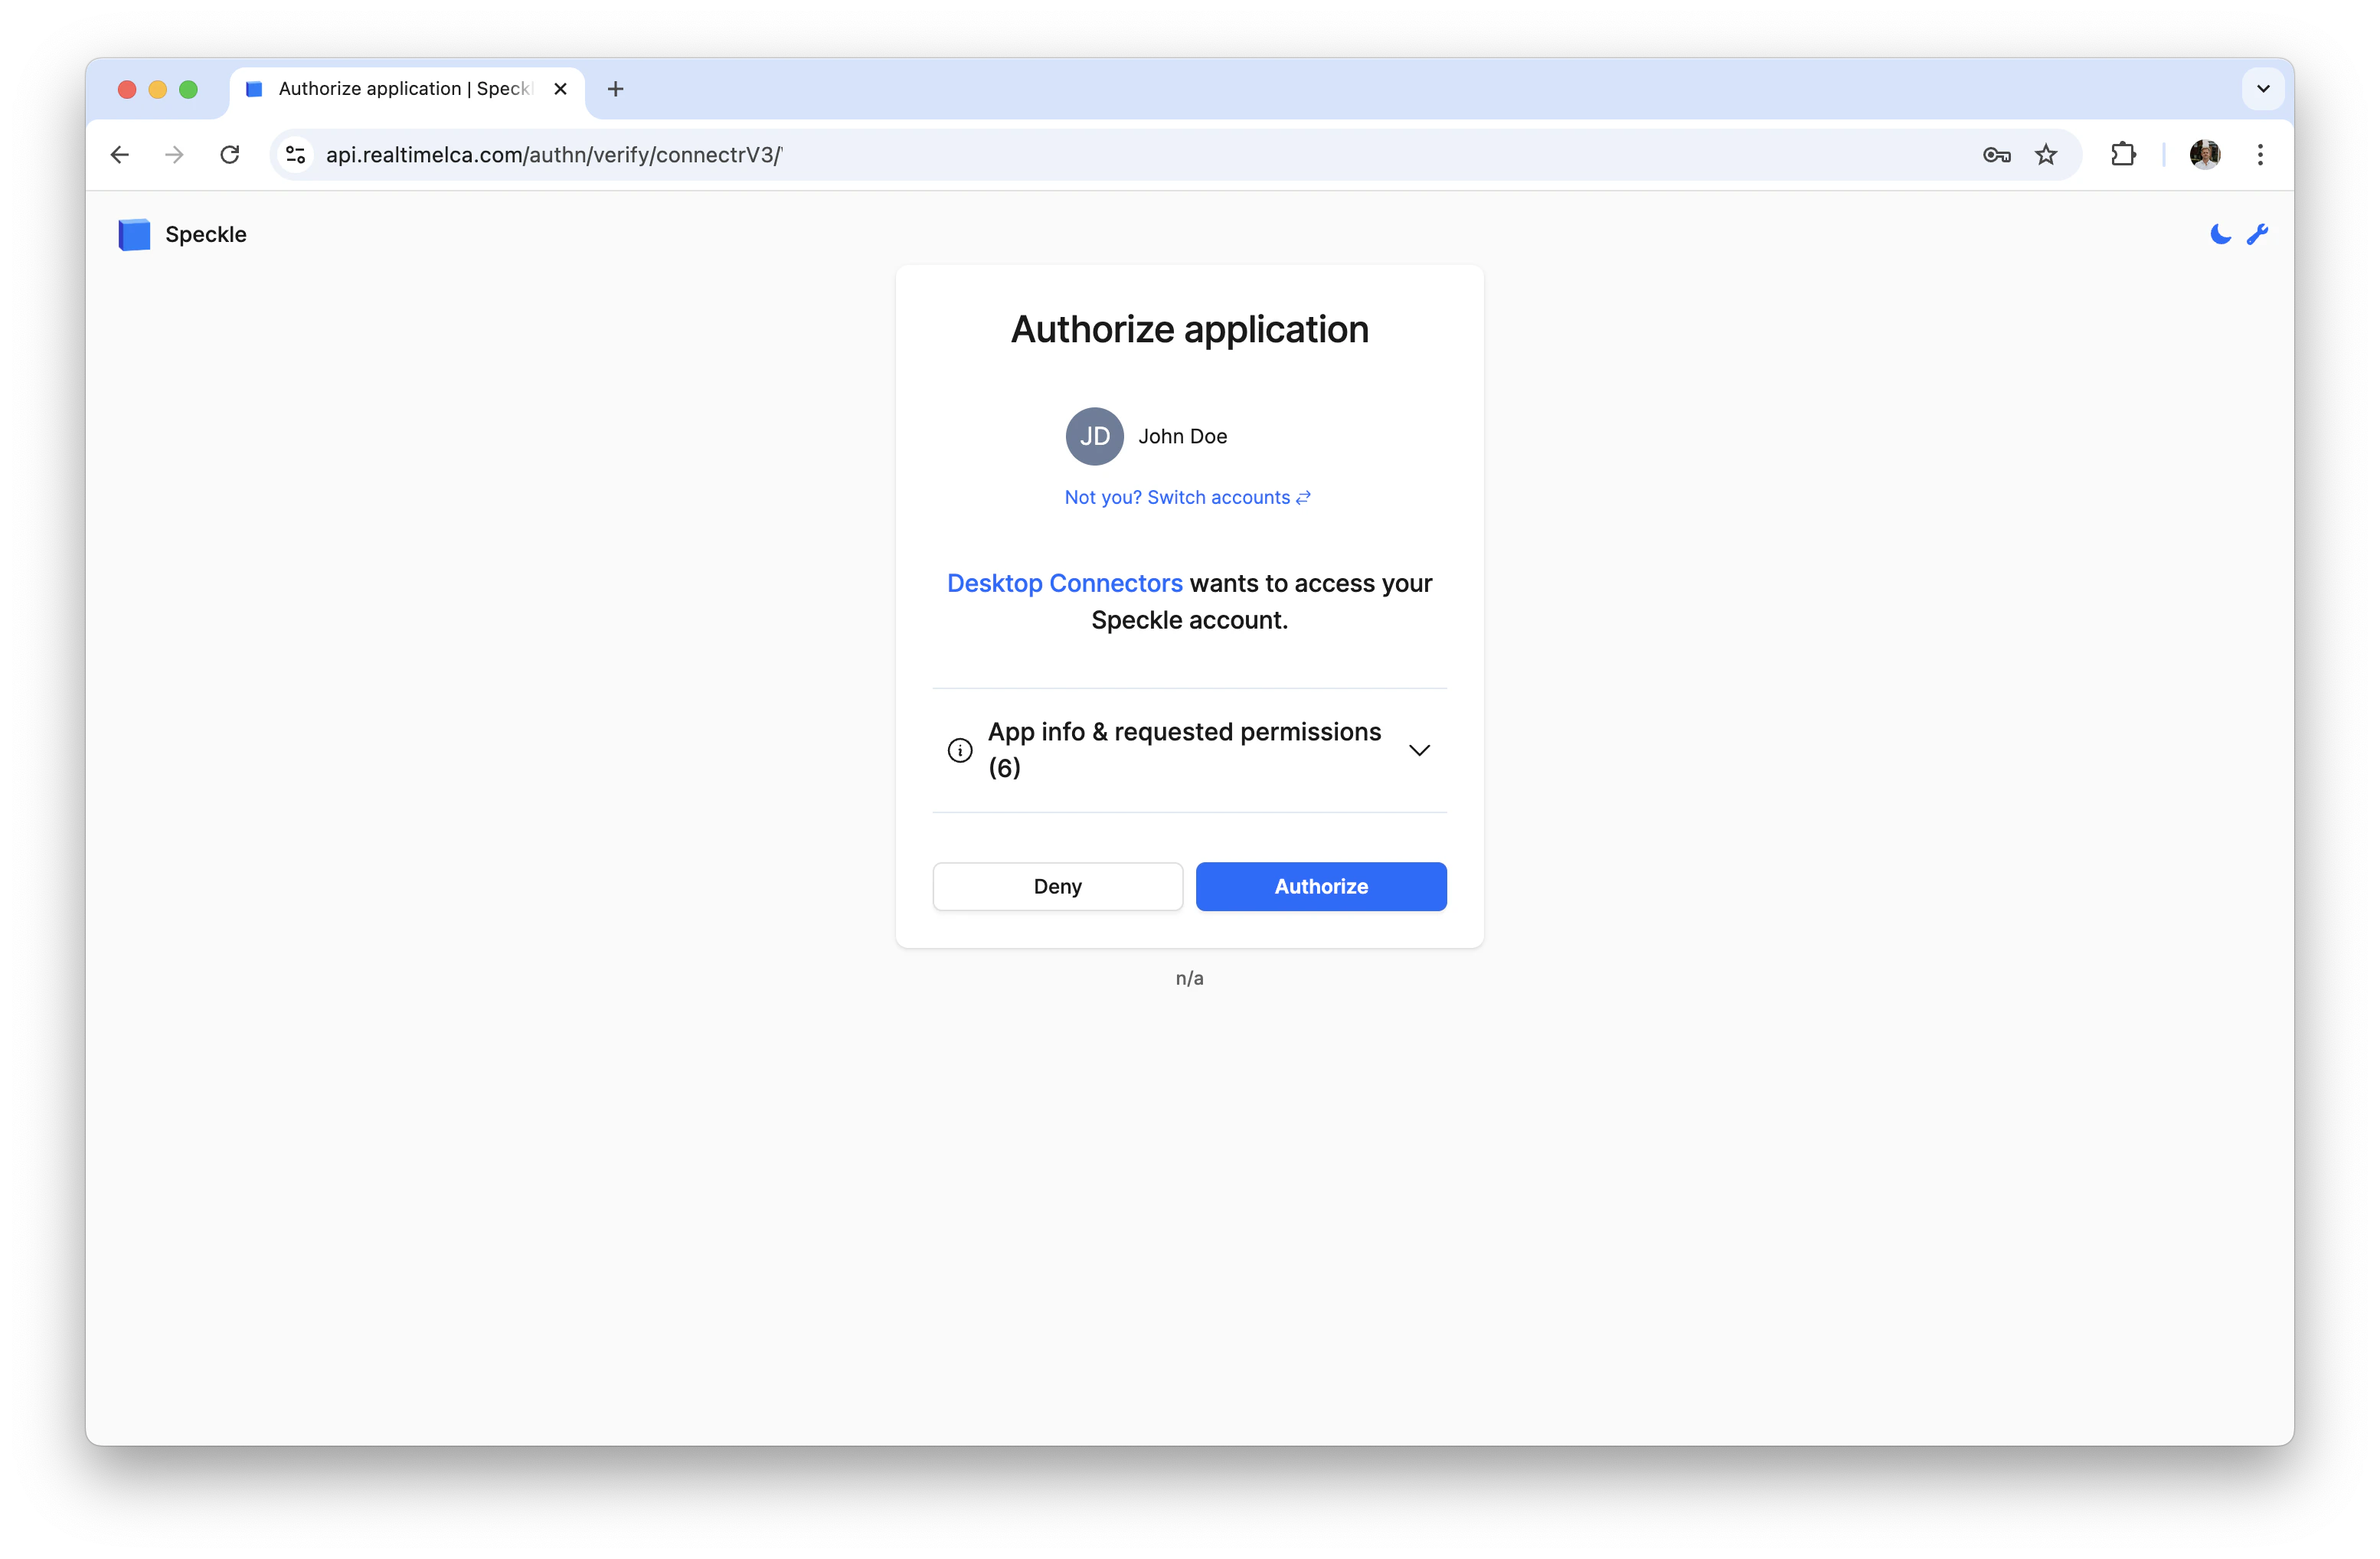
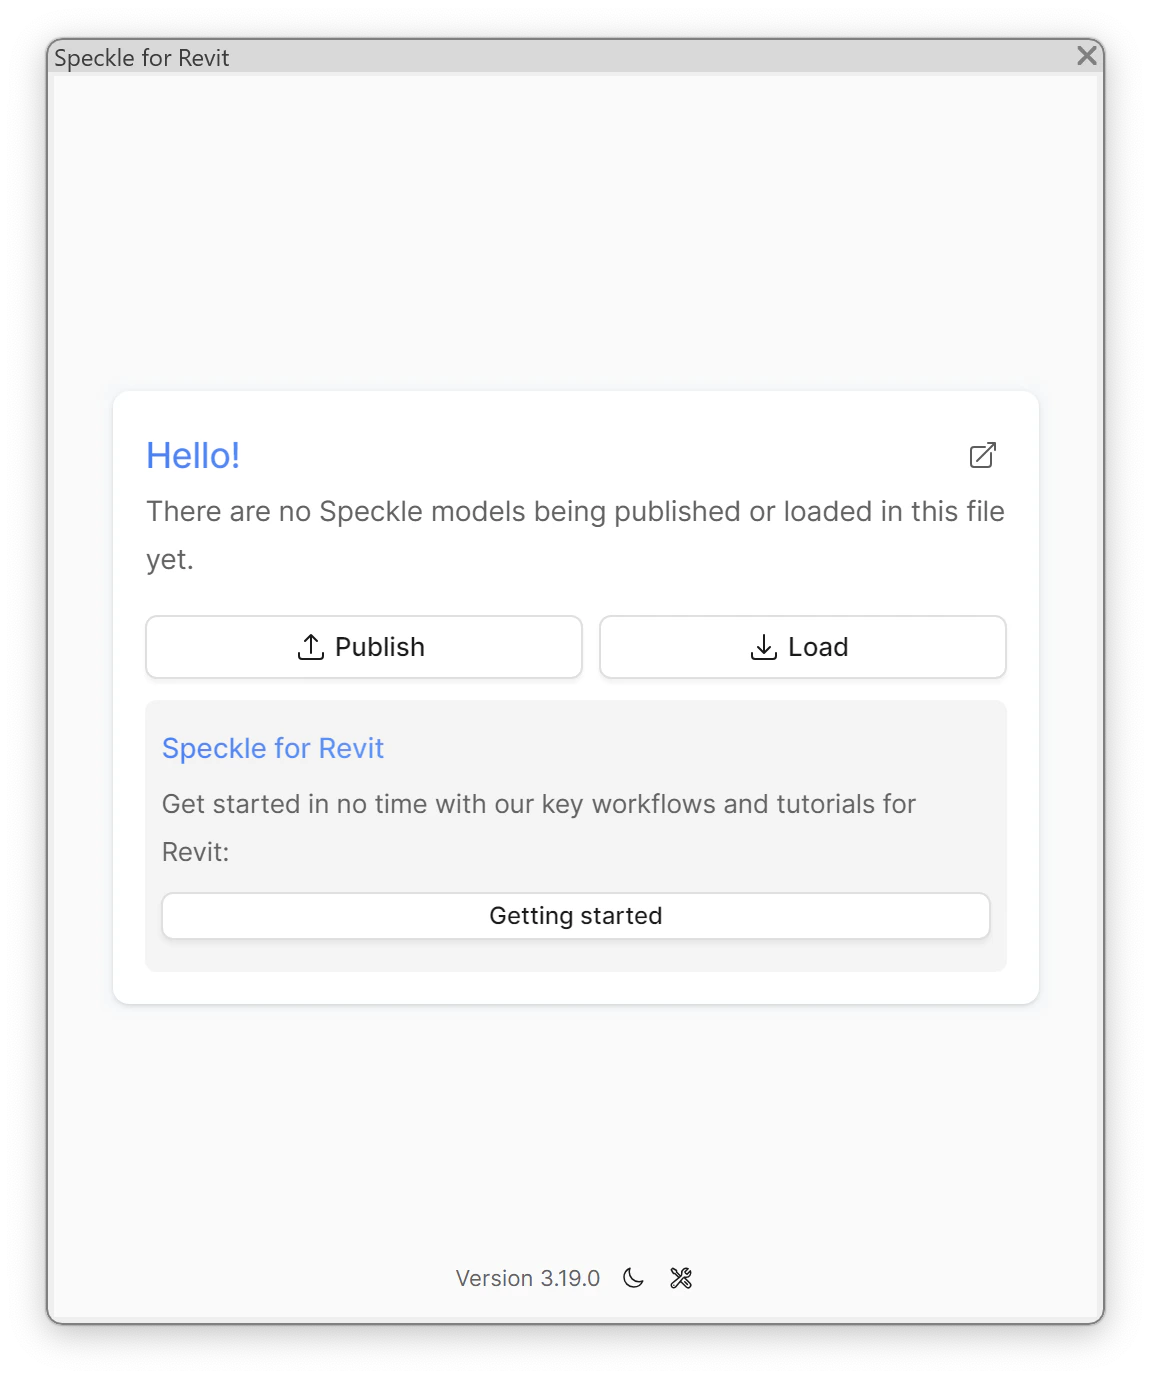
Publish a model
Step 1: Pick a Speckle project
Click Publish on the Hello screen. The connector shows every Speckle project your user can edit on the Real-Time LCA server.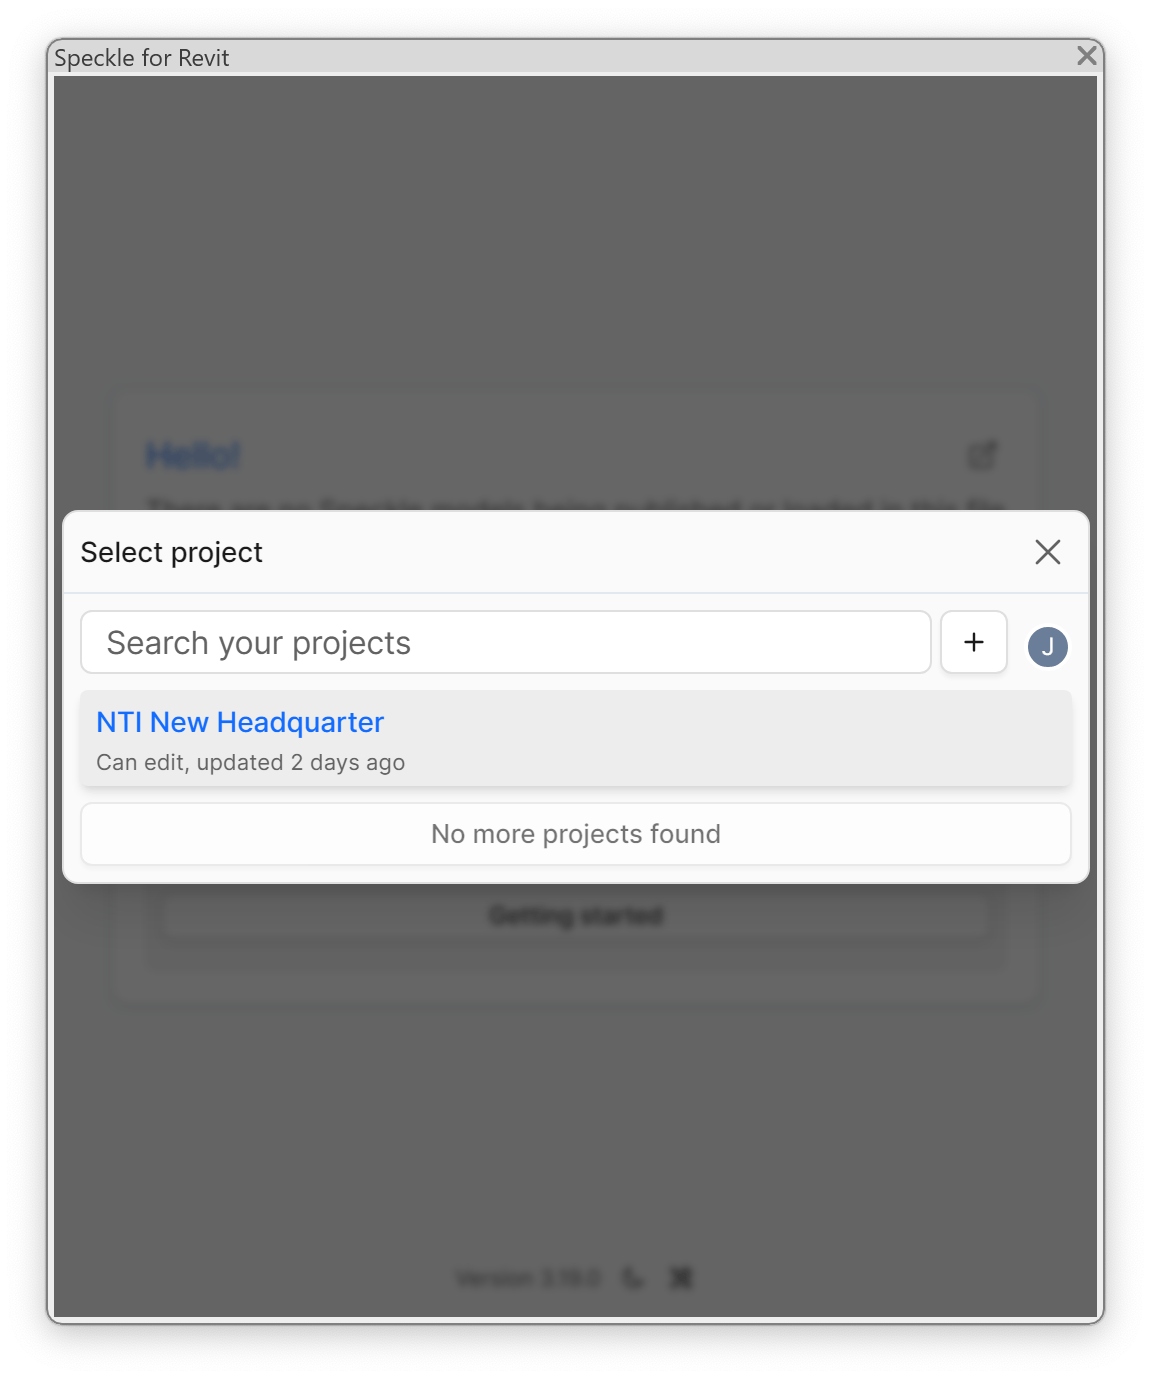
Step 2: Pick a model
Each Speckle project contains one or more models — for example, structural or architectural — that map to the discipline models you selected during Speckle model configuration.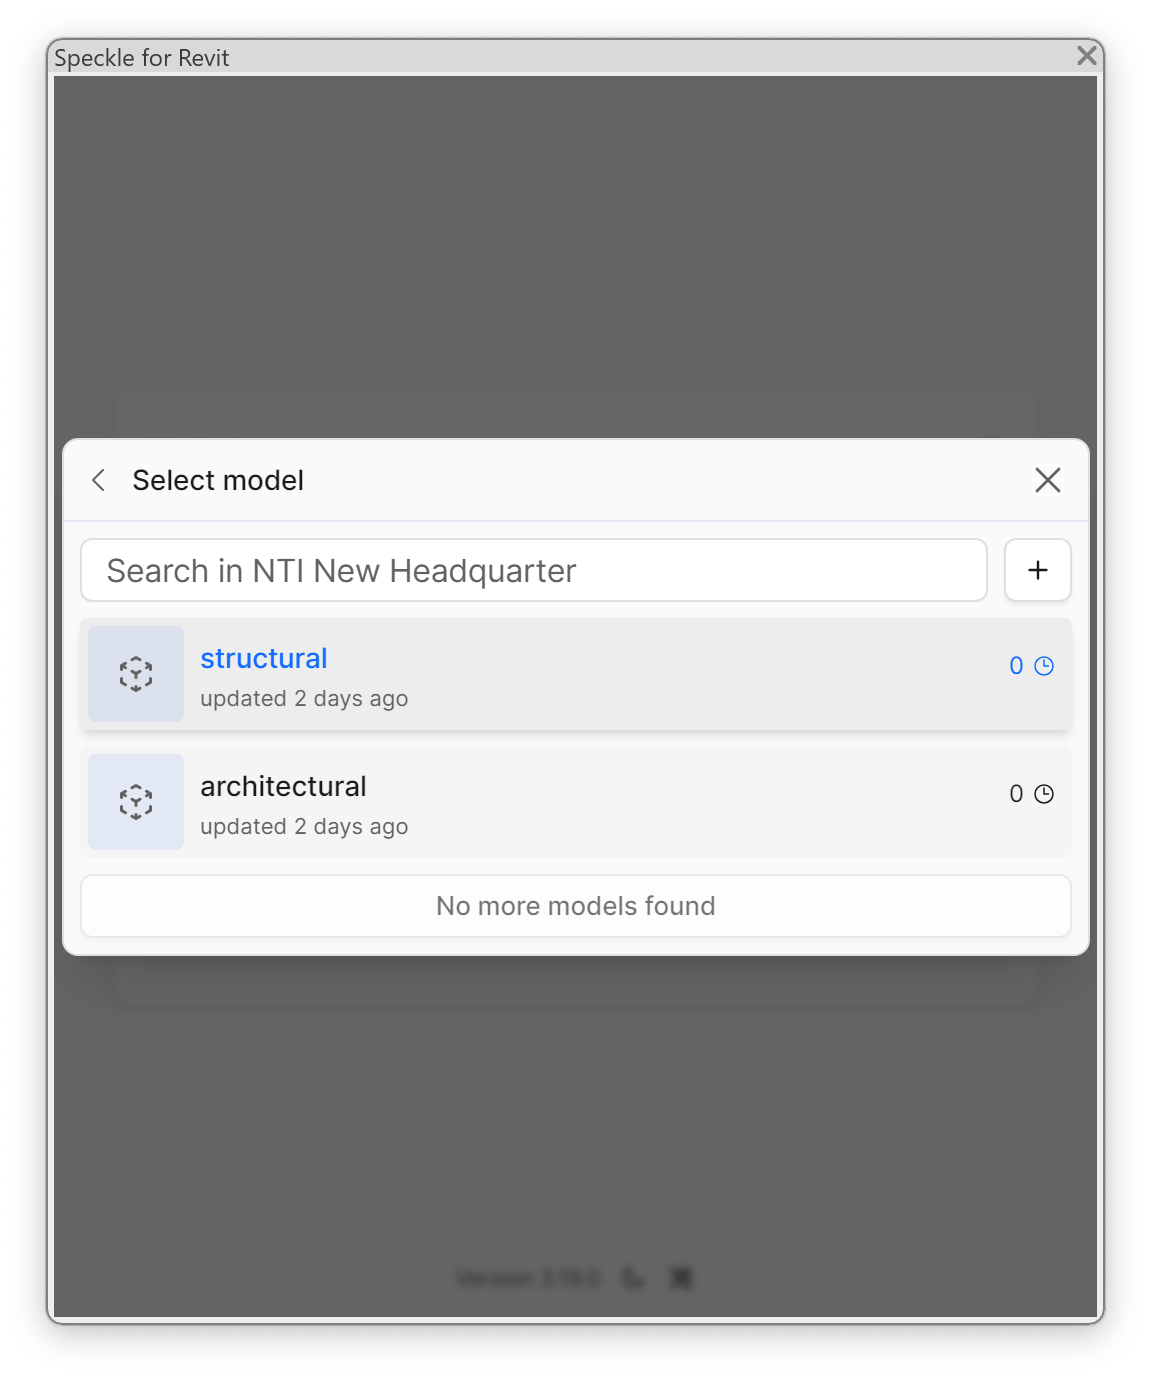
Step 3: Choose what to send
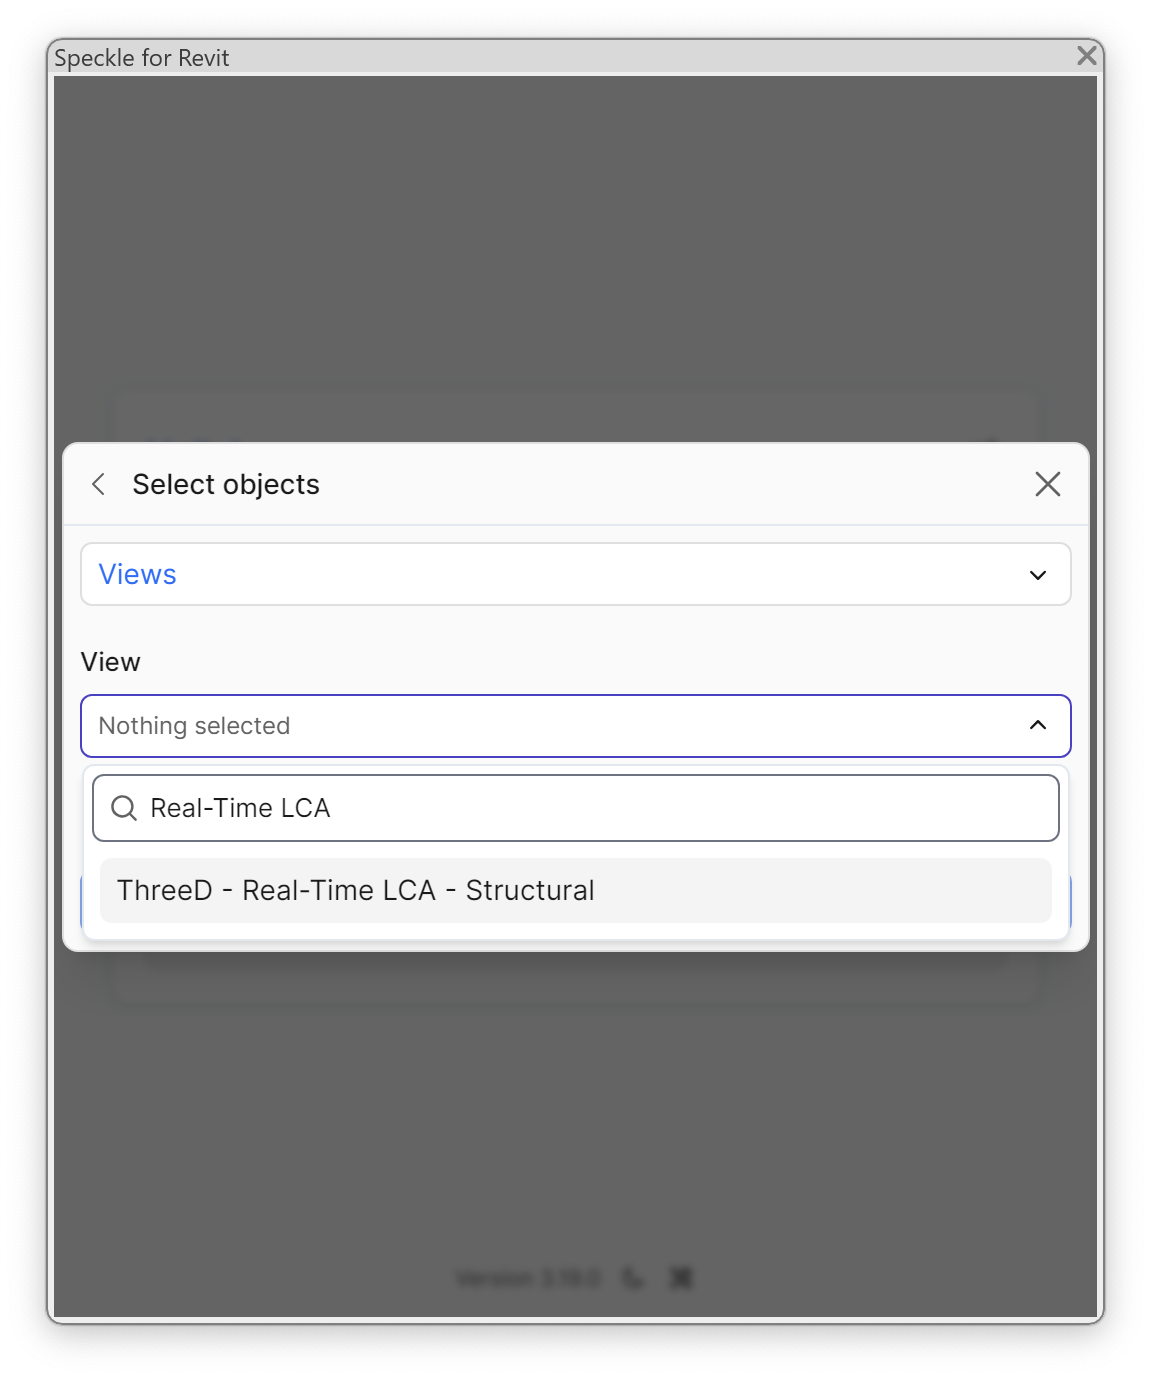
The Select objects dialog lets you decide which part of the Revit model is sent.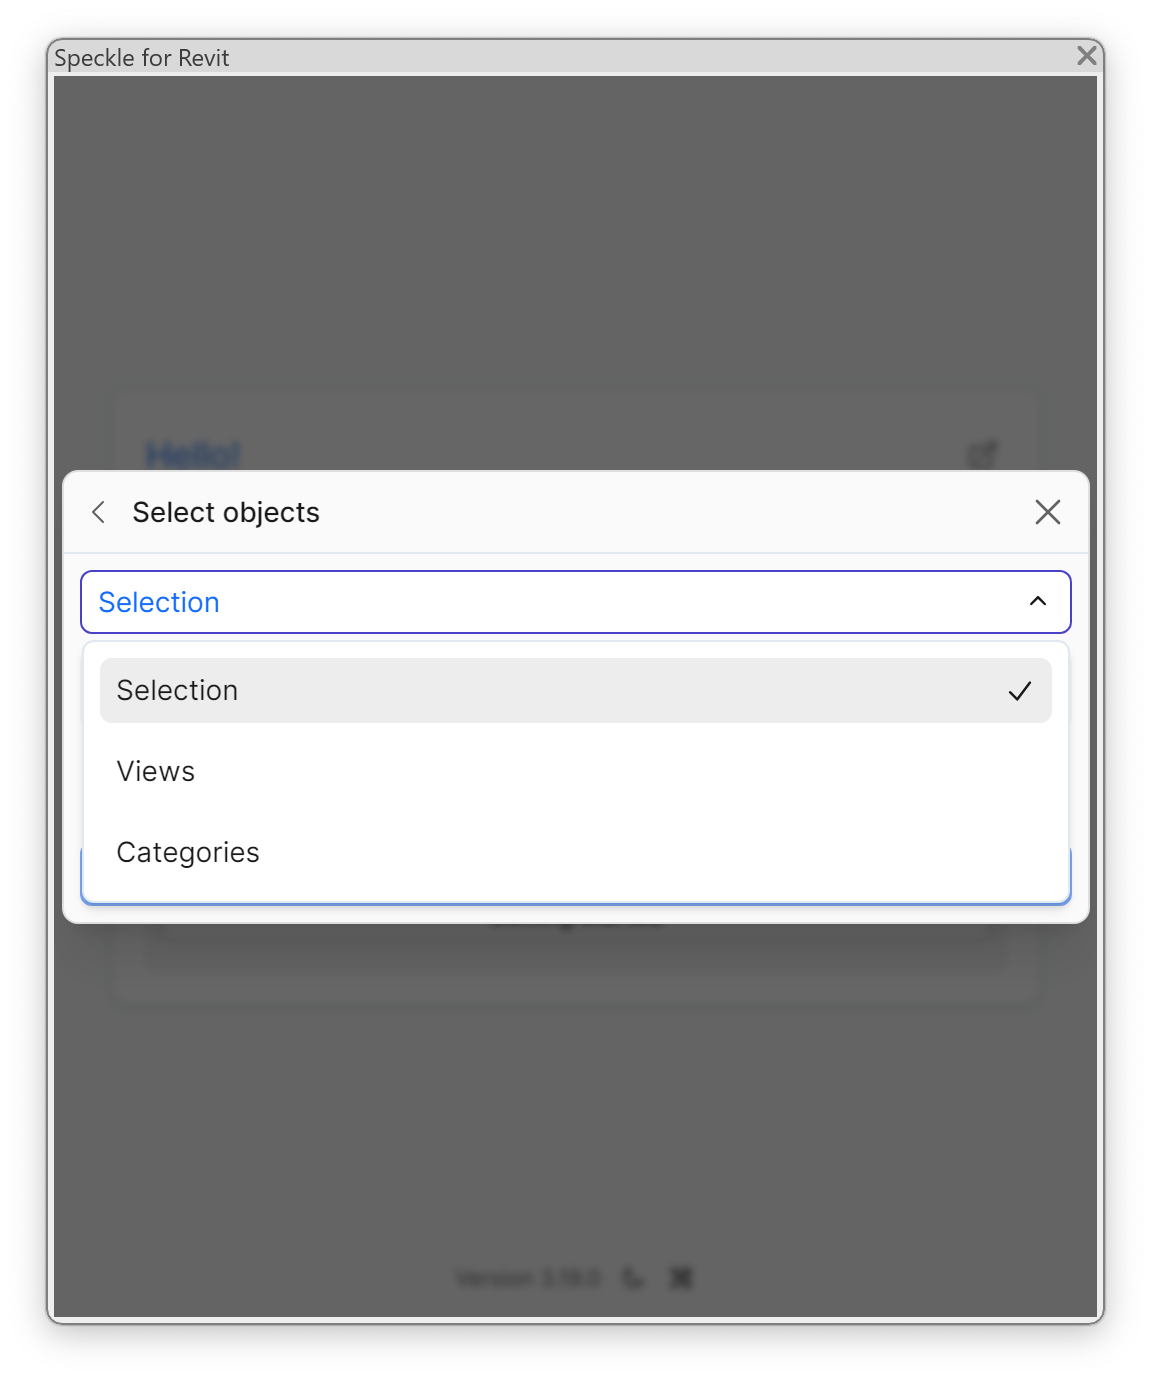
- Selection — the elements currently selected in Revit.
- Views — every element visible in a specific view (the recommended option for Real-Time LCA, because the view defines the scope of the calculation).
- Categories — every element of one or more Revit categories (for example, Walls, Floors, Columns).
Step 4: Confirm publish settings
Scroll down in the dialog to review the publish settings before sending.
| Setting | Recommended value |
|---|---|
| Detail Level | Medium — balances geometry fidelity with publish time. |
| Reference Point | InternalOrigin — keeps the geometry aligned with the Revit project origin. |
| Send null/empty parameters | Off — keeps payload small. |
| Include Linked Models | On if your assessment covers linked models. |
| Send Rebars As Volumetric | Off — better performance. |
| Send Areas As Mesh | Off unless you specifically need mesh-based areas. |
Parameter mapping
Real-Time LCA looks for the parameter configured on the project (by defaultBIMTypeCode) to group elements into BIM types. Make sure this parameter is populated on your Revit elements before publishing — see Speckle model configuration for how the mapping is set on the project side.