

1. Link your Speckle account
Your Real-Time LCA user has its own Speckle account. Open it from the account menu → Integrations → Speckle.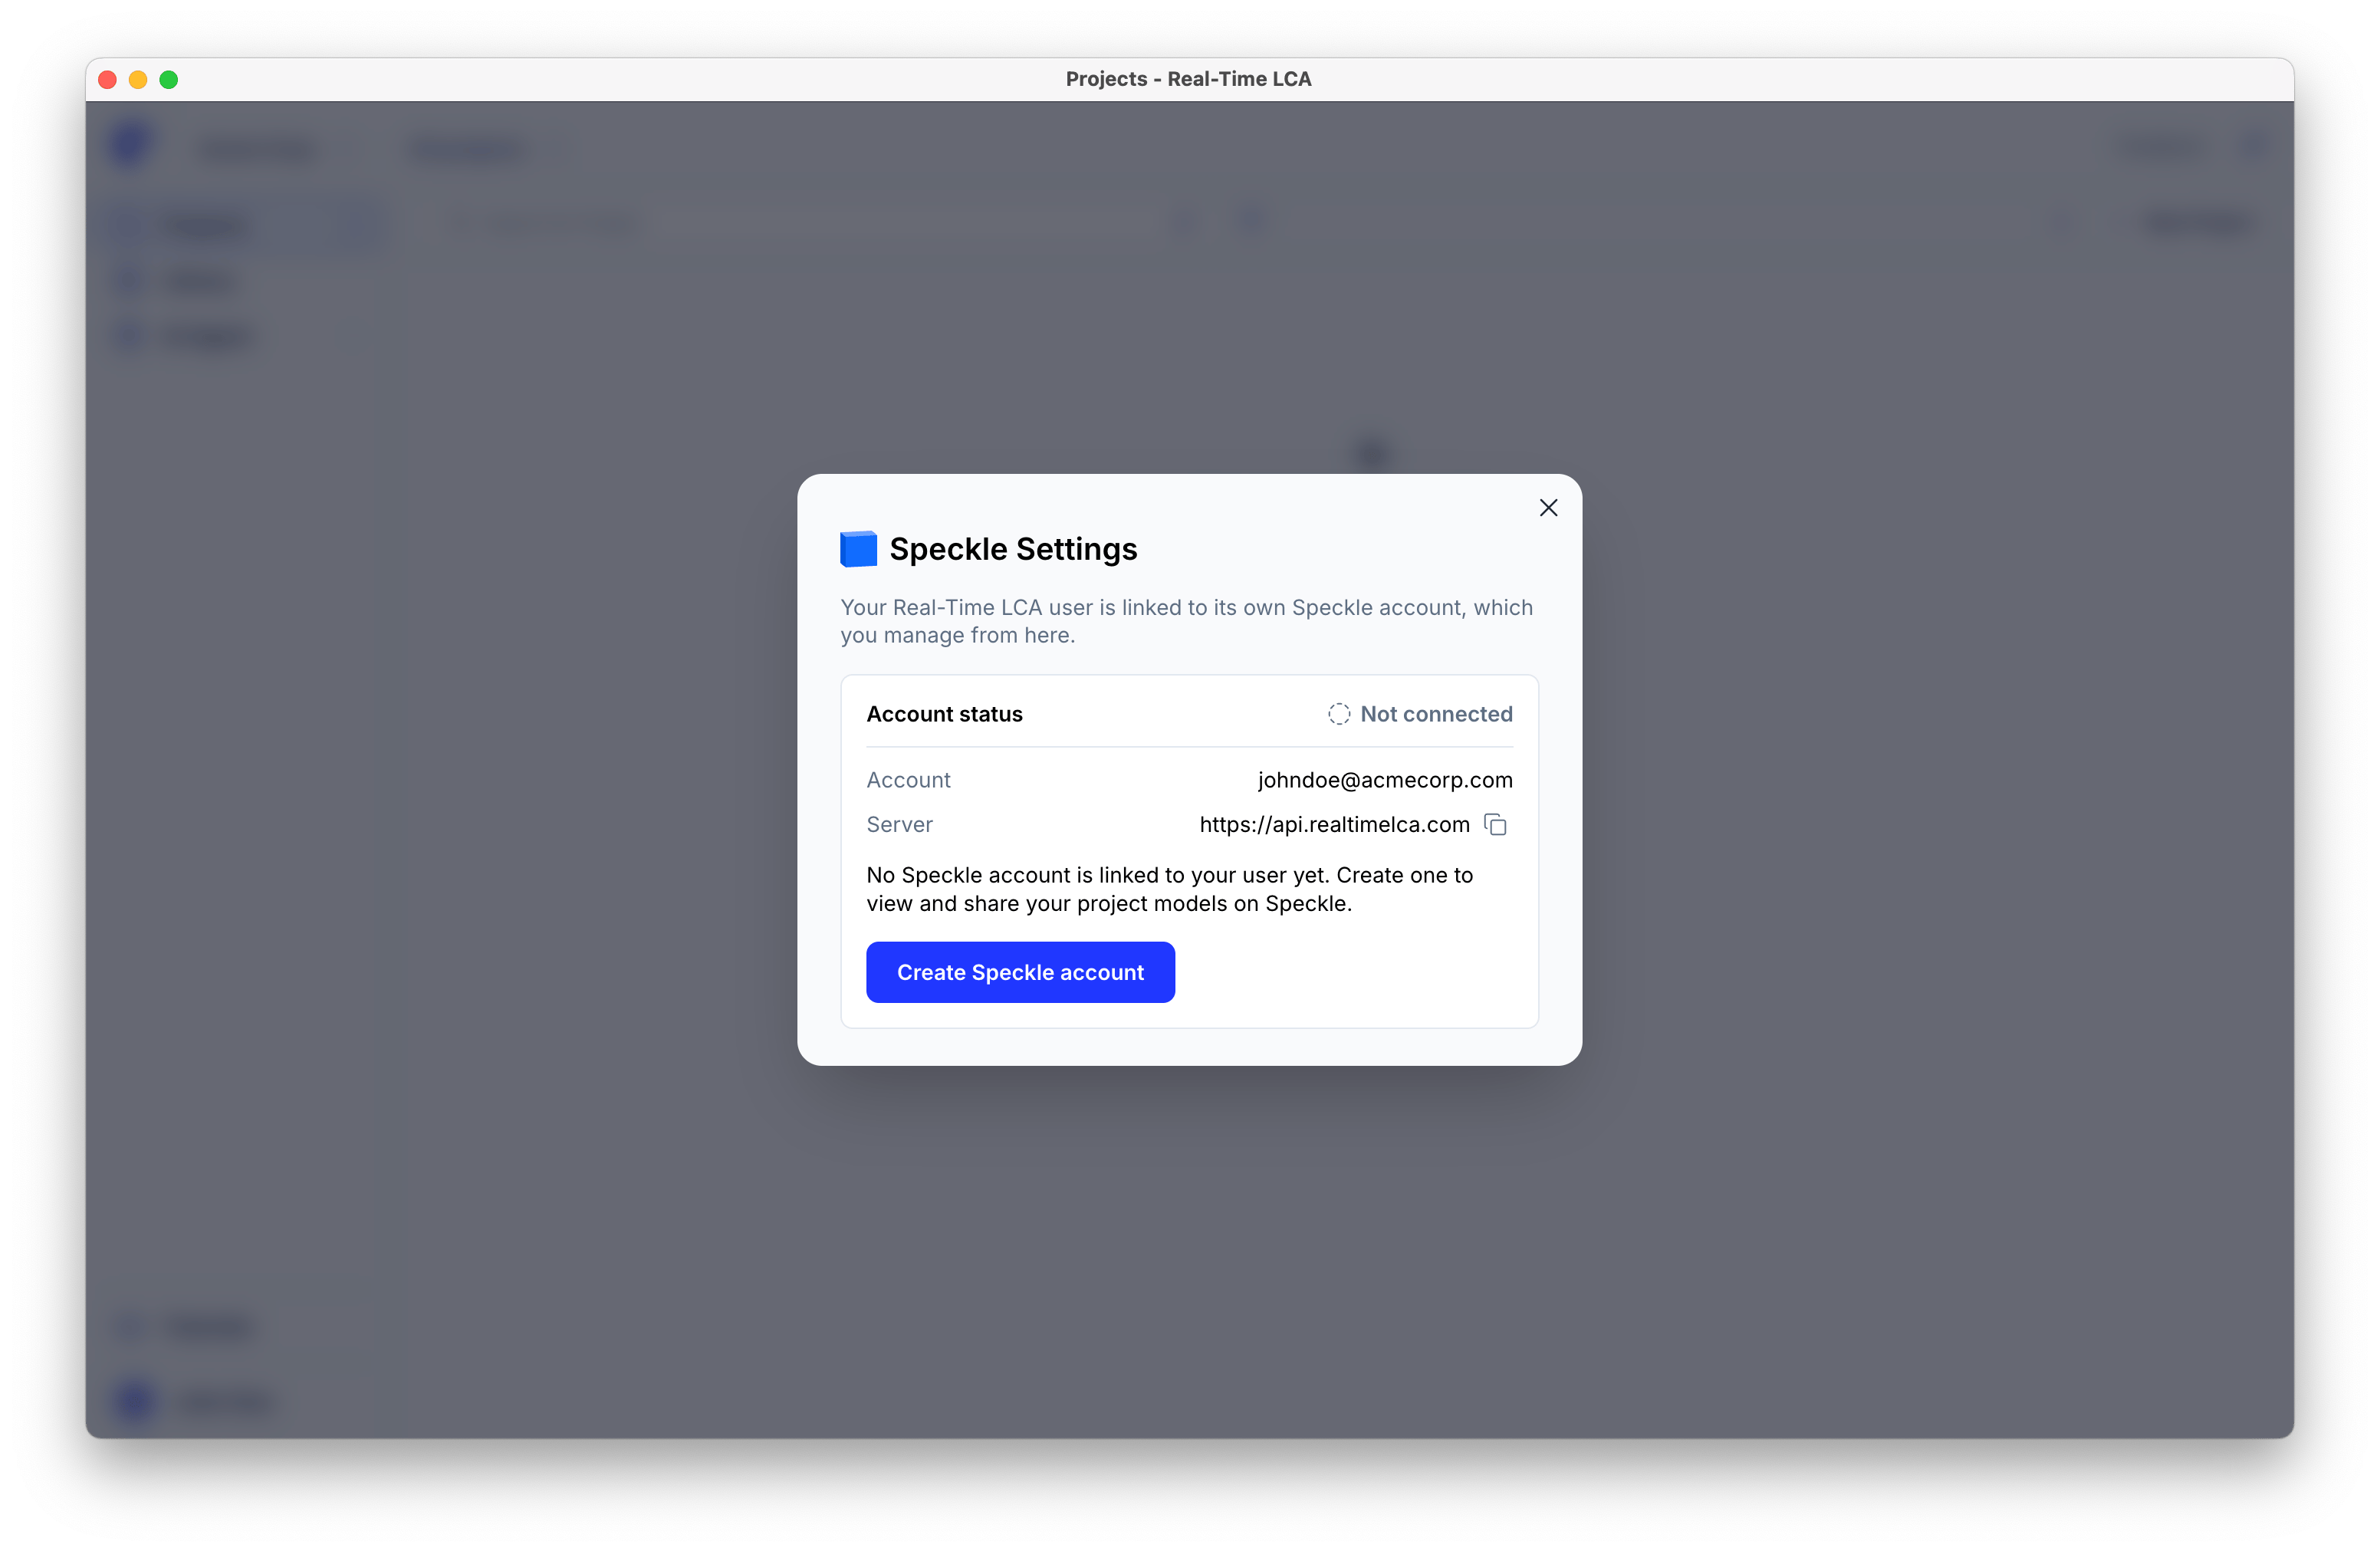
Before an account is linked
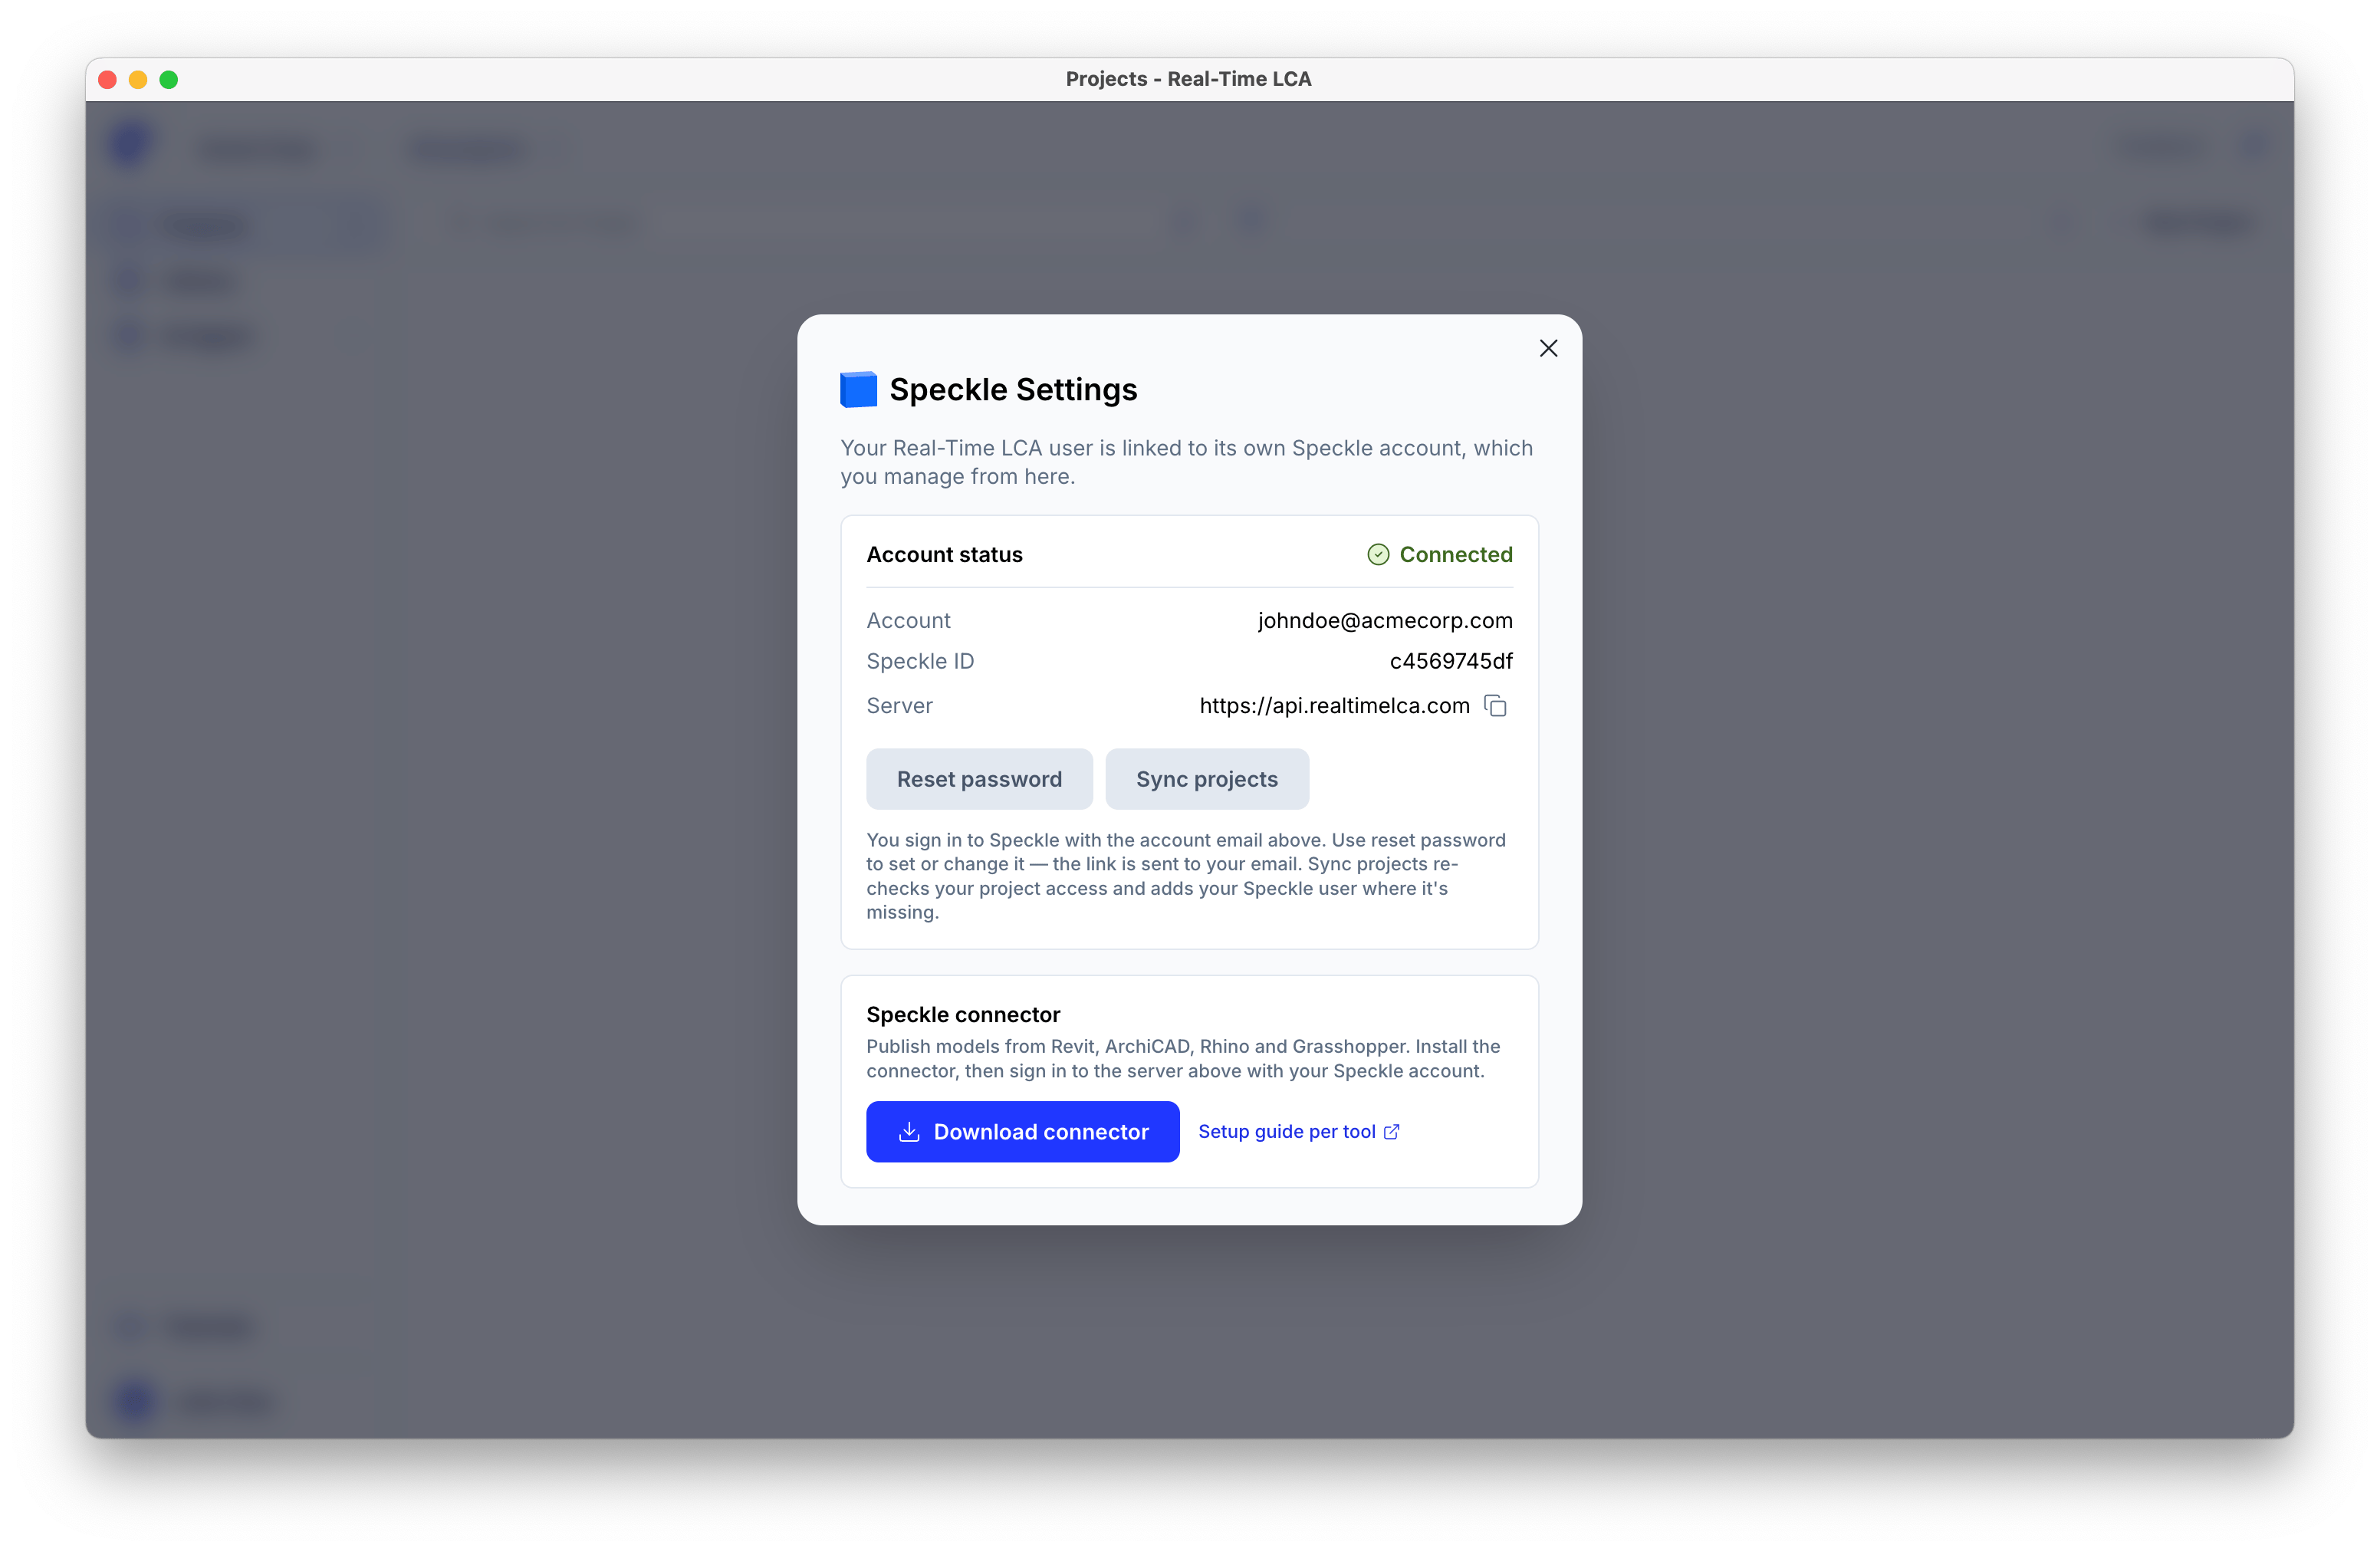
A linked account
Note the server address shown in this dialog. You sign the connector in to that server, not to the public Speckle server it offers by default.
2. Connect the project
Open the project’s Settings → Integrations → Speckle → Configure.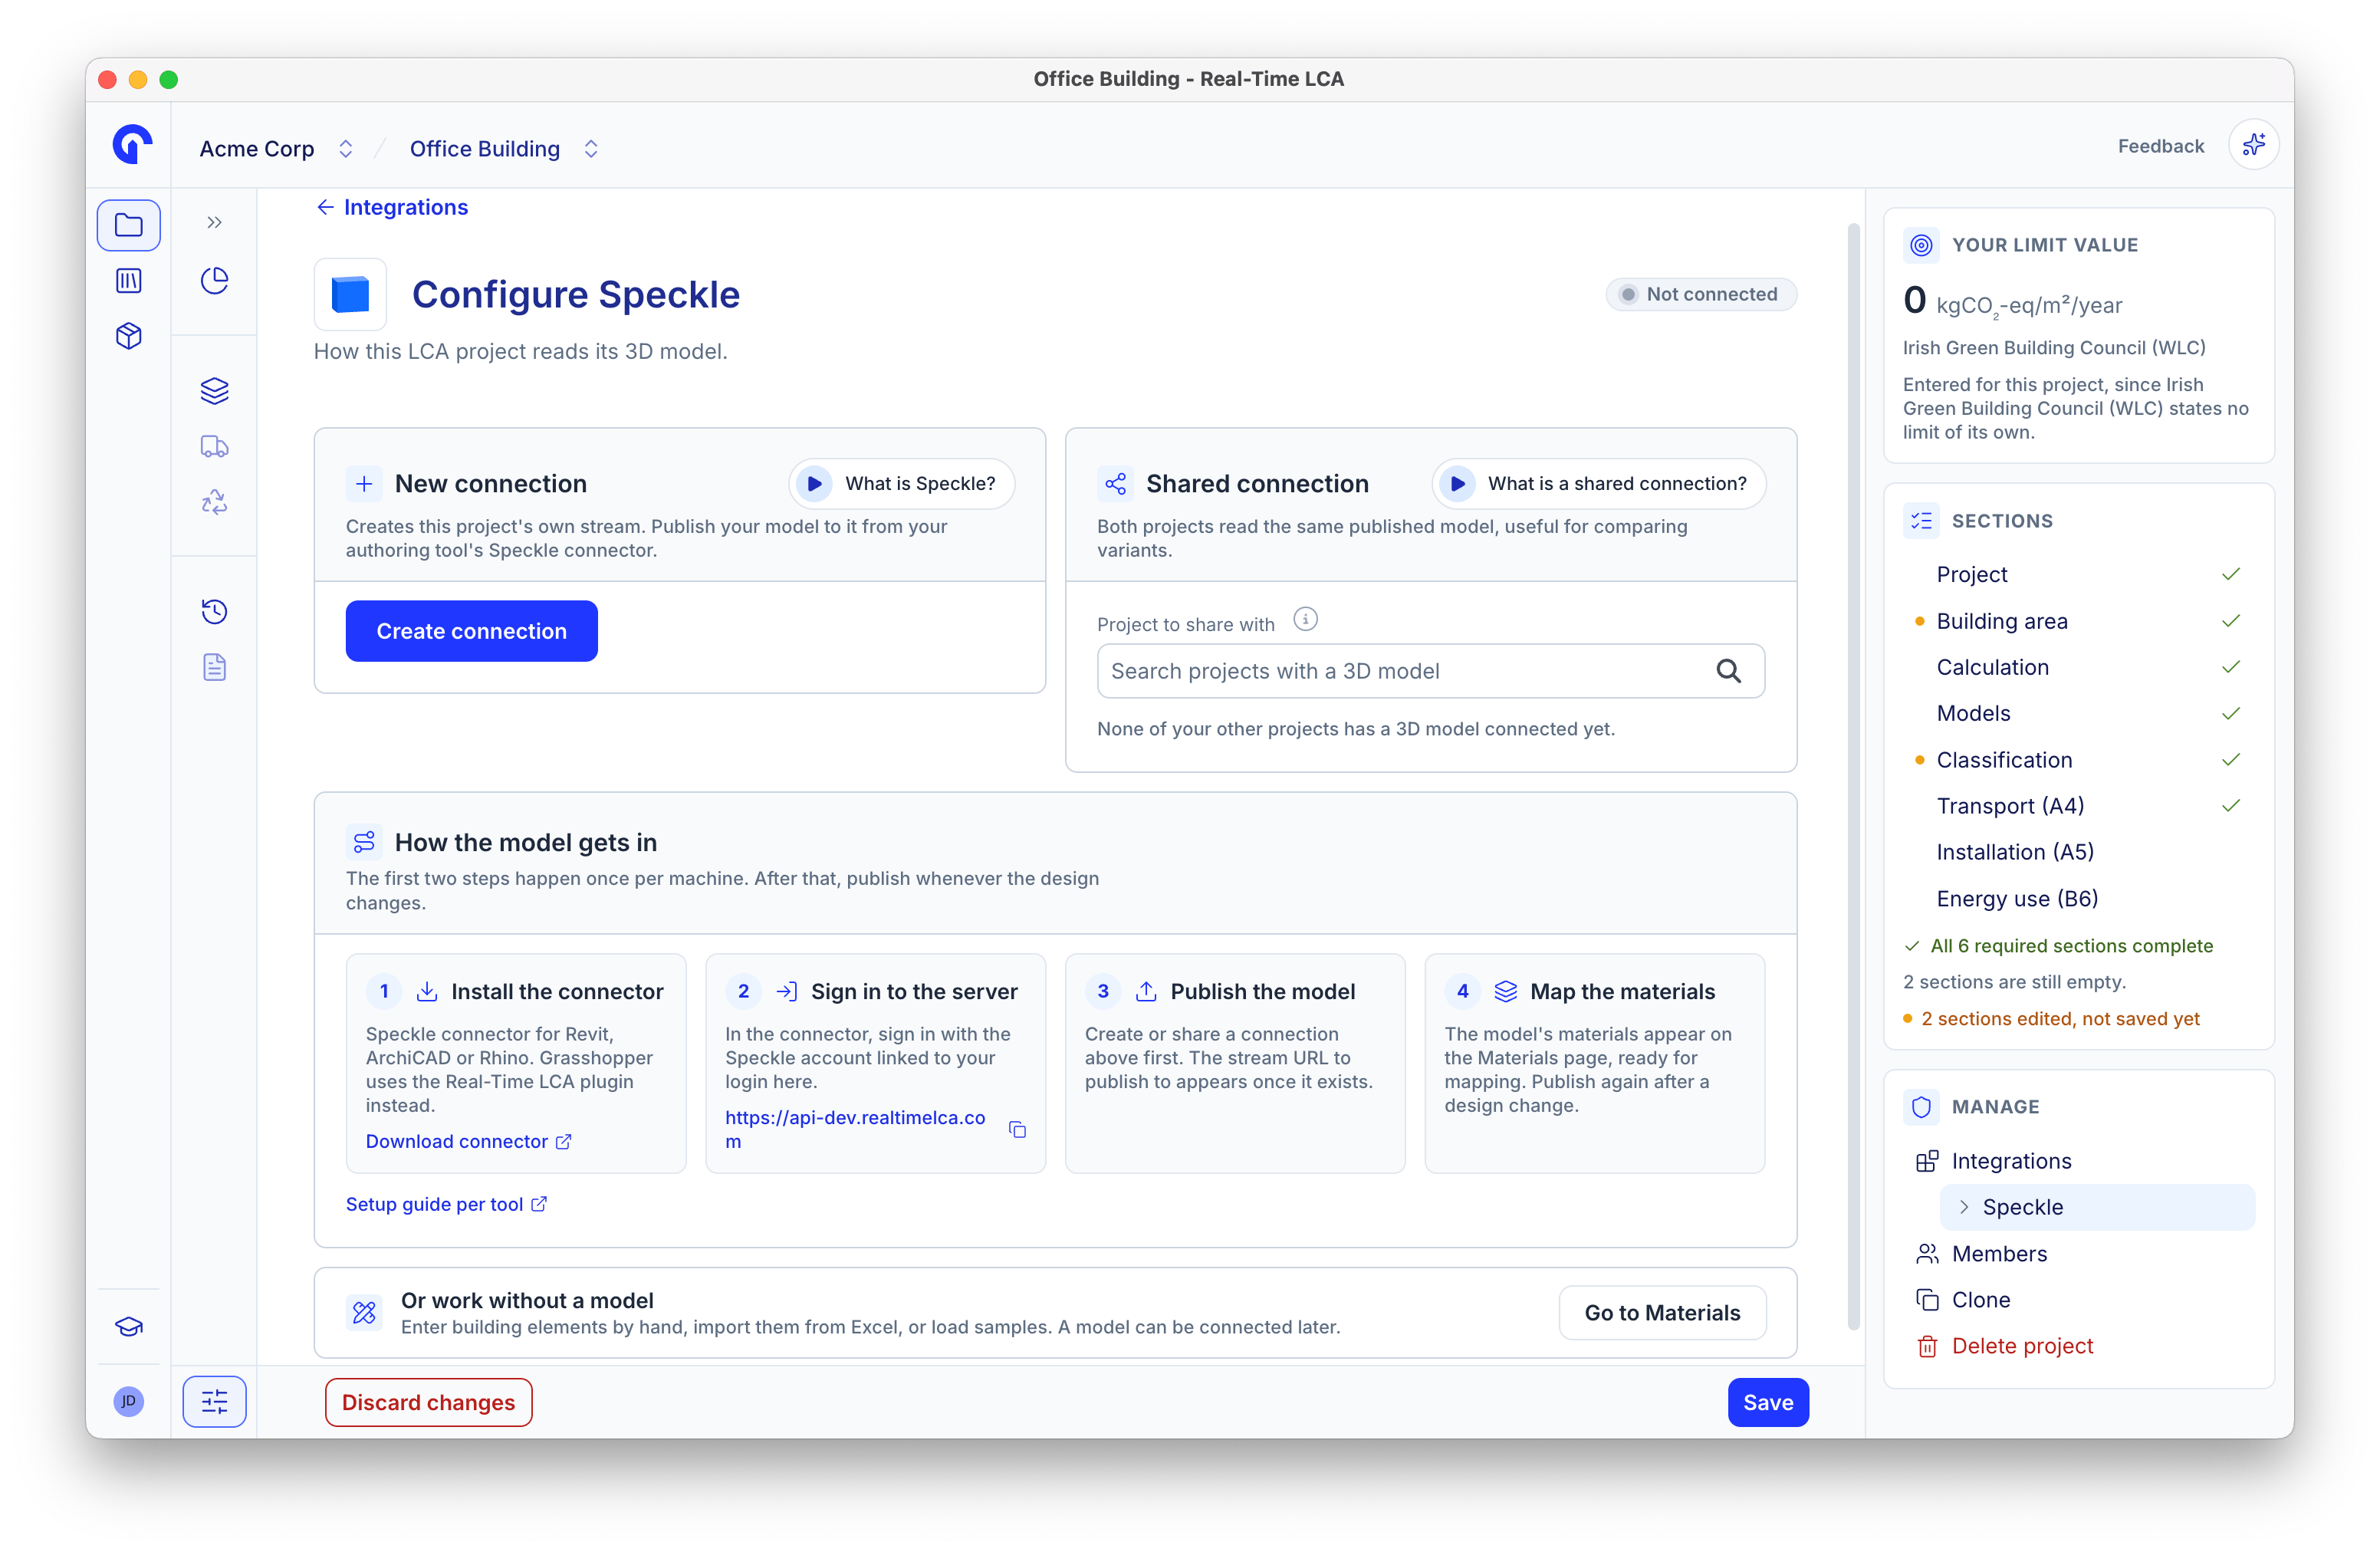
Configuring a project's Speckle connection
Once connected, the Integrations section reports the models in sync, when they were last published, and offers Sync now.
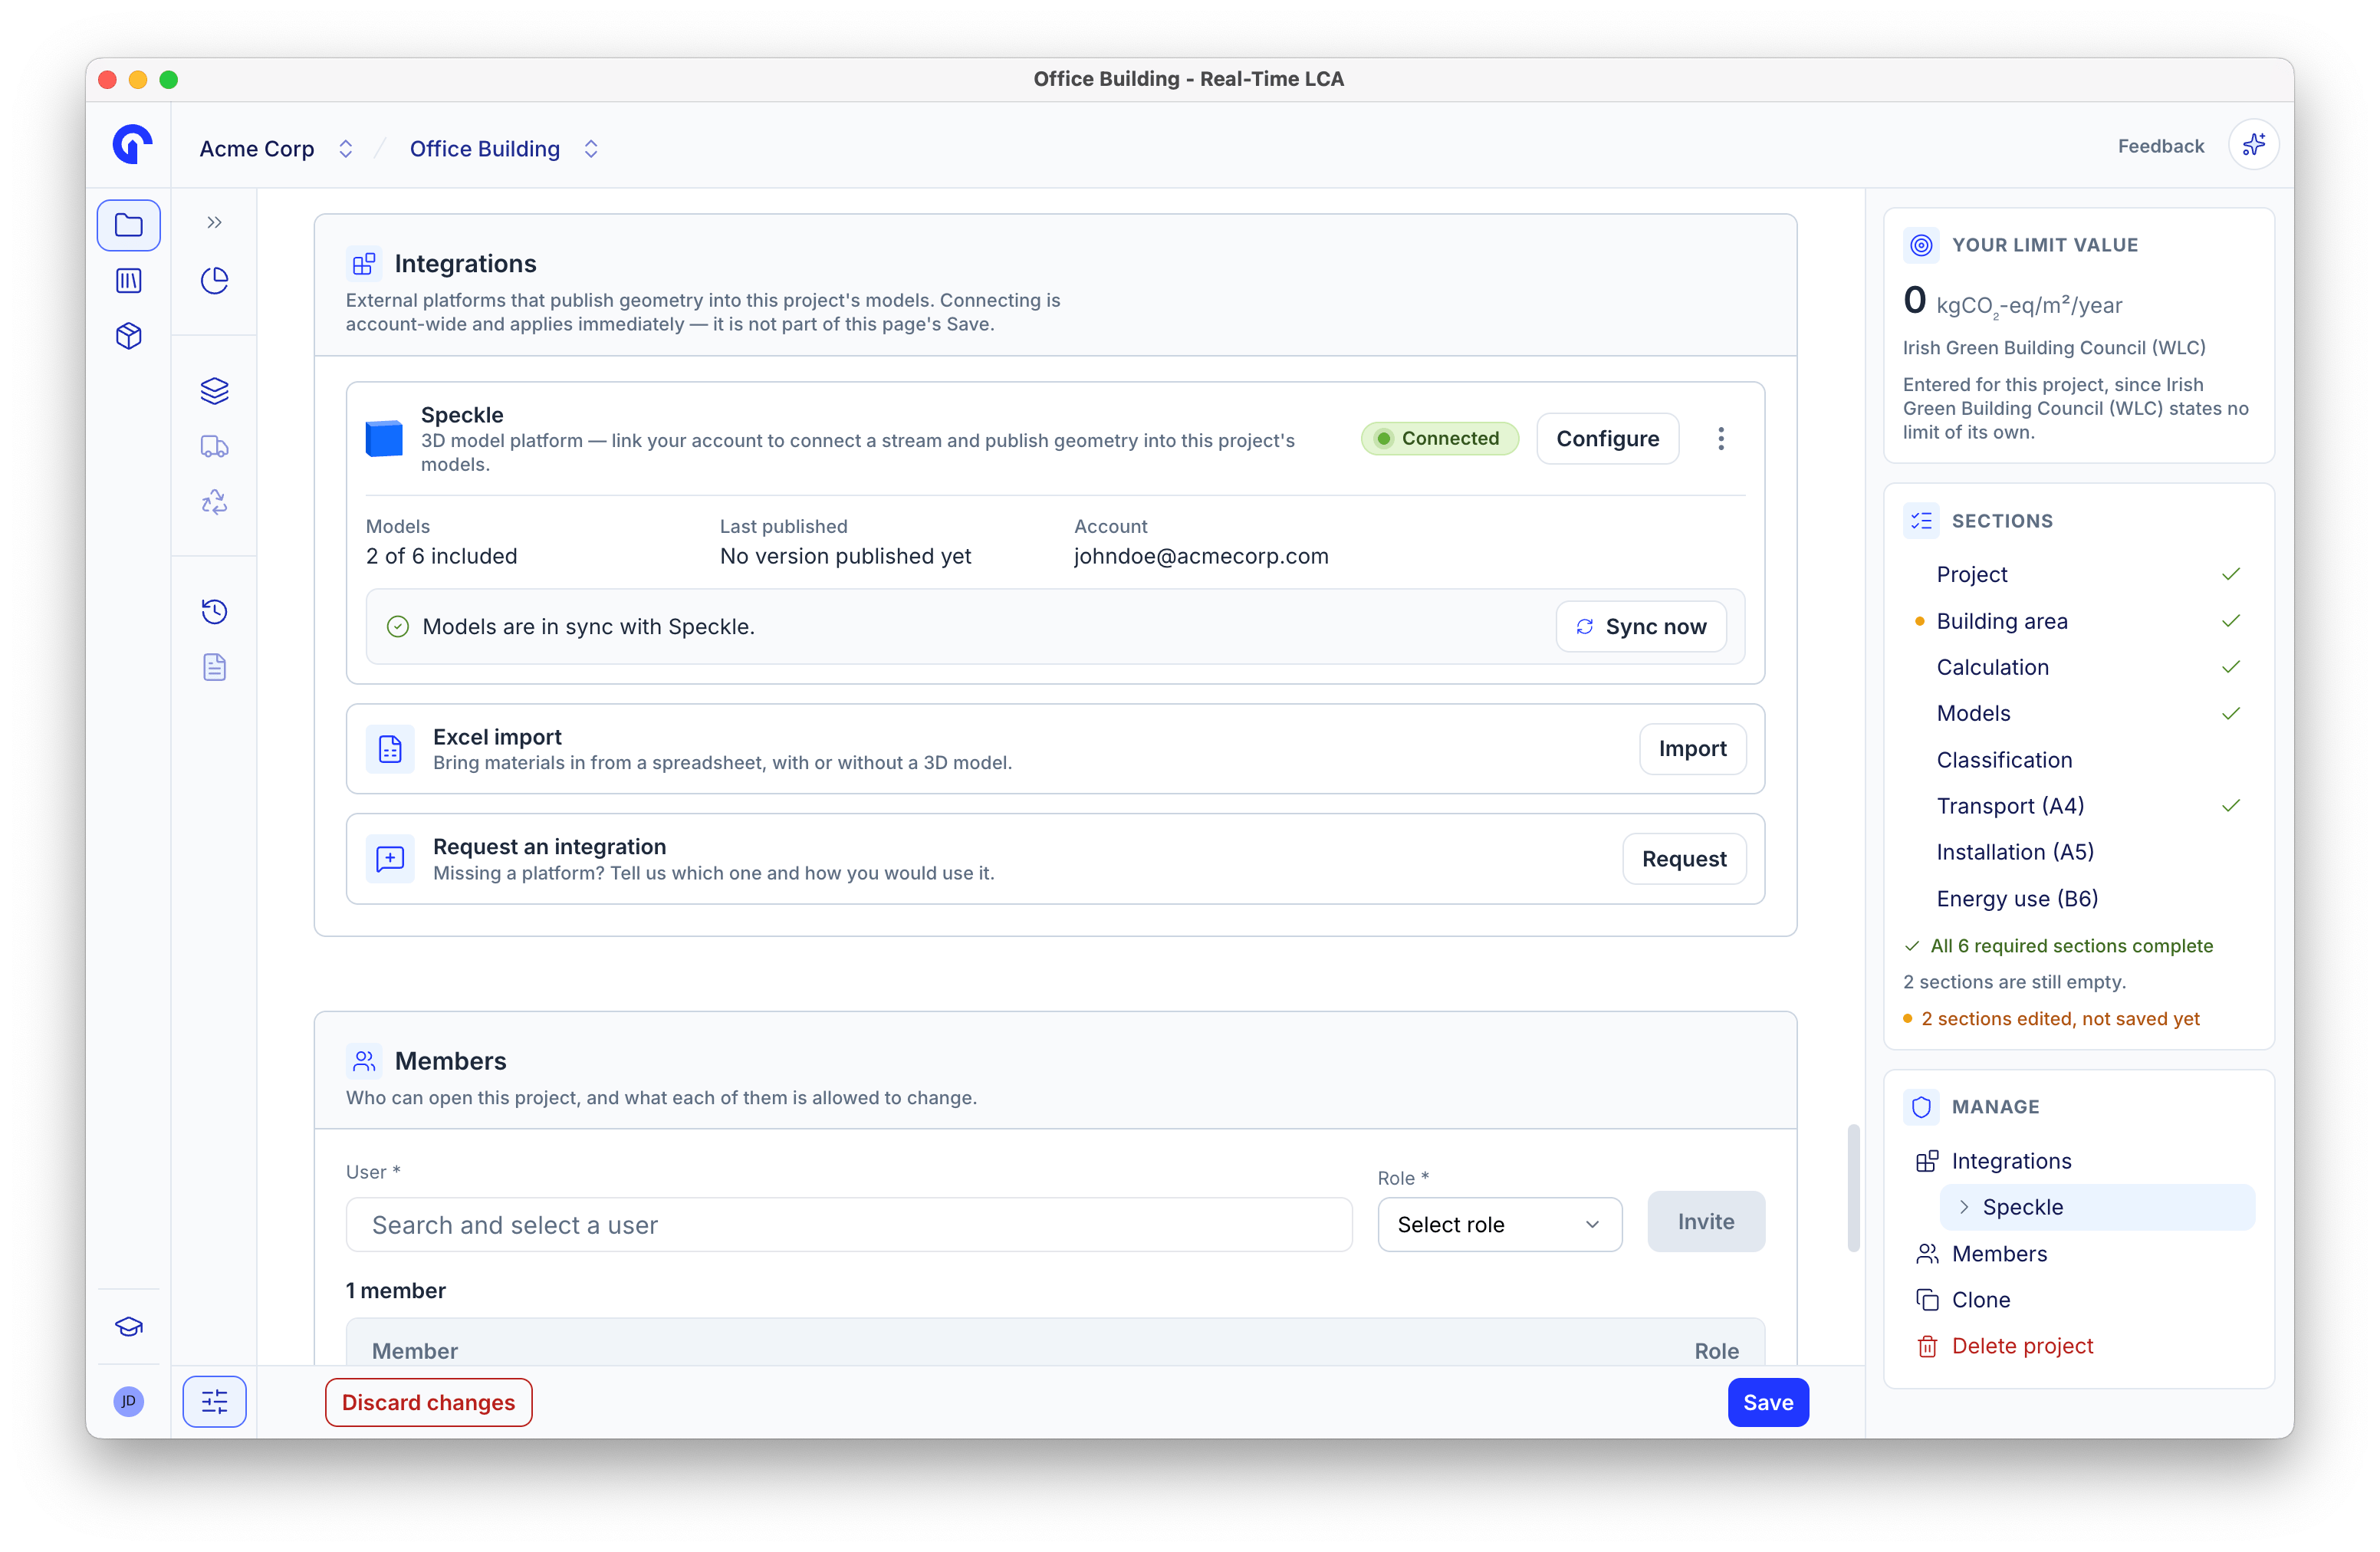
A connected project
3. Publish from your tool
1
Install the connector
Download it from the Speckle settings dialog, or from your tool’s own plugin manager.
2
Sign in to the server
In the connector, sign in with the Speckle account linked to your Real-Time LCA login — and to the server address from step 1.
3
Publish the model
Create or share a connection first; the stream to publish to appears once it exists.
4
Map the materials
The model’s materials appear in Material Mapping. Publish again after a design change and the inventory updates.
Revit
Step-by-step publishing from Revit.
ArchiCAD
Publishing from ArchiCAD.
Rhino
Publishing from Rhino.
Grasshopper
The Real-Time LCA plugin for Grasshopper.