

When to use IFC upload
- Your authoring tool doesn’t have a Speckle connector available.
- You’re working with a model handed over by an external consultant.
- You want a quick one-off LCA from a static export rather than a live design link.
Prepare the export
What you include in the export directly affects how well Real-Time LCA can group elements and read their quantities — an export missing quantities or property sets will still upload, but you’ll end up filling in more by hand afterwards.IFC Requirements and Preferences
What the file should contain — schema version, quantity sets, classification, and supported element types.
Prepare Export
Where to configure it in Revit, ArchiCAD, and other authoring tools.
Open the upload menu
Open the project’s Materials page and choose New → IFC model in the Inventory header.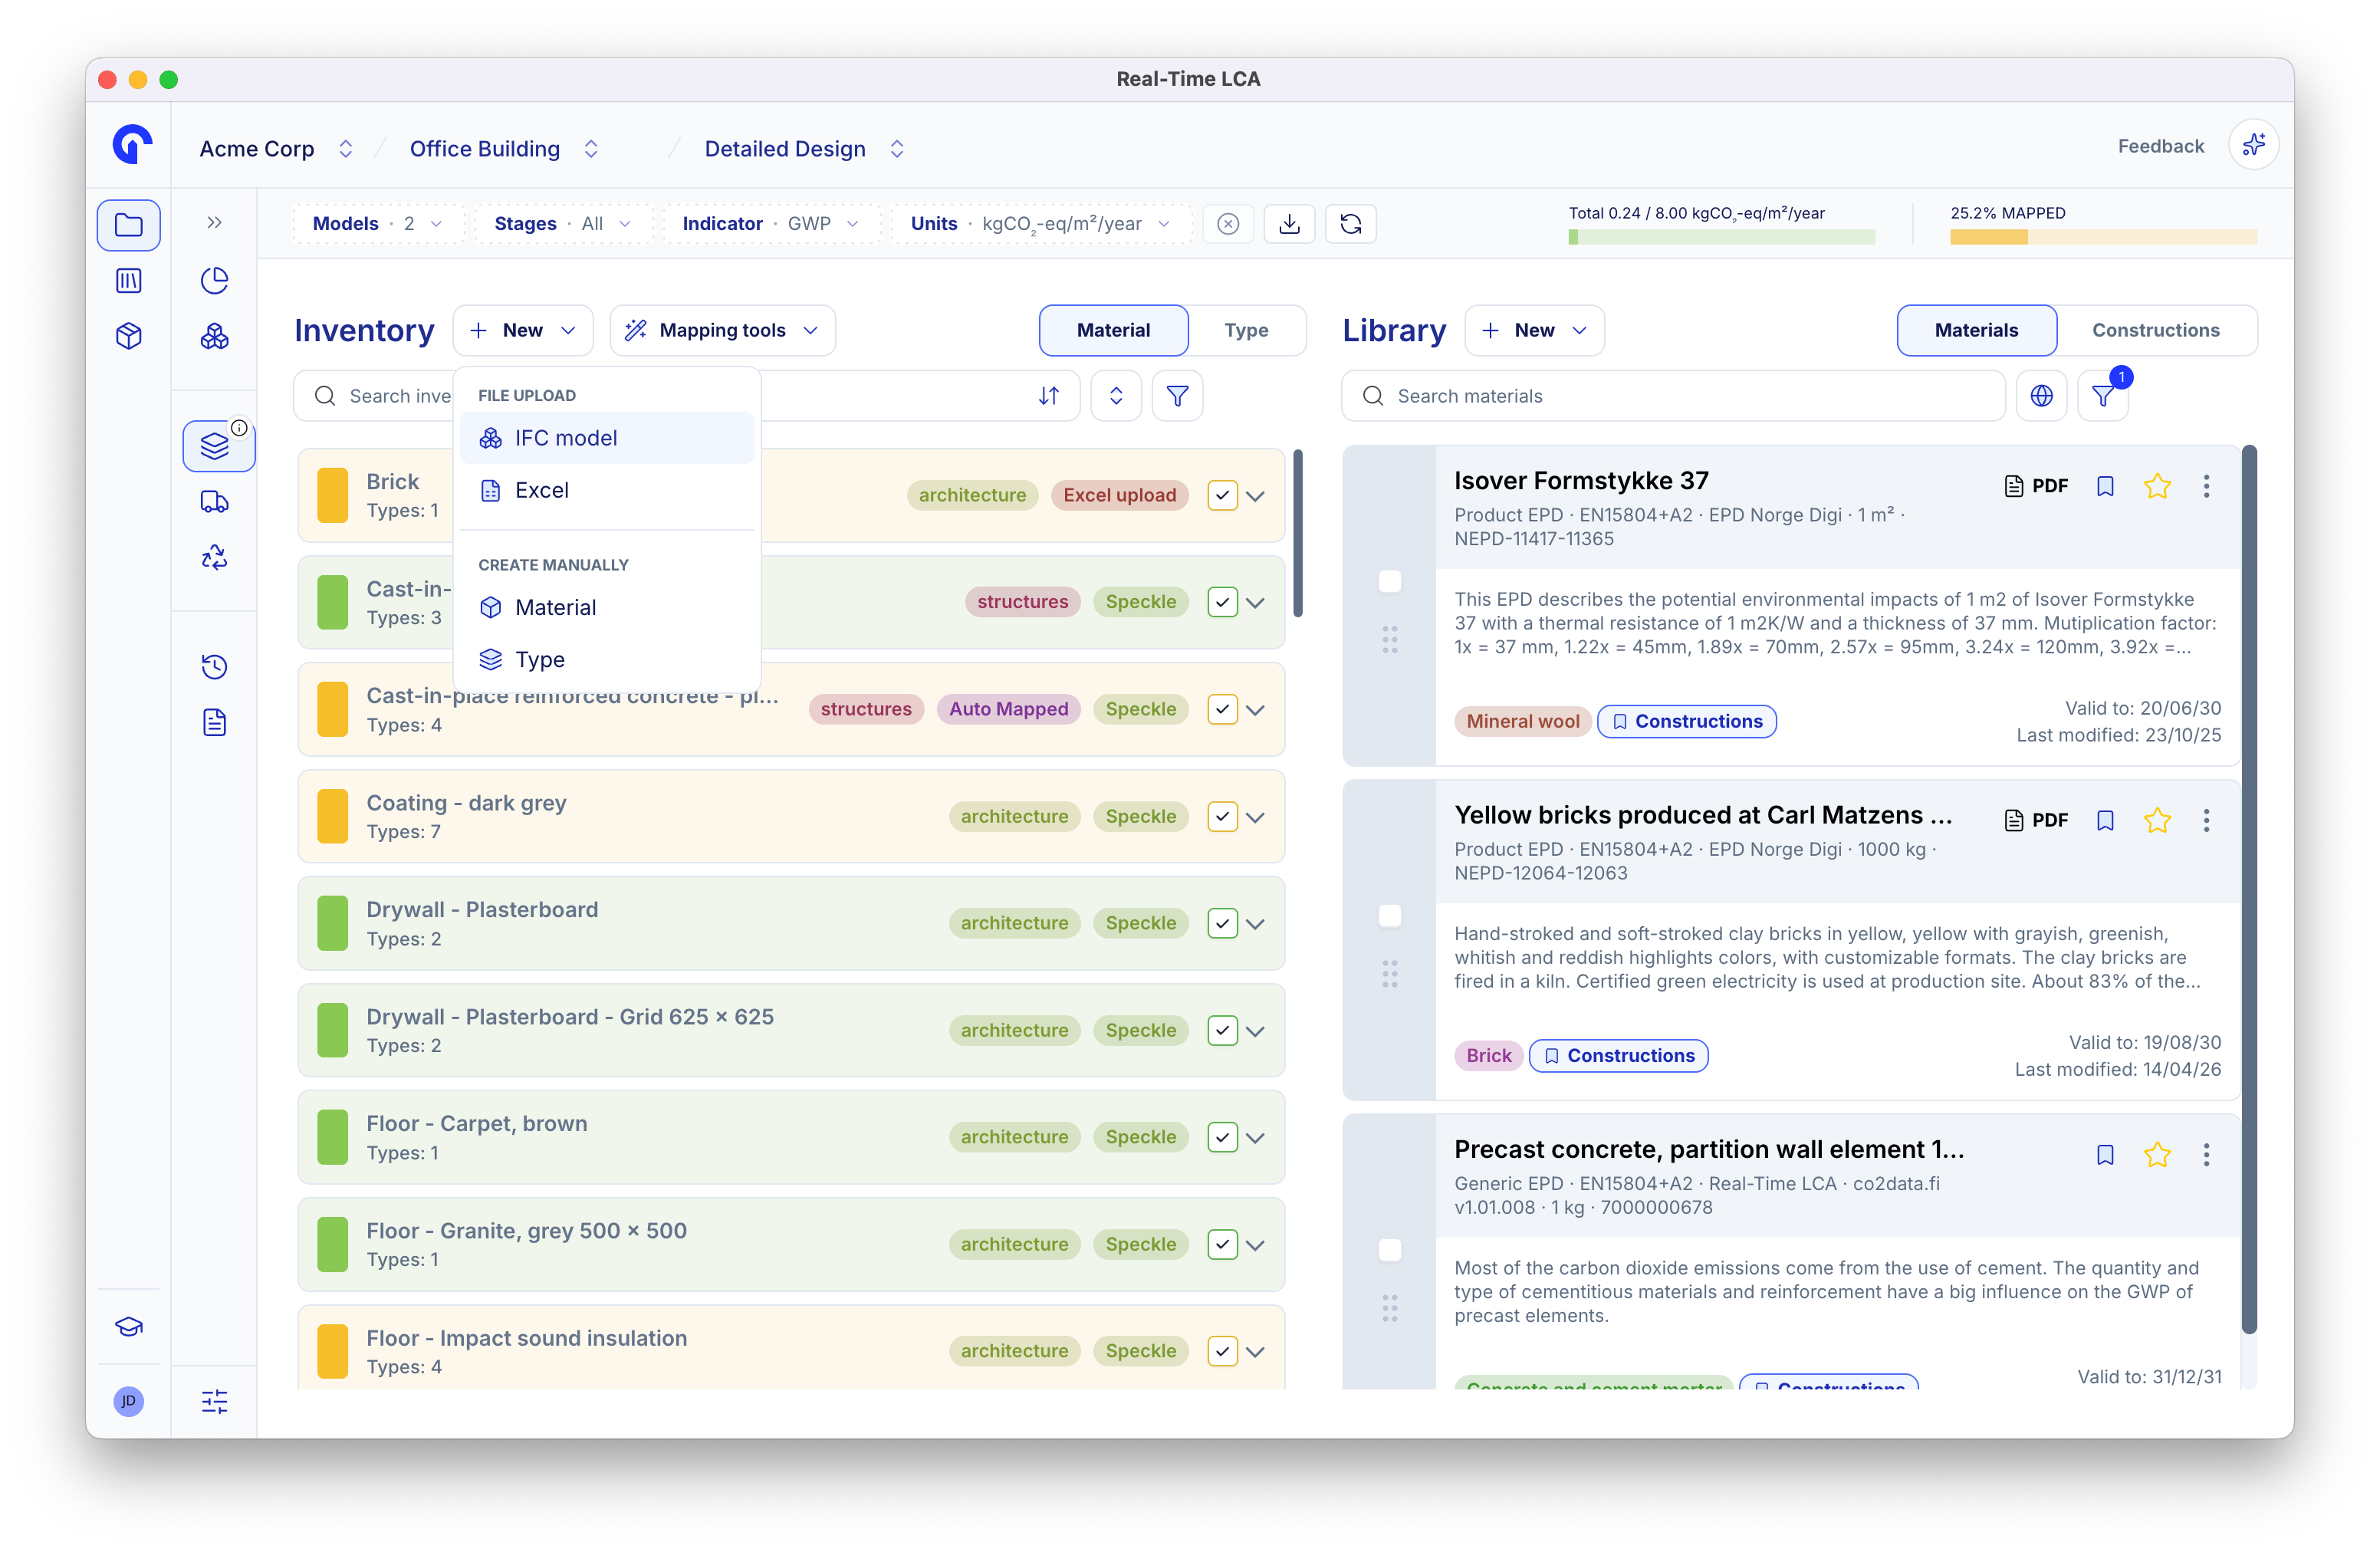
The New menu on the Inventory
Choose the model and file
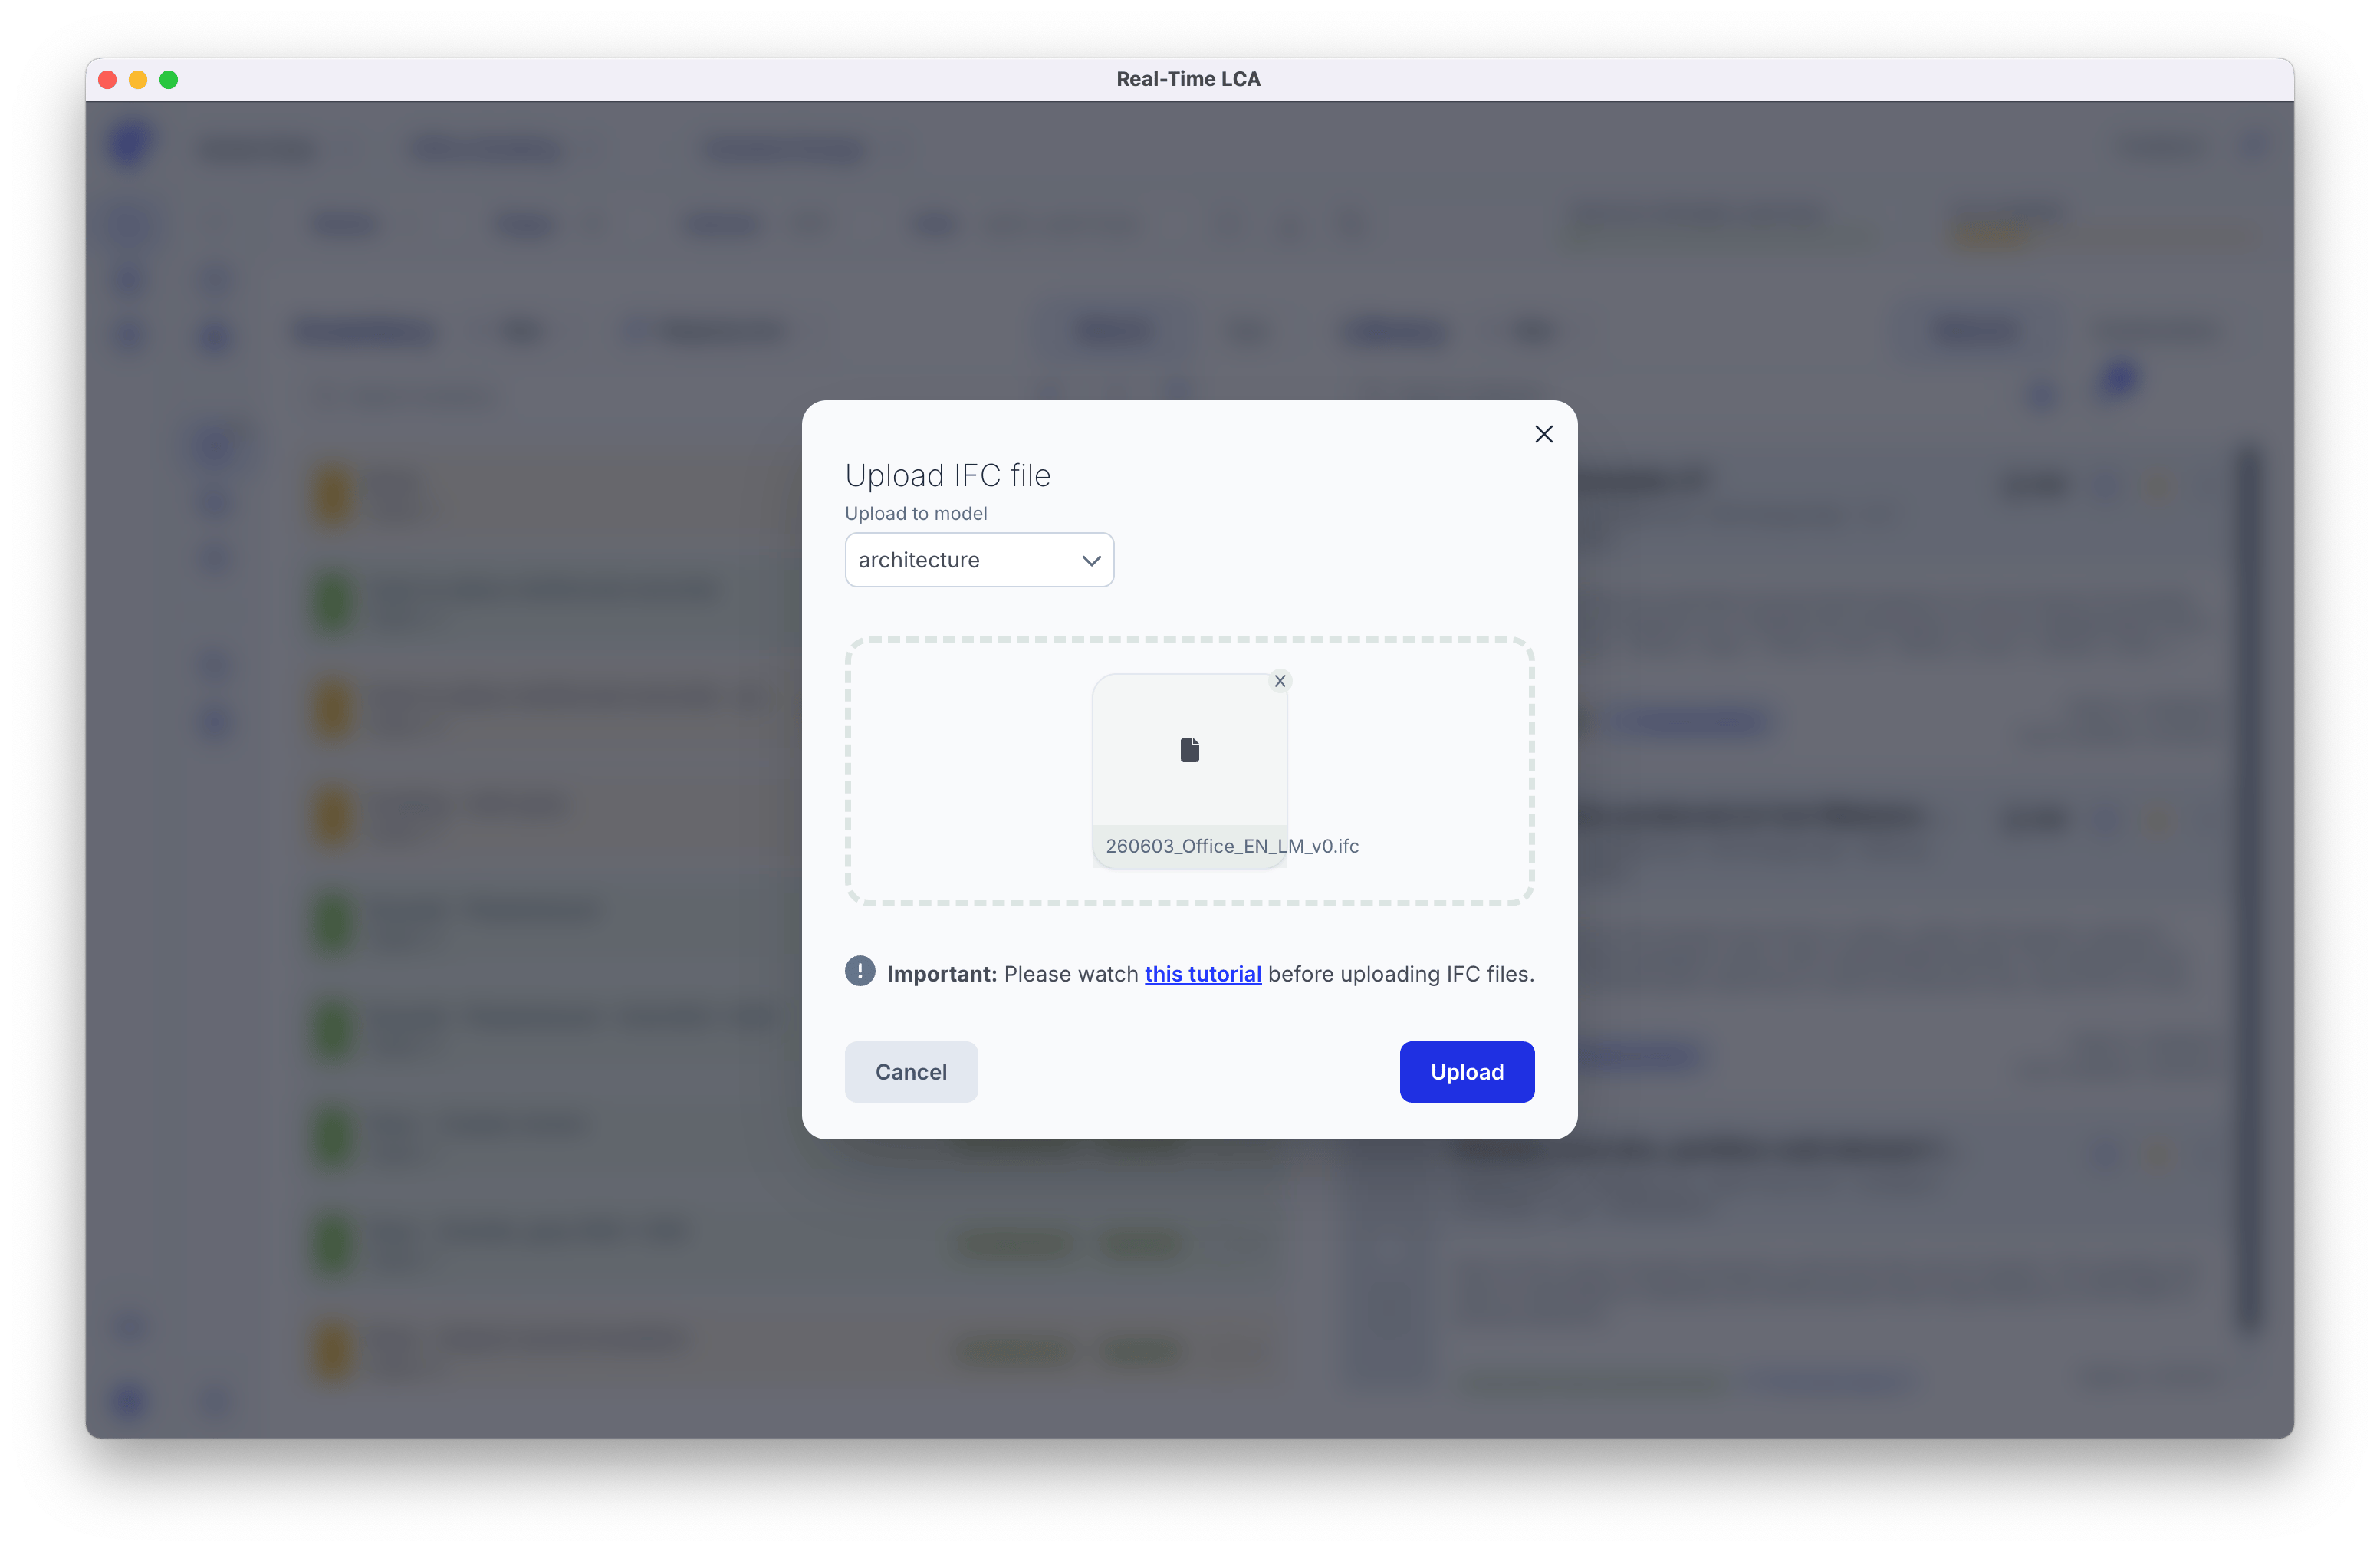
The Upload IFC file dialog
.ifc file in the drop zone, or click to browse, and click Upload. Cancel or × aborts without changes.
While it processes
Large IFC files take a while, so the import runs in the background.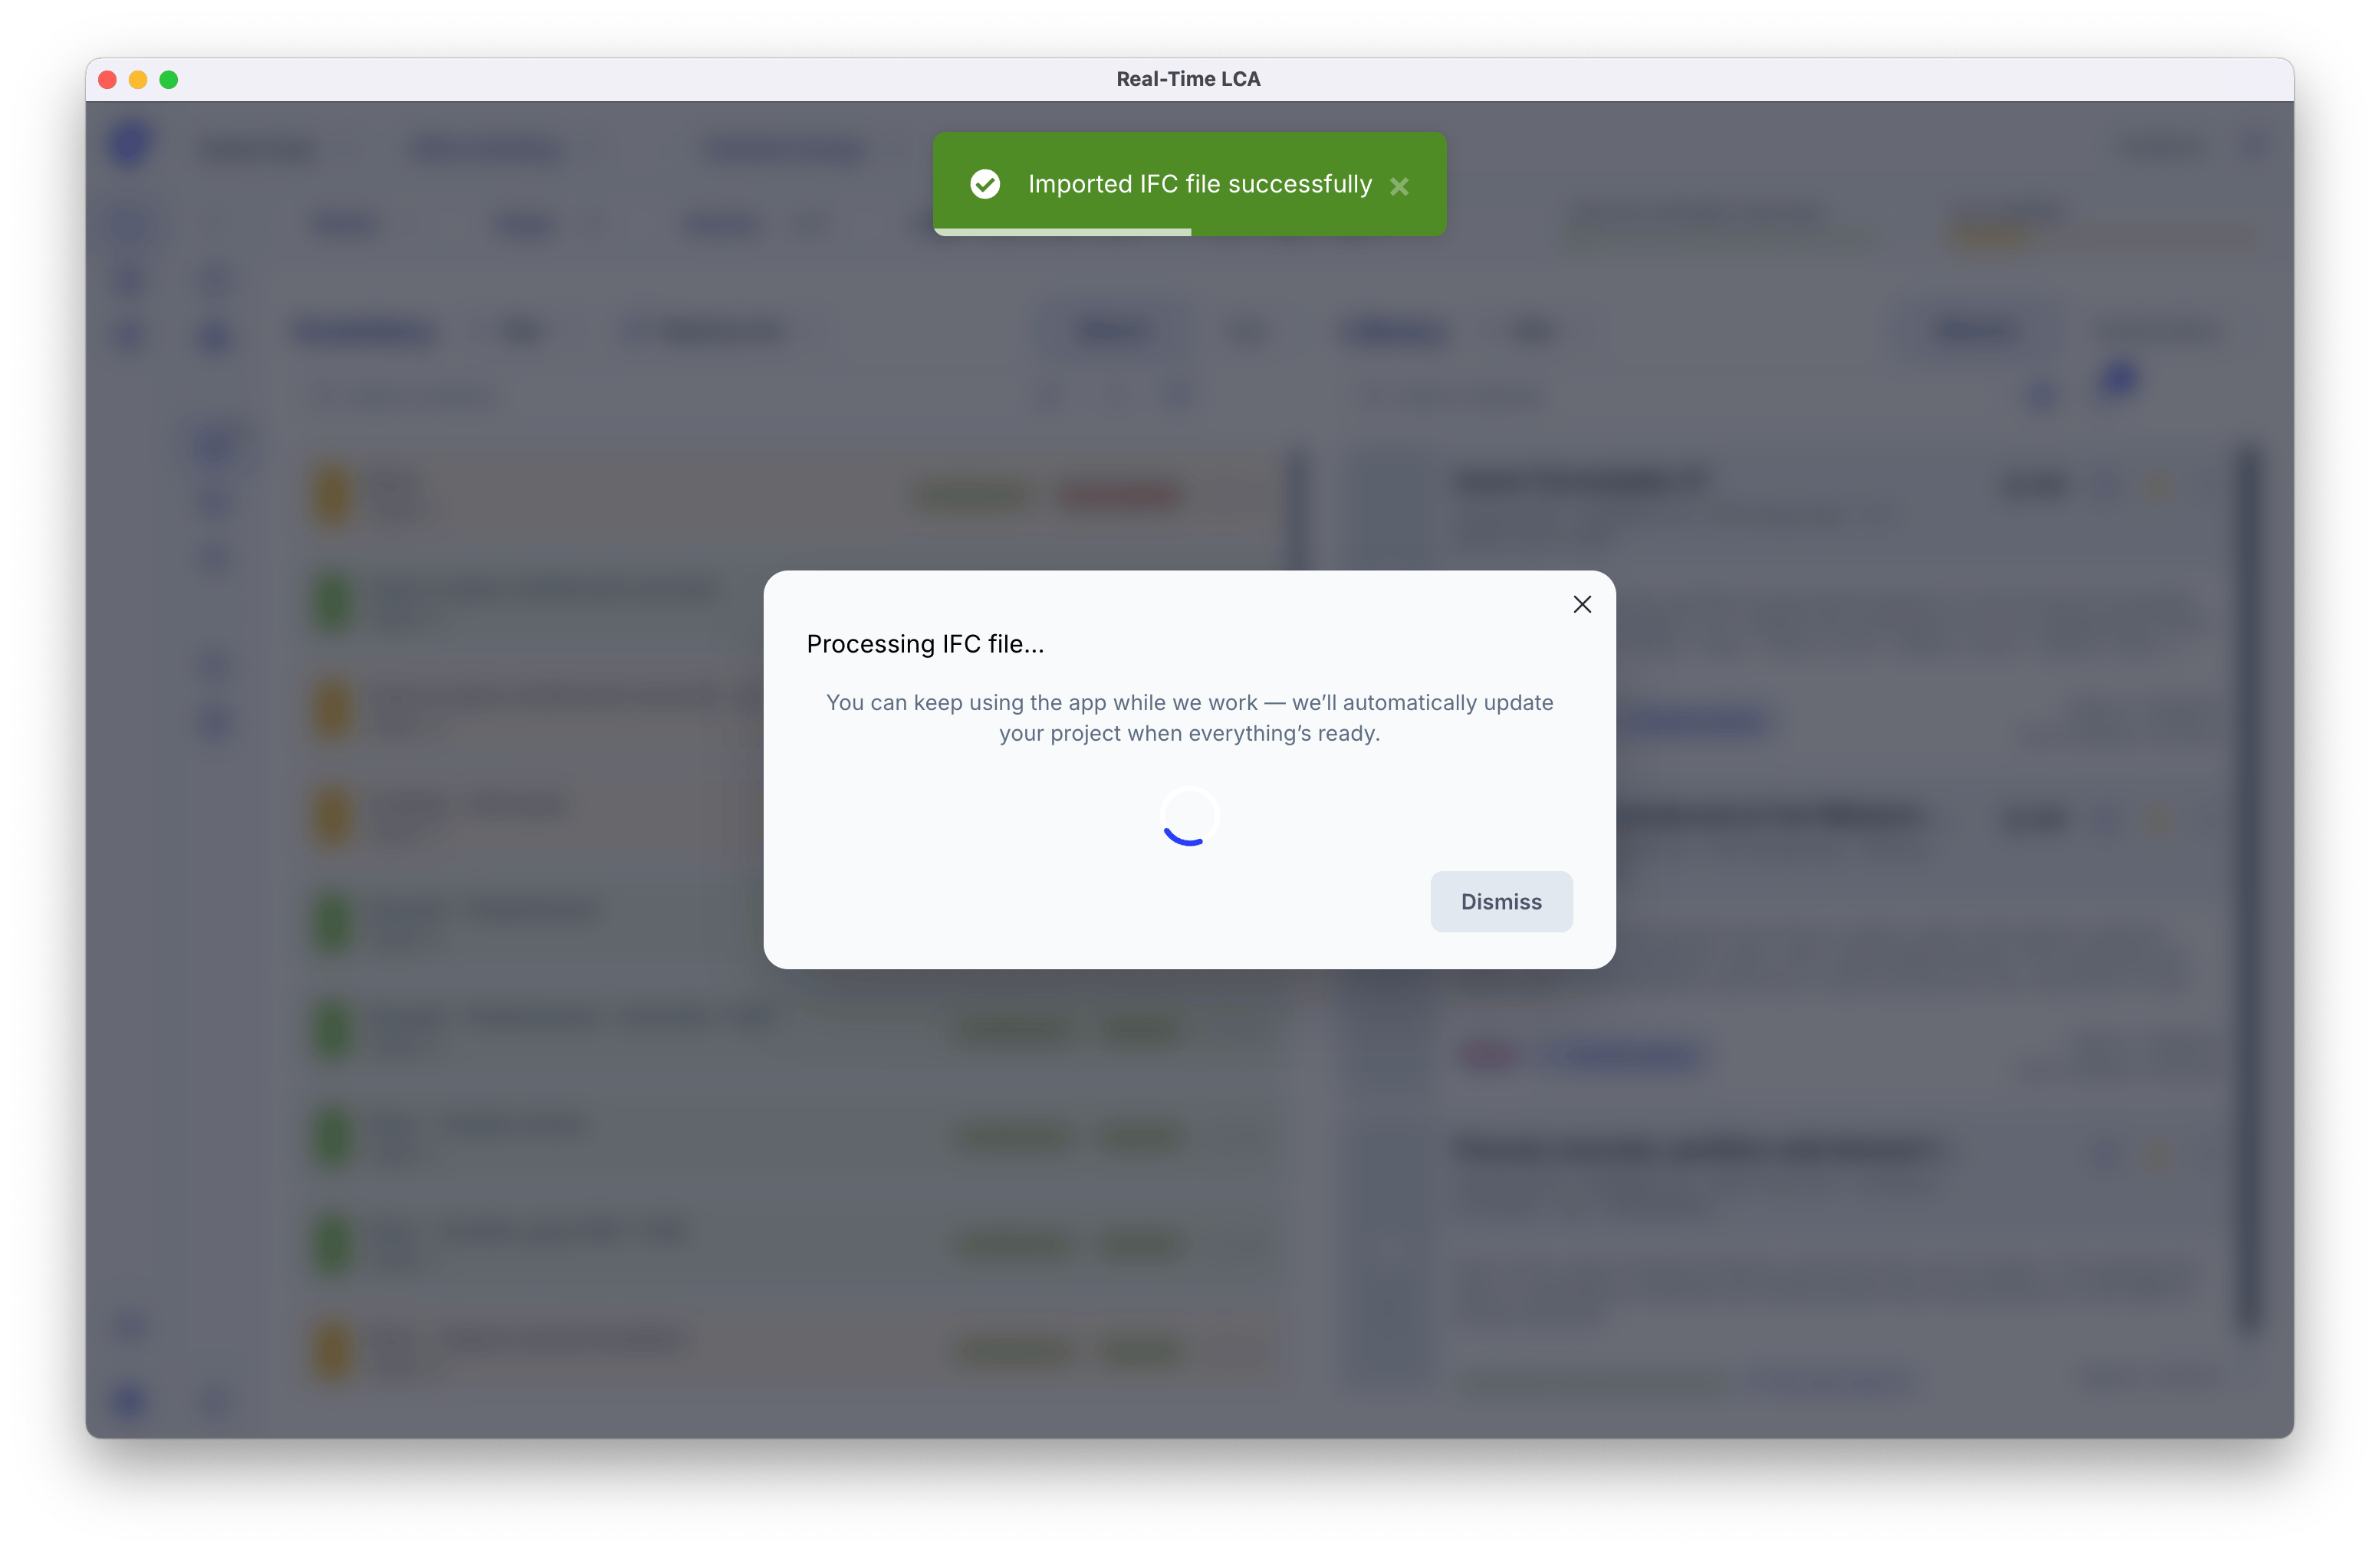
Processing in the background