Results are grouped by classification code. When elements come out of the authoring tool without one — a common gap on early models — AI Classification proposes a code for each, and you review every proposal before anything is applied.
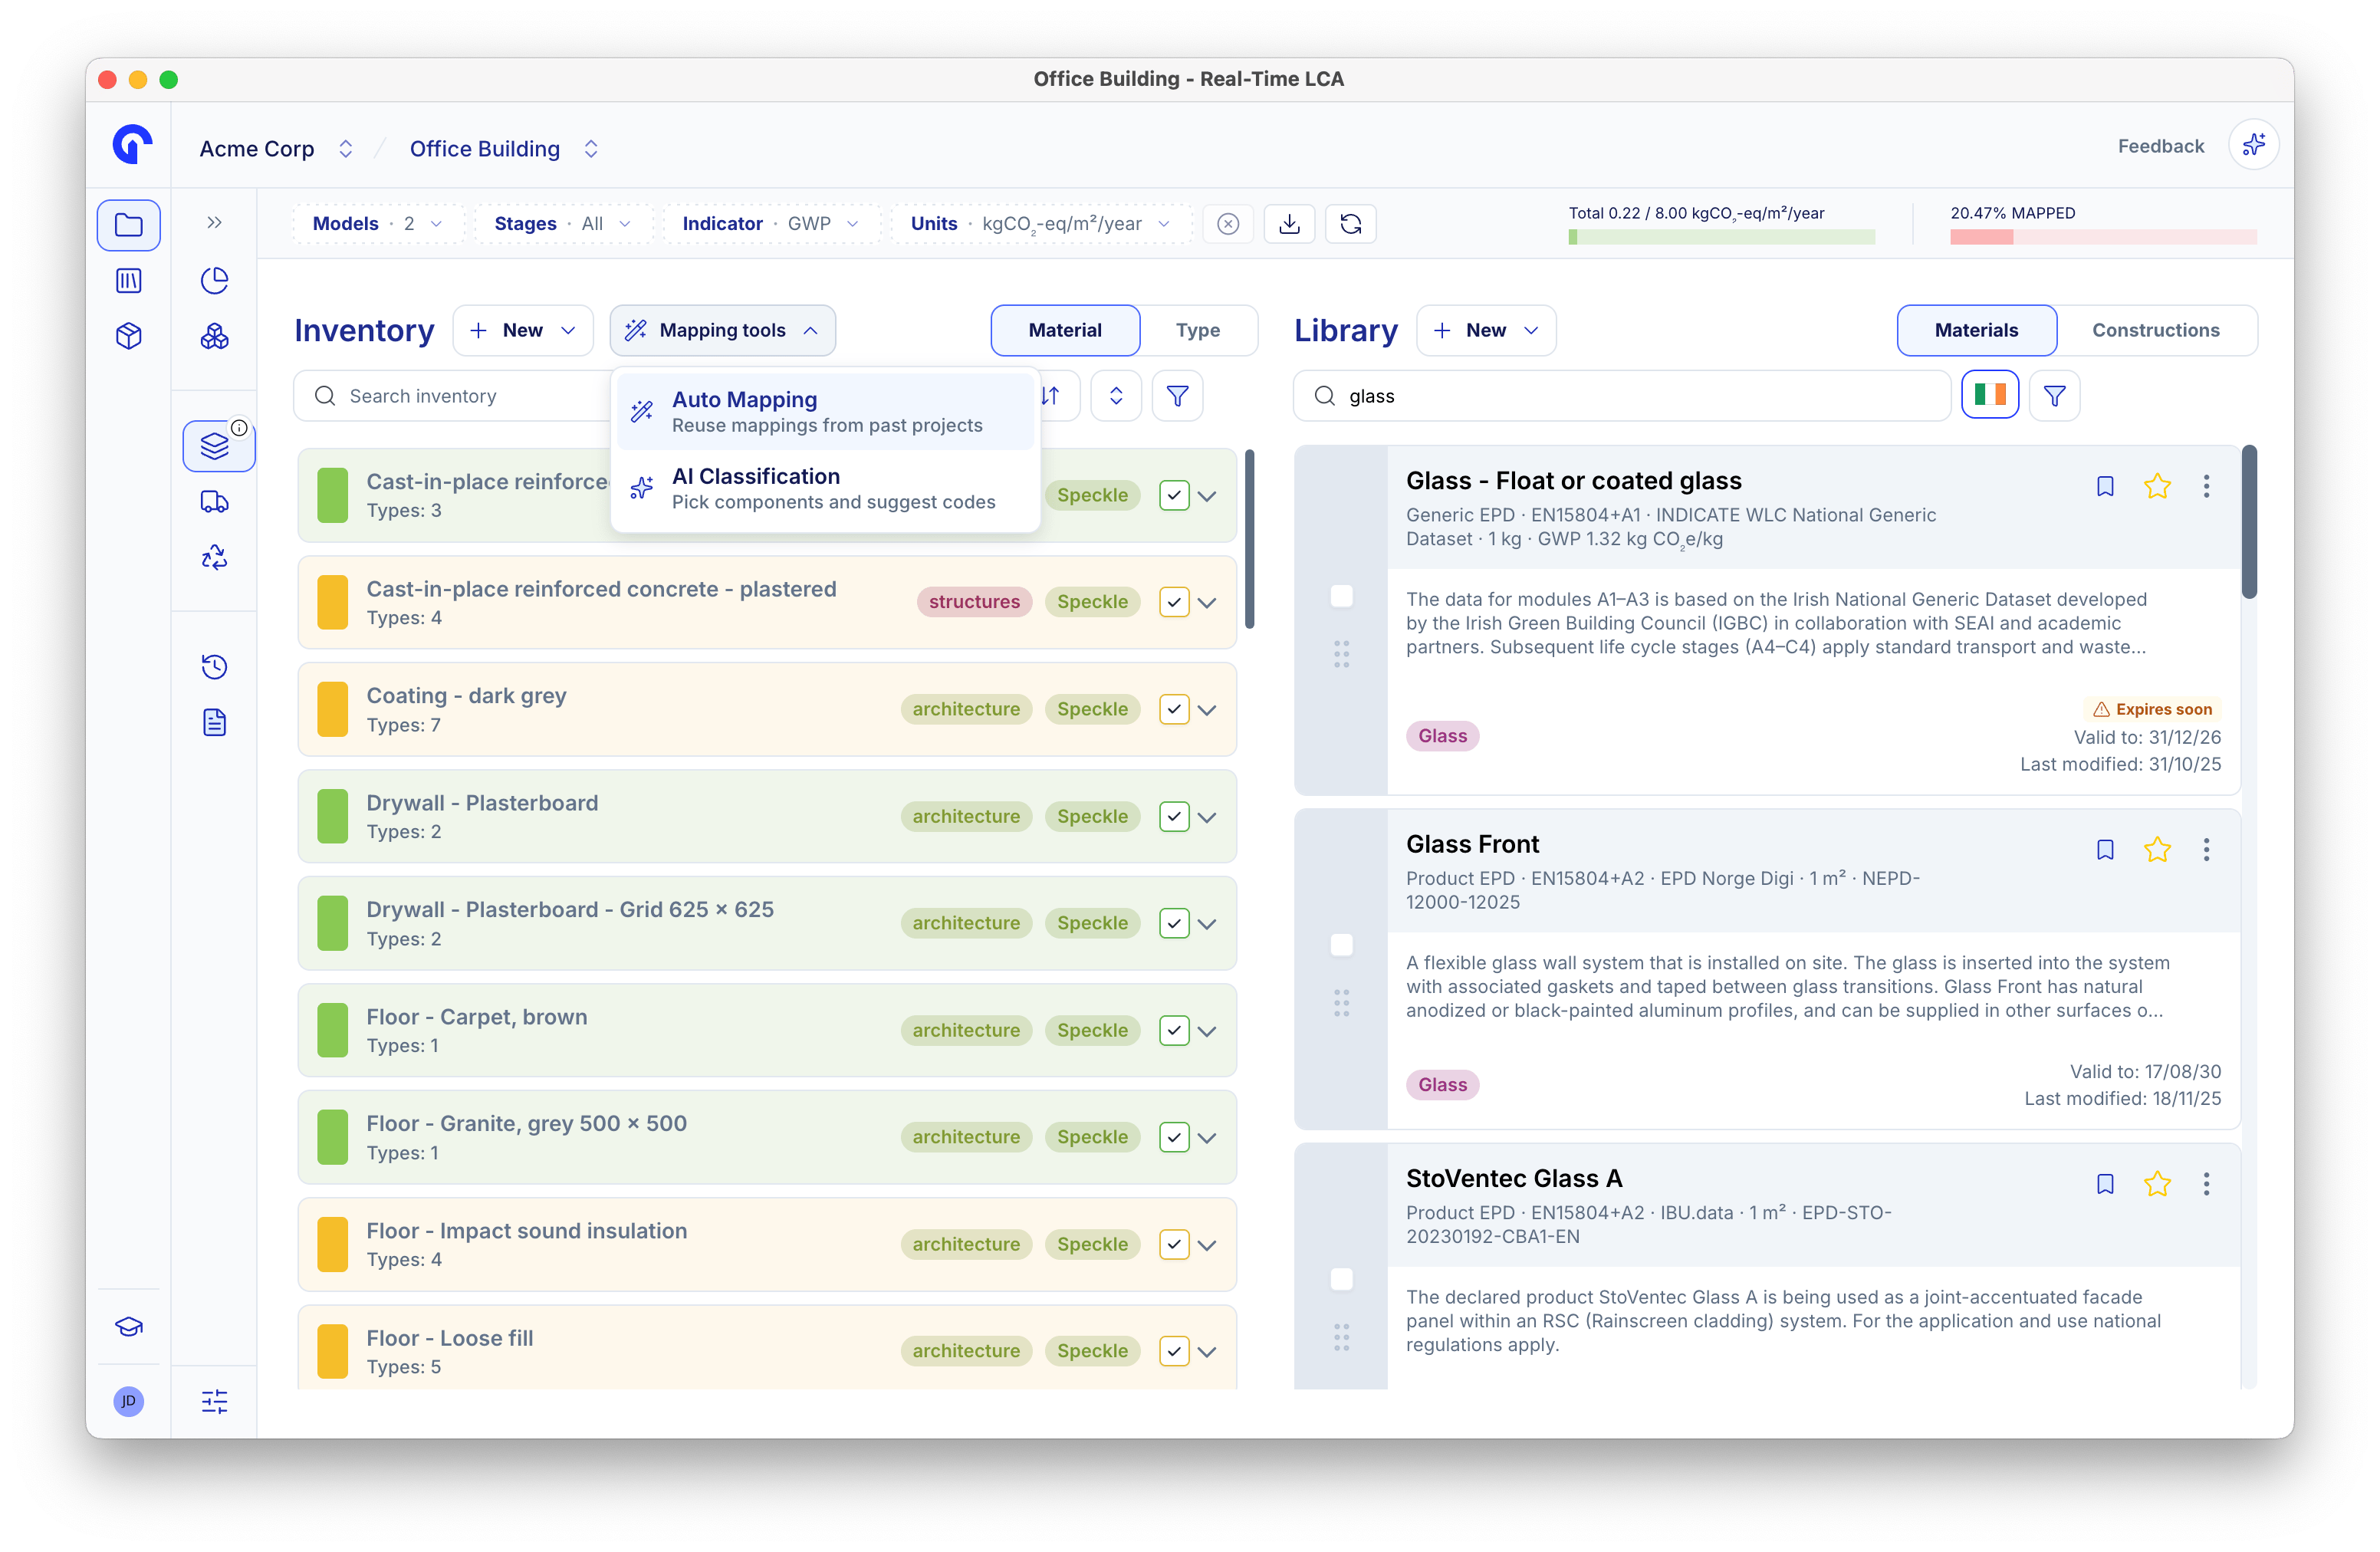
Open it from Mapping tools on the Materials page.
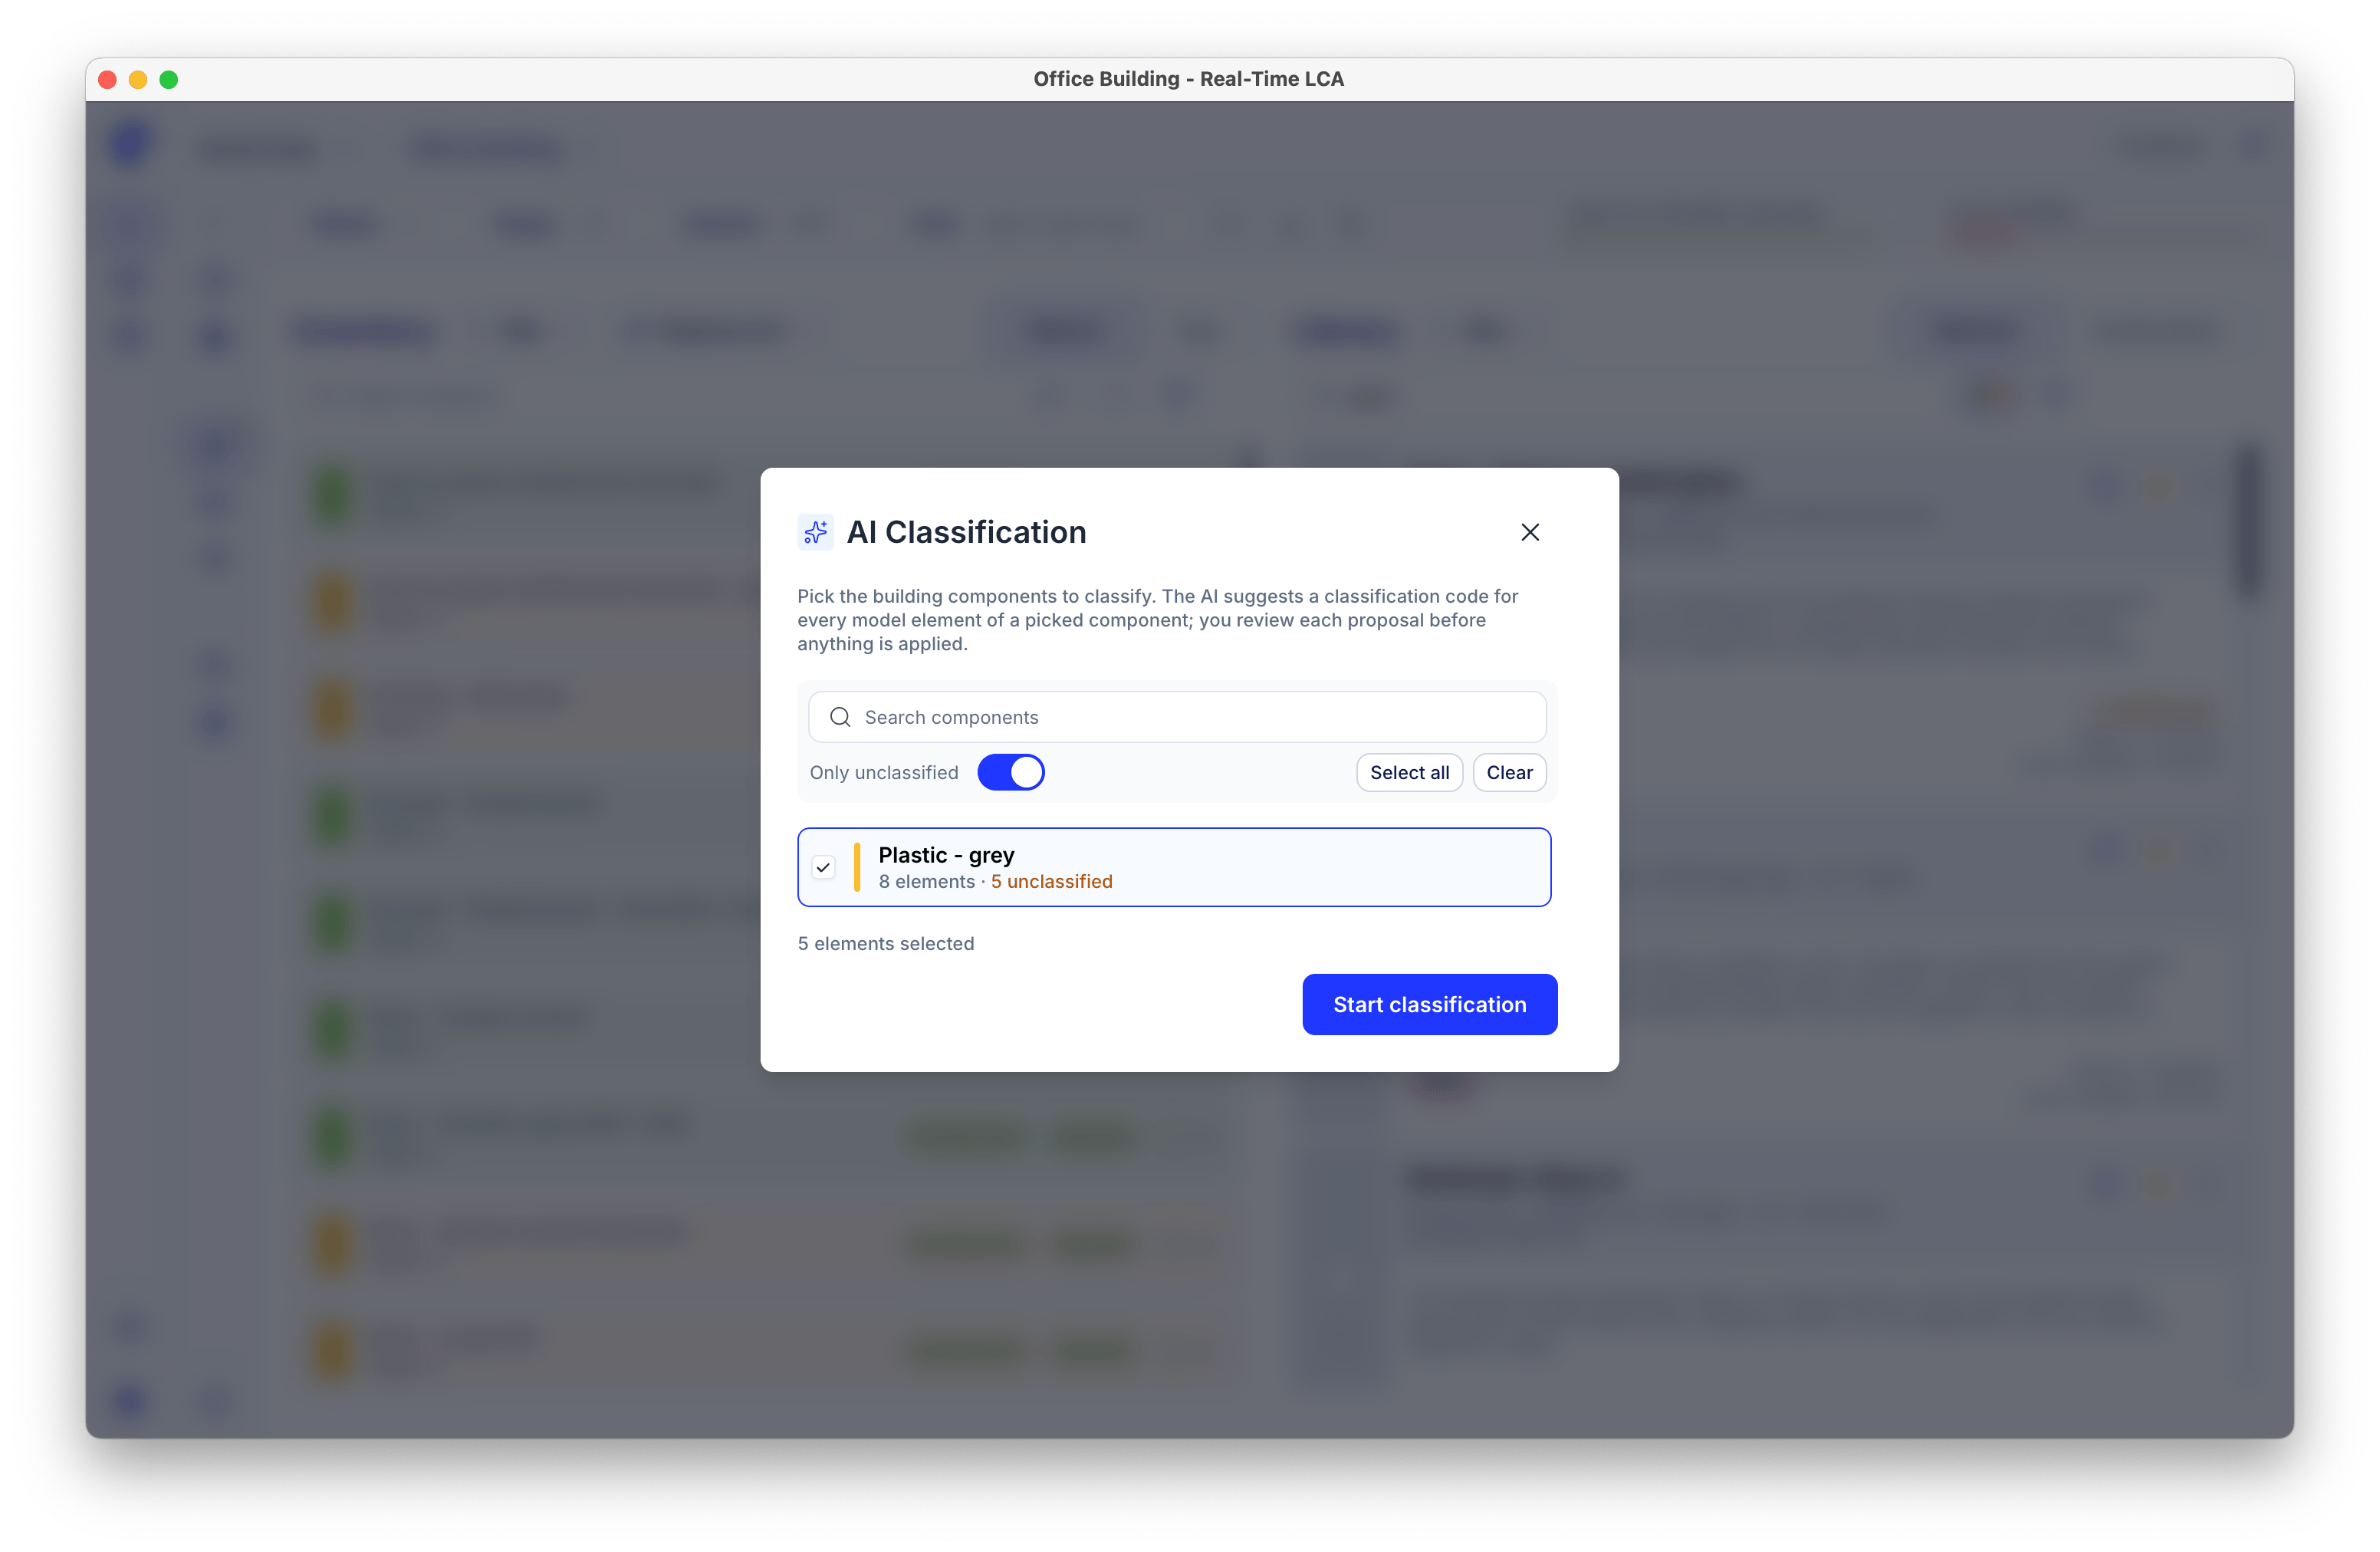
1. Pick what to classify
Pick the building components to classify. The AI suggests a classification code for every model element of a picked component. Only unclassified hides anything that already has a code, which is usually what you want.
2. Review the proposals
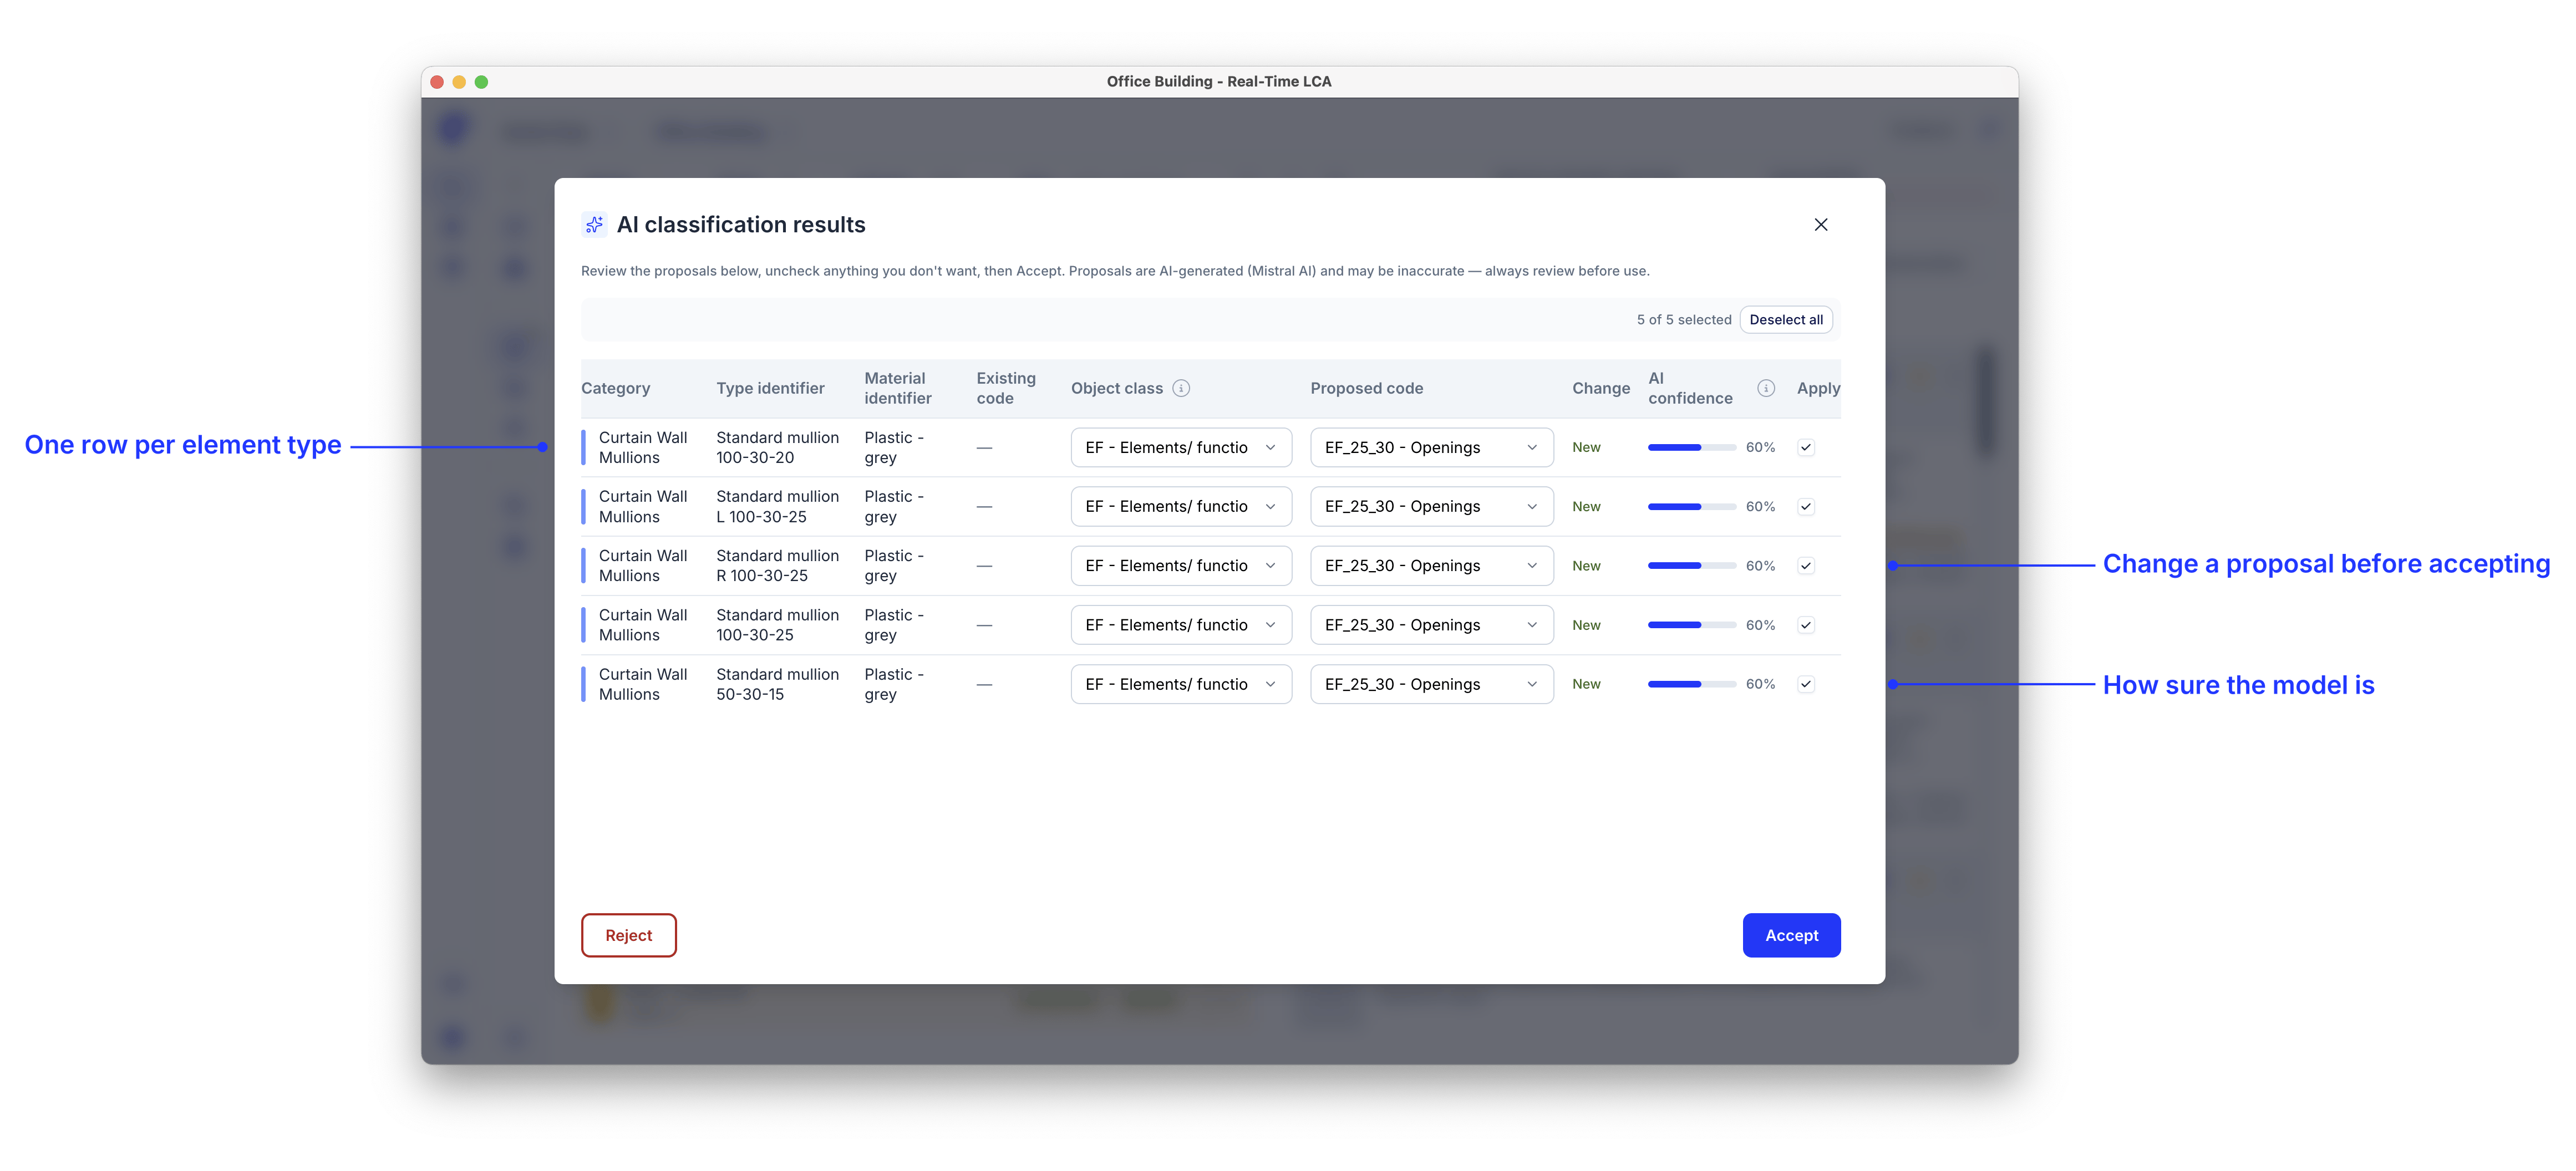
One row per element type, showing the category, type and material identifiers, any existing code, and what the AI proposes.
Accept writes the ticked proposals; Reject discards the lot.
Proposals are AI-generated (Mistral AI) and may be inaccurate — always review before use. A wrong classification silently moves emissions into the wrong part of the breakdown.
After accepting
Classified elements group correctly in the project breakdown and the by-type charts. The change is recorded in History, so you can see exactly what was applied and restore the state before it if needed.
The cleanest fix is upstream: set the classification parameter in your authoring tool and map it in Settings → Classification, so the codes arrive with every publish.