> ## Documentation Index
> Fetch the complete documentation index at: https://docs.realtimelca.com/llms.txt
> Use this file to discover all available pages before exploring further.
# Revit
> Send Revit models to Real-Time LCA through the Speckle Connector for Revit.
Use the **Speckle Connector for Revit** to publish your model to a Speckle project that a Real-Time LCA project listens to. After publishing, Real-Time LCA picks up the new version automatically and refreshes the BIM types and quantities.
## Prerequisites
* A Revit installation supported by the Speckle Connector — Revit **2023**, **2024**, **2025**, **2026**, or **2027** New.
* Your Real-Time LCA **Speckle credentials** for `https://api.realtimelca.com` (sent by email when you activated your account — see [Introduction to Speckle](/user-guide/integrations/speckle)).
* A Real-Time LCA project configured with a Speckle Connection (see [Create a new project](/user-guide/project/create-new-project)).
## Install the connector
Install the Speckle Connector for Revit from [releases.speckle.systems](https://releases.speckle.systems/). Restart Revit after installation — the connector appears as a **Speckle** tab in the ribbon.
## Sign in to the Real-Time LCA Speckle server
The first time you launch the connector, the **Welcome to Speckle** dialog opens with the public Speckle server (`https://app.speckle.systems`) pre-filled.
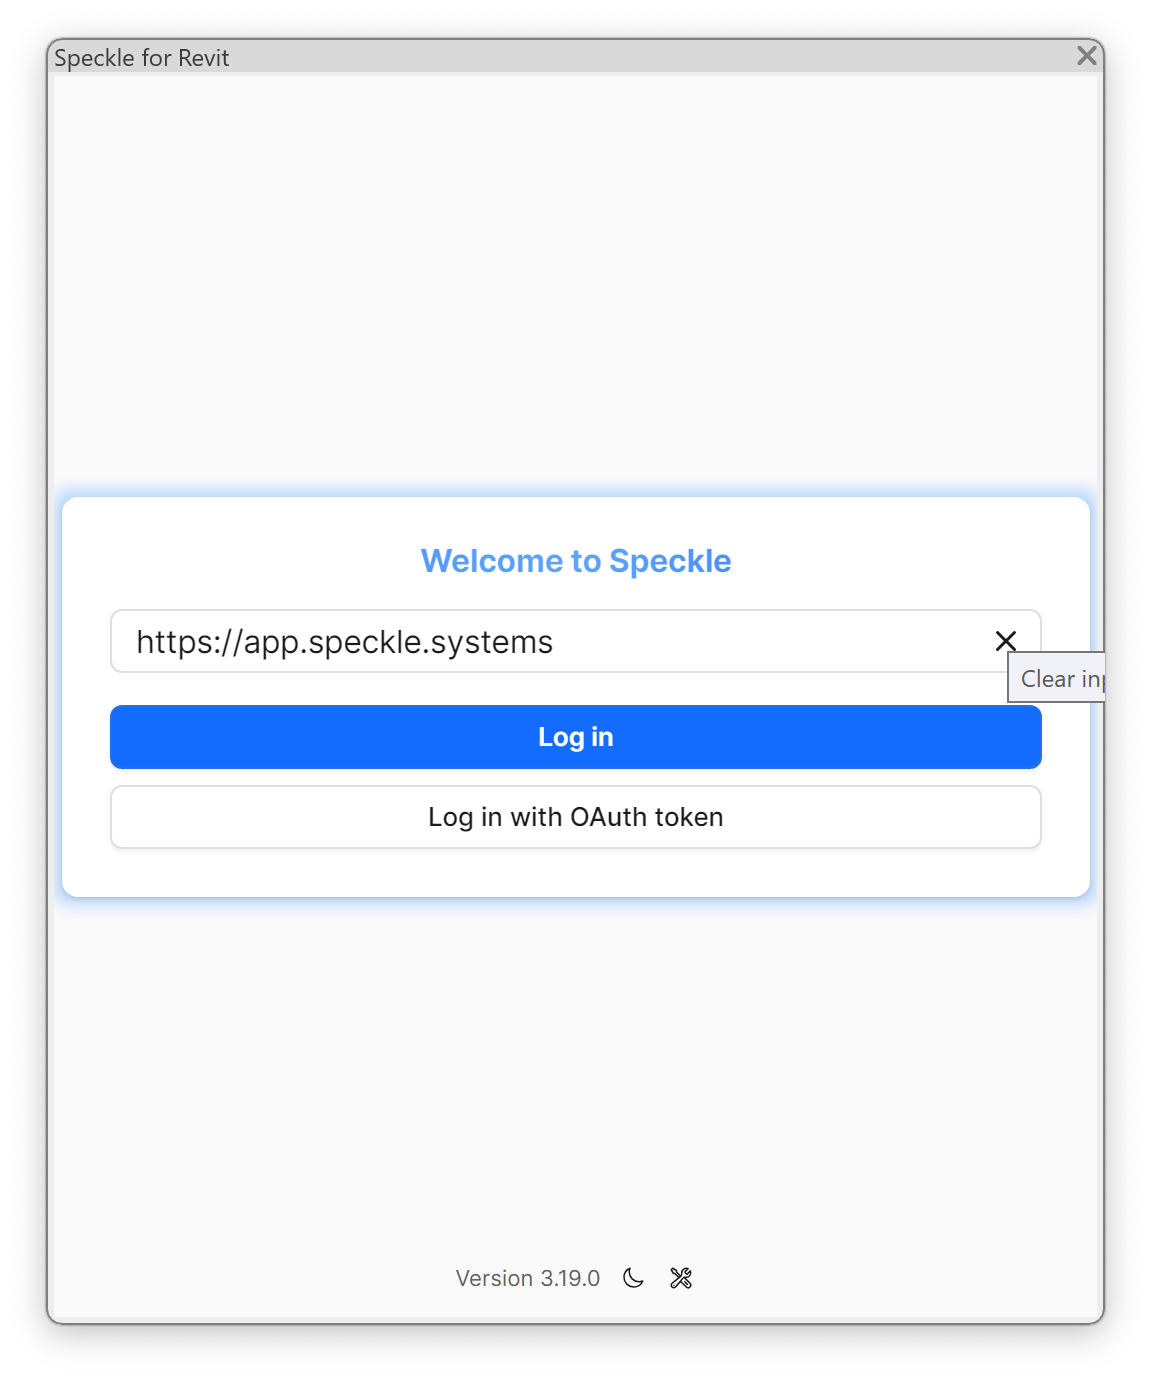 Replace it with the Real-Time LCA Speckle server URL:
```
https://api.realtimelca.com
```
Replace it with the Real-Time LCA Speckle server URL:
```
https://api.realtimelca.com
```
 Click **Log in**. The connector opens your browser on the Speckle login page hosted at `api.realtimelca.com/authn/login`.
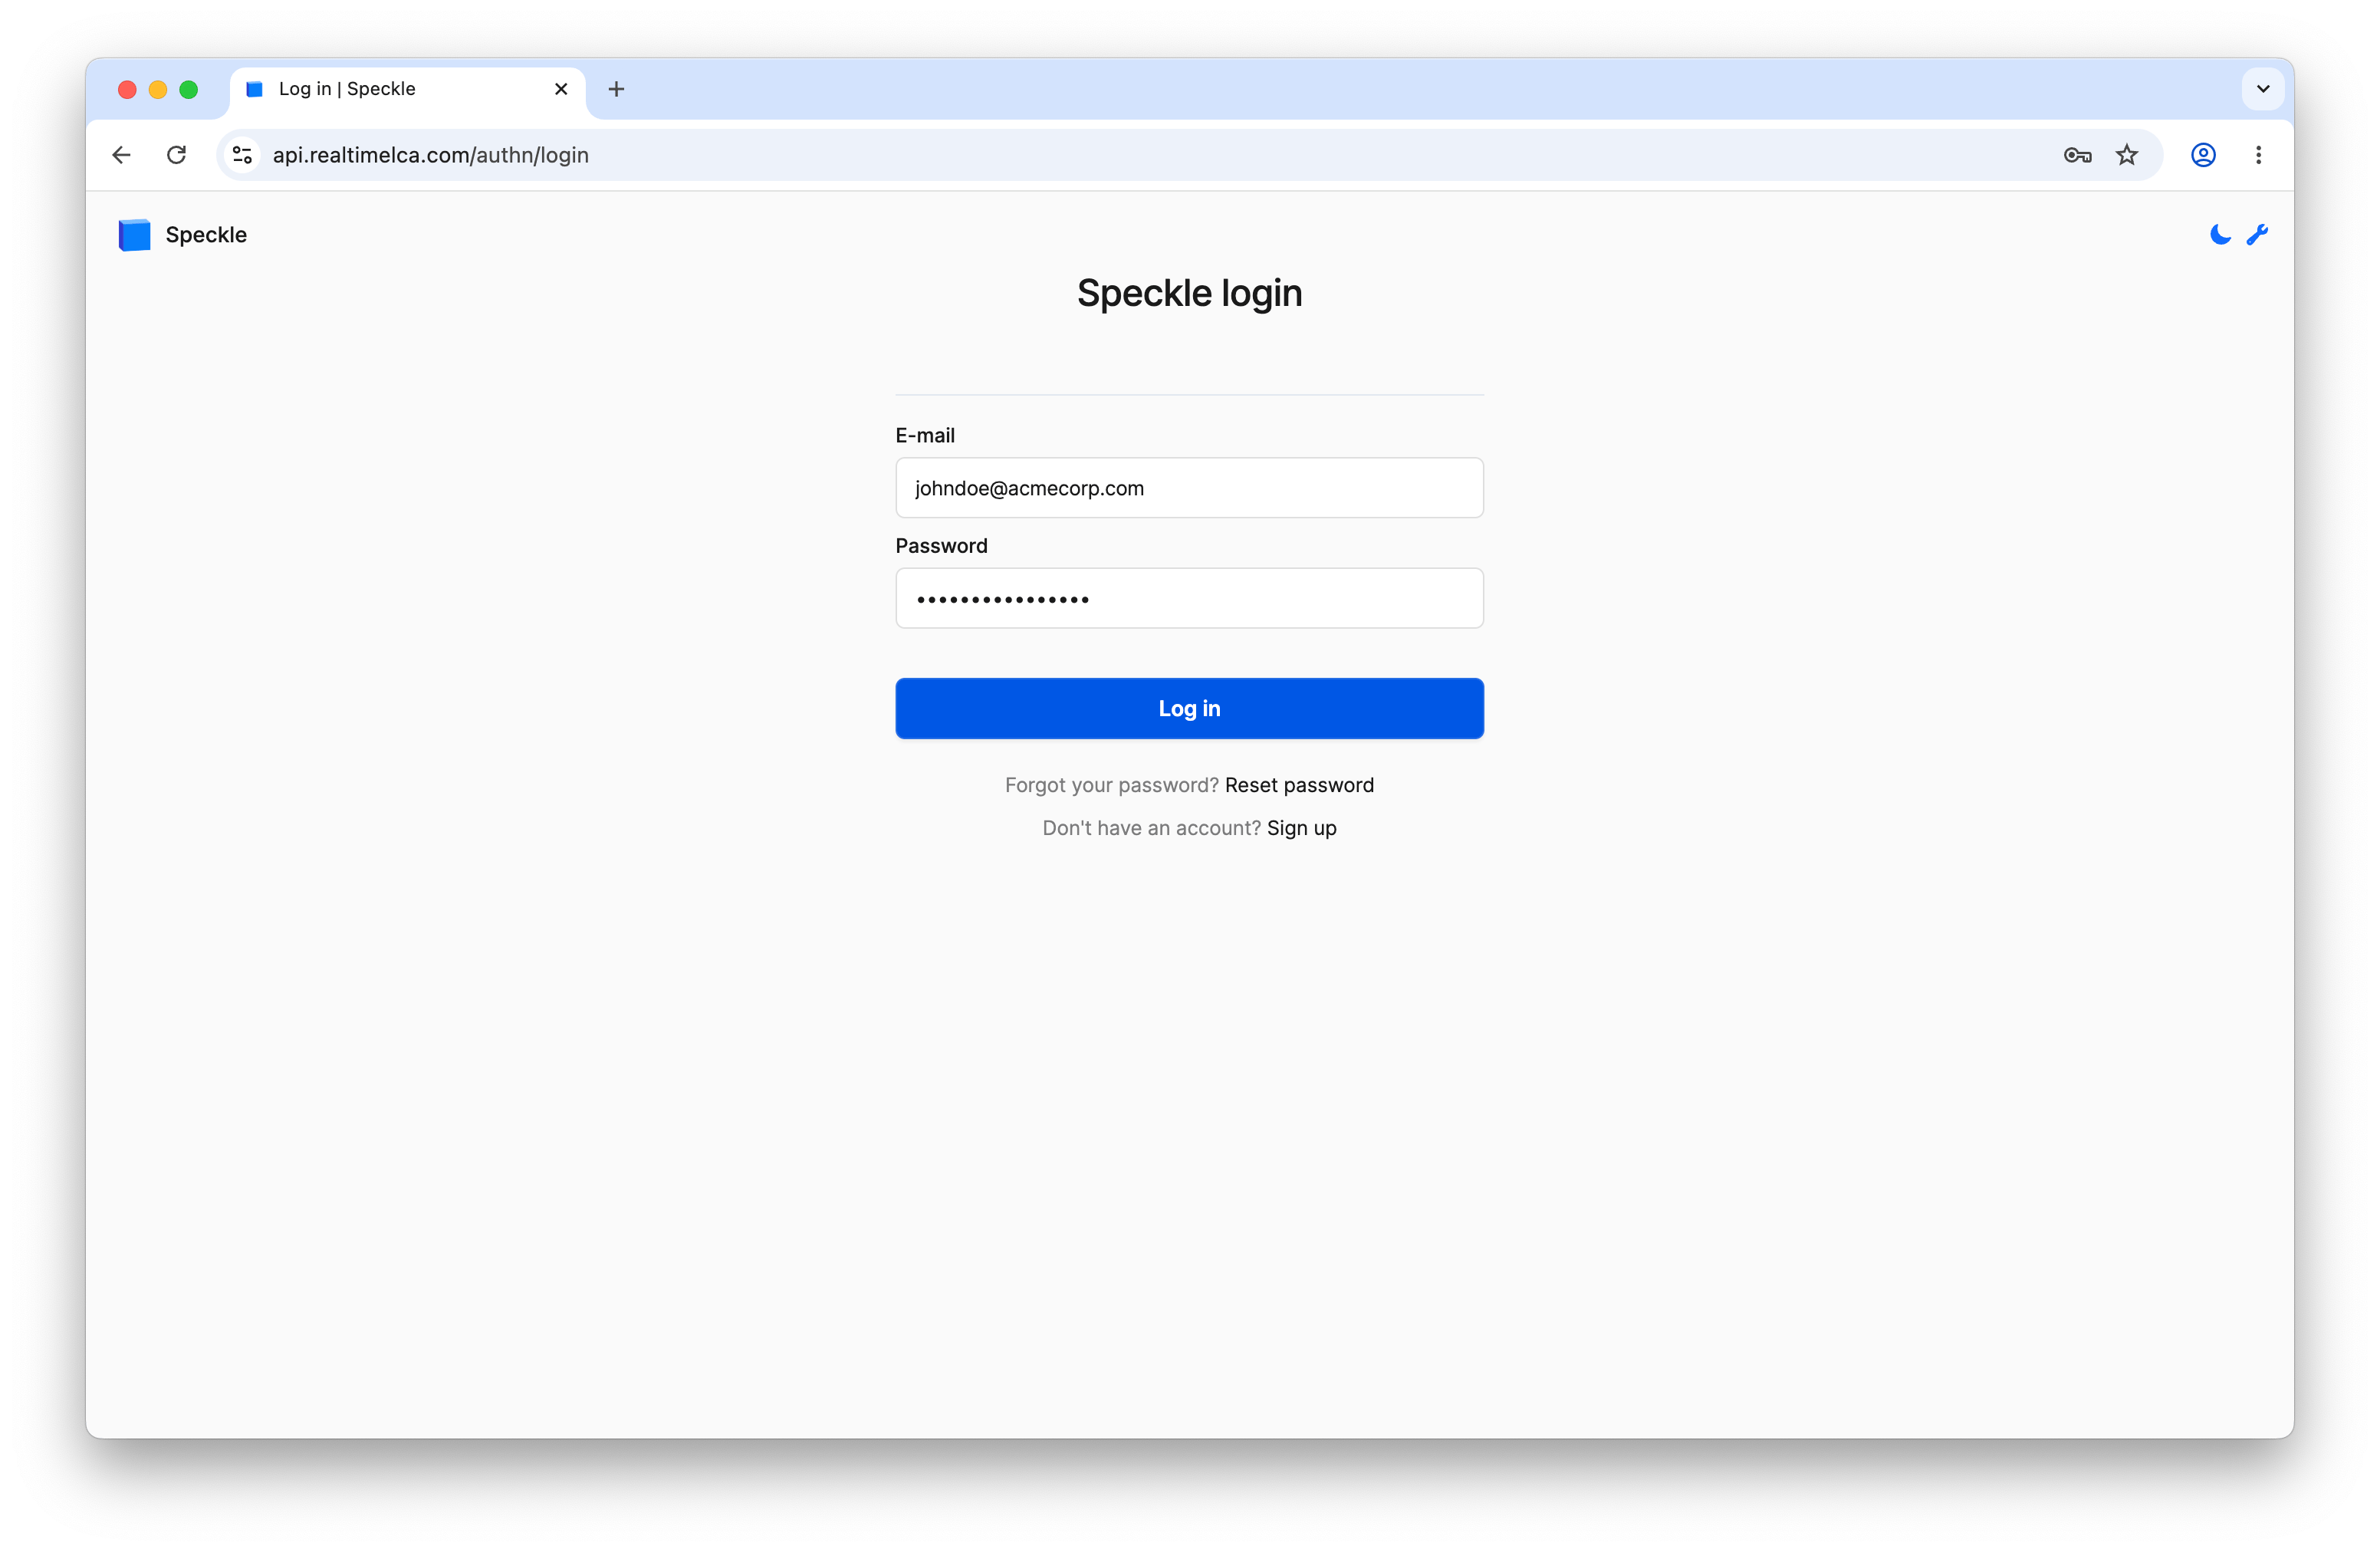 Enter the **email** and **temporary password** from your Speckle credentials email and click **Log in**.
Lost the email? Use **Reset password** at the bottom of the login form, or contact [support@realtimelca.com](mailto:support@realtimelca.com).
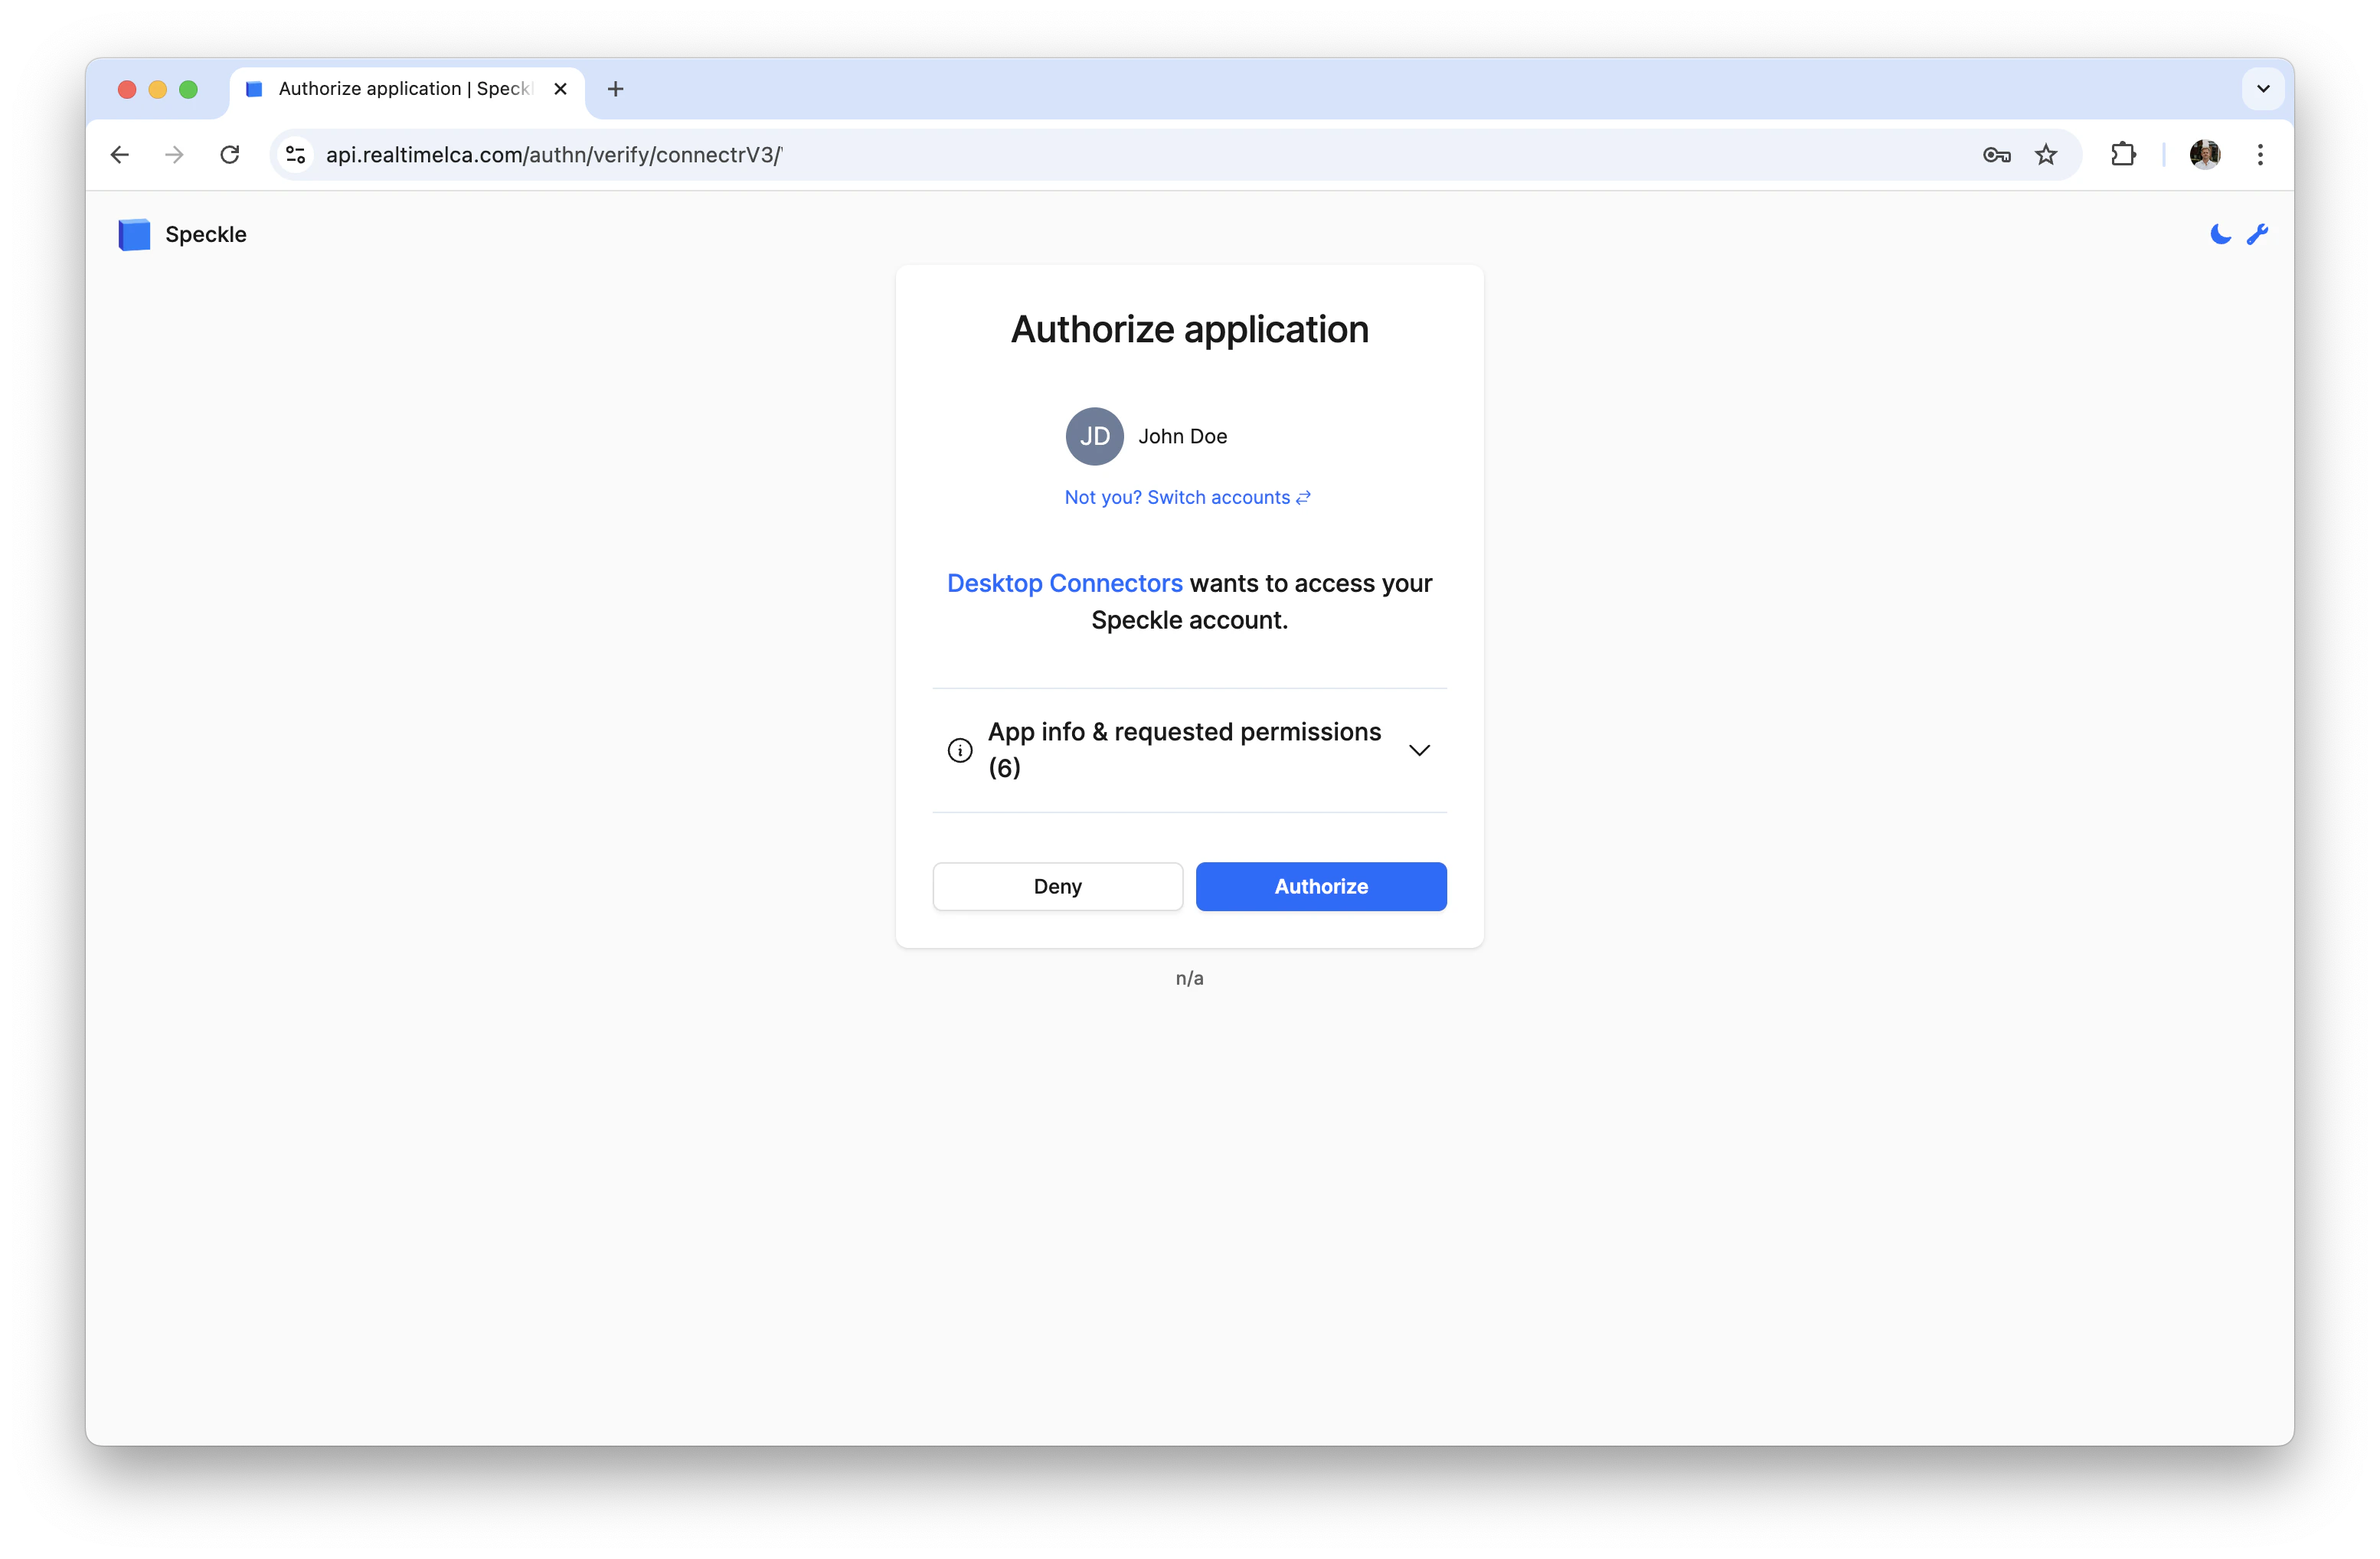
## Authorize the connector
After logging in, Speckle asks you to authorize **Desktop Connectors** to access your account.
Enter the **email** and **temporary password** from your Speckle credentials email and click **Log in**.
Lost the email? Use **Reset password** at the bottom of the login form, or contact [support@realtimelca.com](mailto:support@realtimelca.com).
## Authorize the connector
After logging in, Speckle asks you to authorize **Desktop Connectors** to access your account.
 Click **Authorize**. Speckle confirms the connection and instructs you to return to Revit.
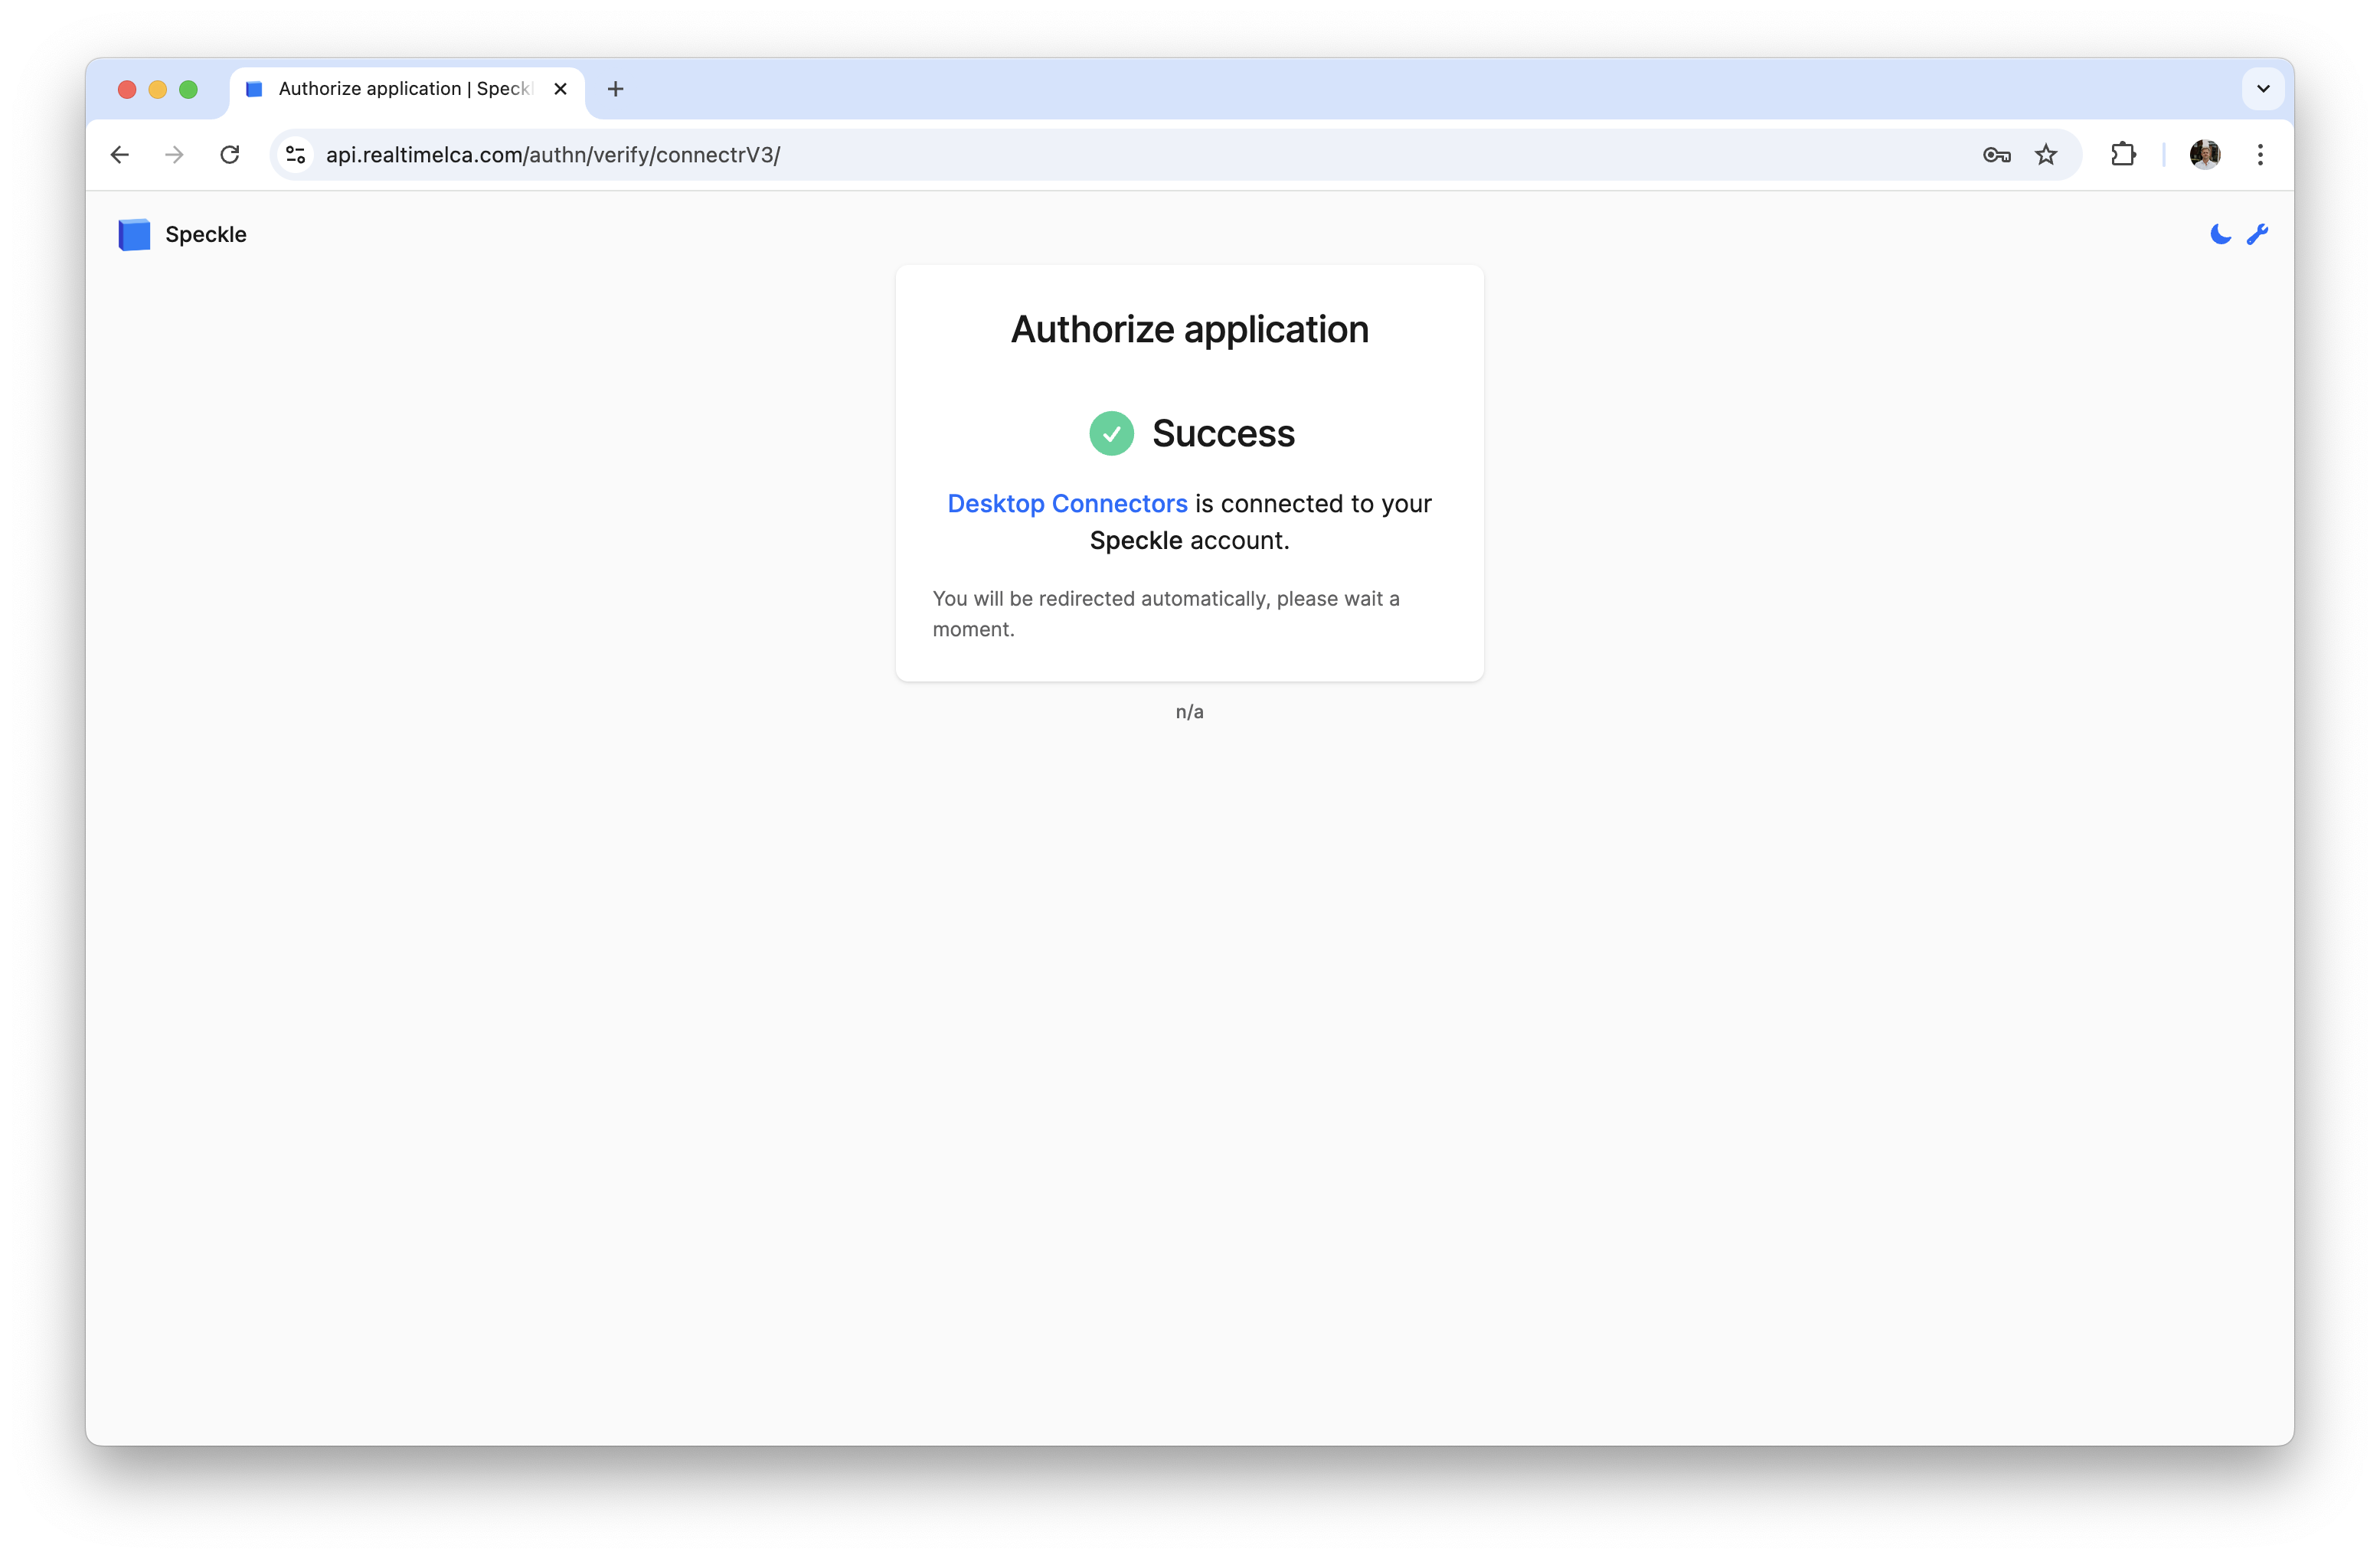 Switch back to Revit — the connector now shows the **Hello!** screen with **Publish** and **Load** options.
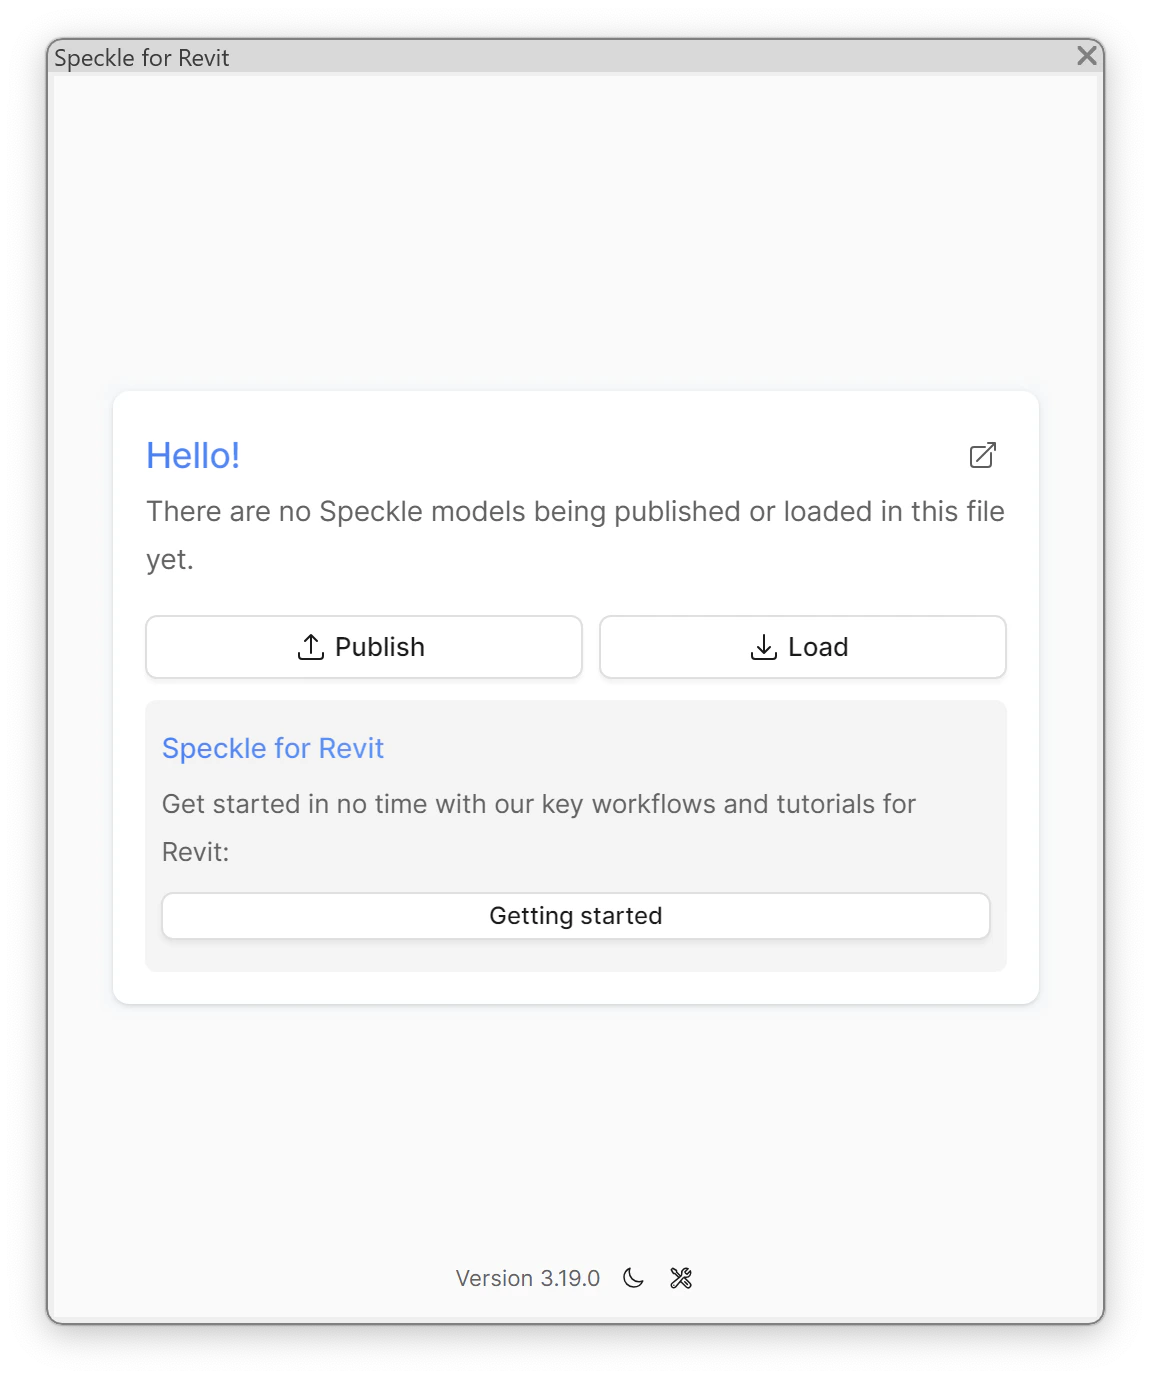 ## Publish a model
### Step 1: Pick a Speckle project
Click **Publish** on the Hello screen. The connector shows every Speckle project your user can edit on the Real-Time LCA server.
## Publish a model
### Step 1: Pick a Speckle project
Click **Publish** on the Hello screen. The connector shows every Speckle project your user can edit on the Real-Time LCA server.
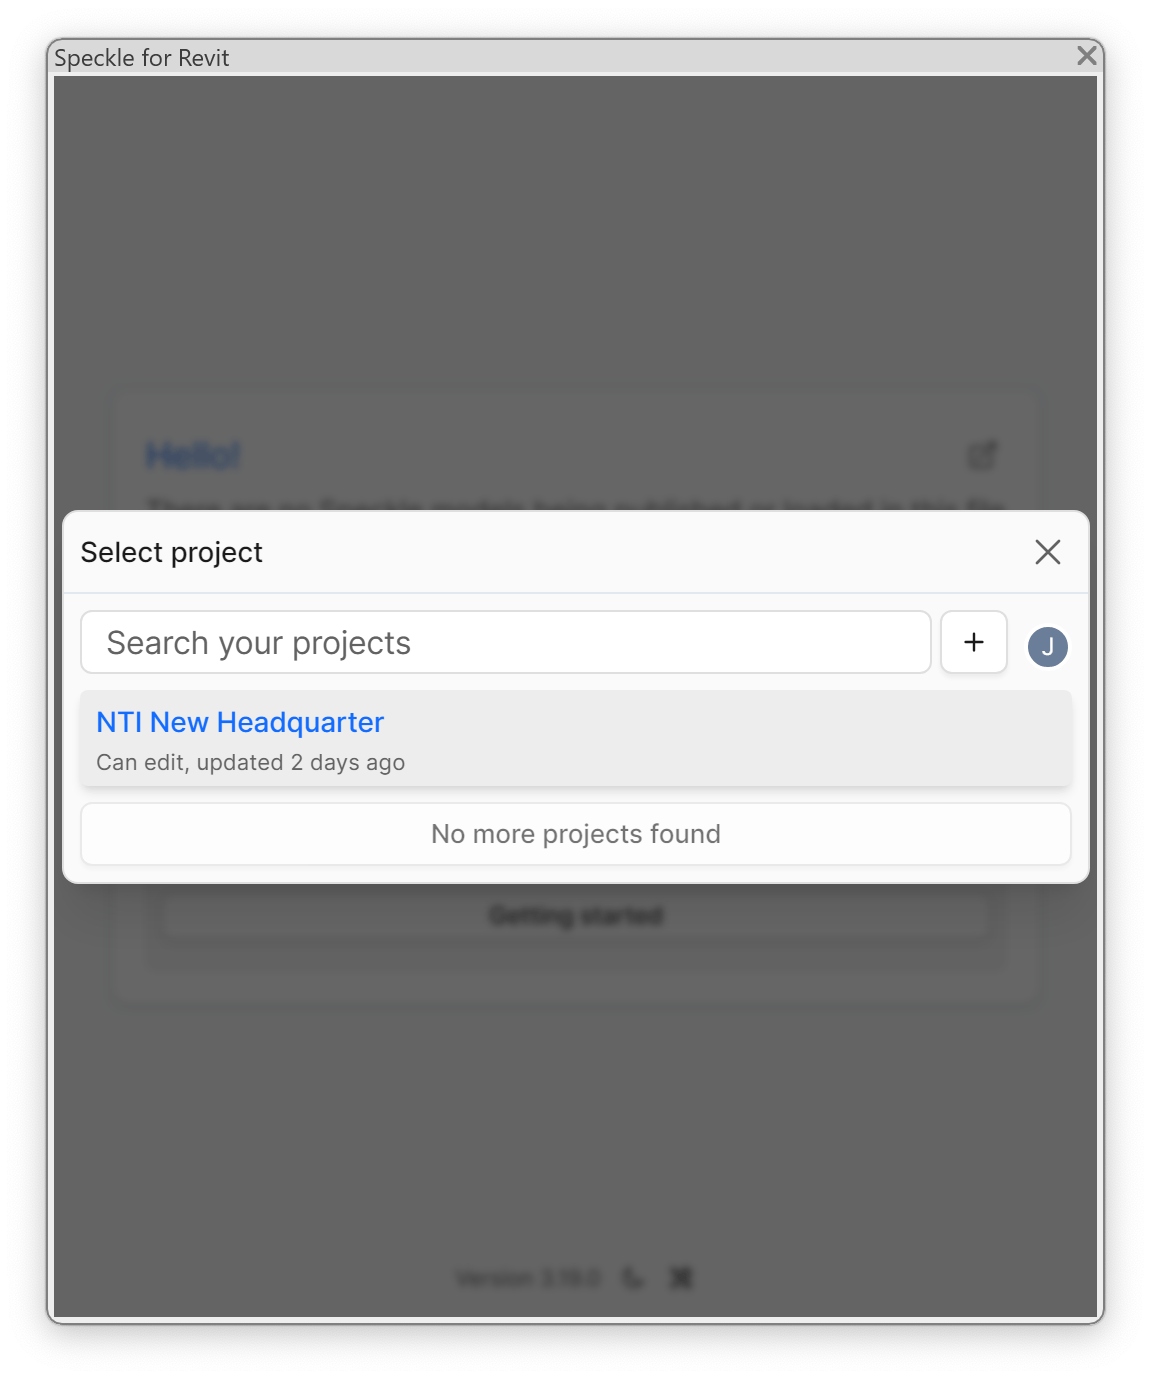 Choose the project that matches the one you configured in Real-Time LCA. Use **Search your projects** to narrow the list when you have many.
### Step 2: Pick a model
Each Speckle project contains one or more models — for example, *structural* or *architectural* — that map to the discipline models you selected during [Speckle model configuration](/user-guide/project/create-new-project#configure-the-speckle-models).
Choose the project that matches the one you configured in Real-Time LCA. Use **Search your projects** to narrow the list when you have many.
### Step 2: Pick a model
Each Speckle project contains one or more models — for example, *structural* or *architectural* — that map to the discipline models you selected during [Speckle model configuration](/user-guide/project/create-new-project#configure-the-speckle-models).
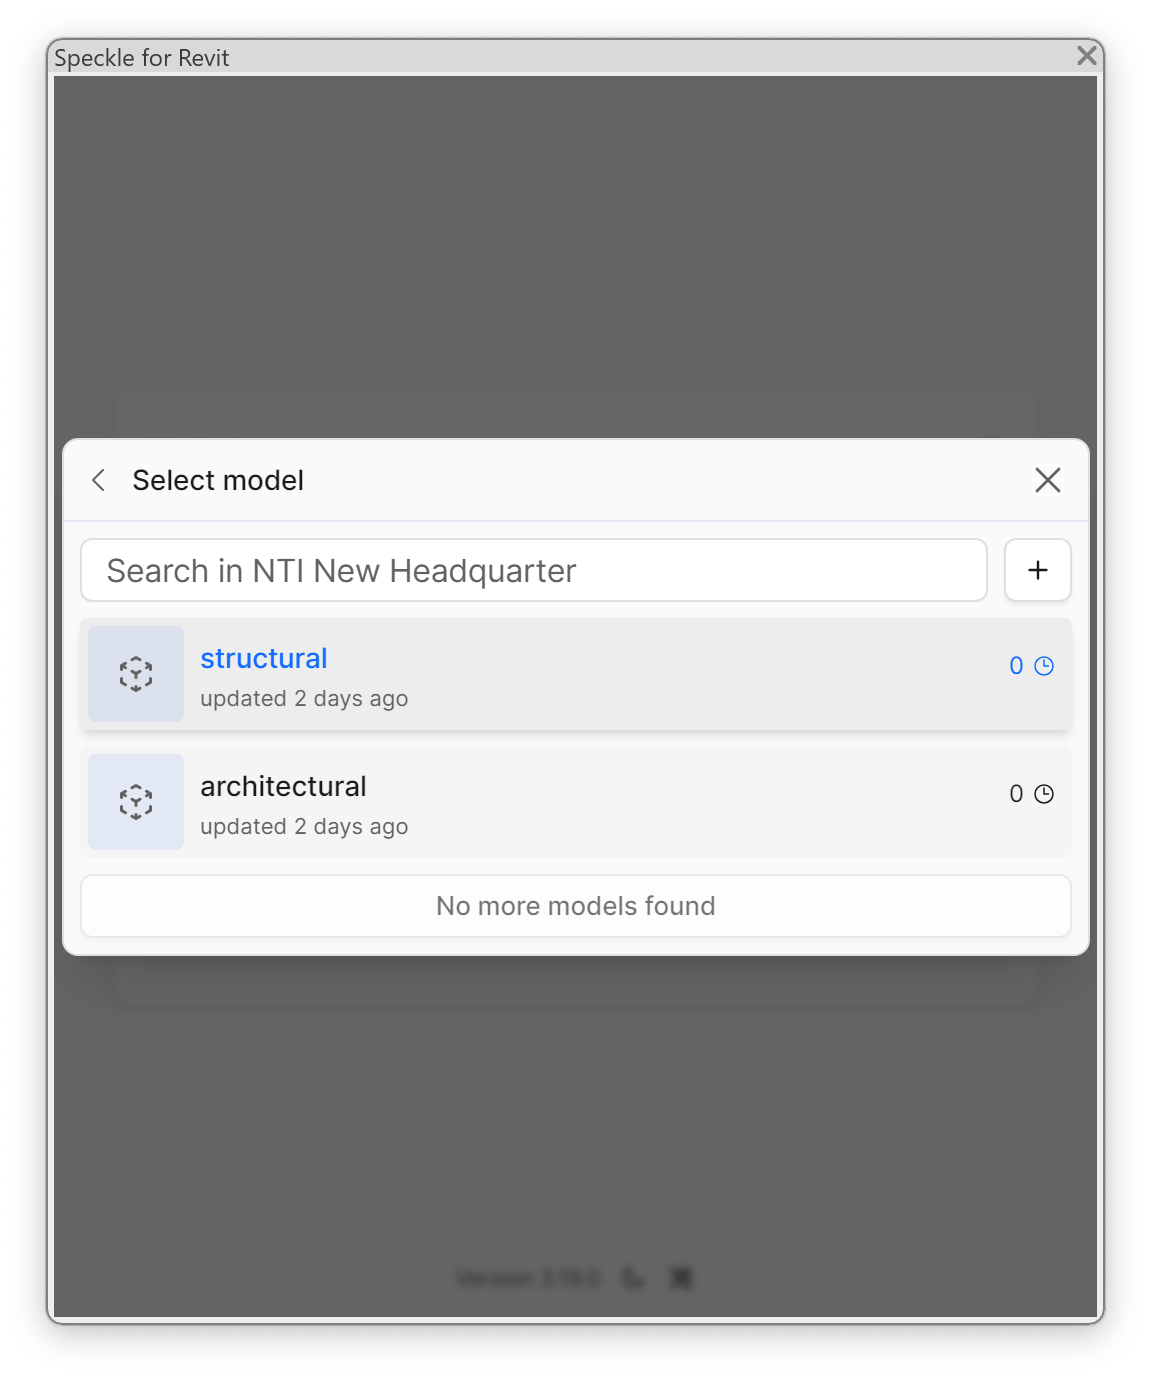 Click the model you want to publish into.
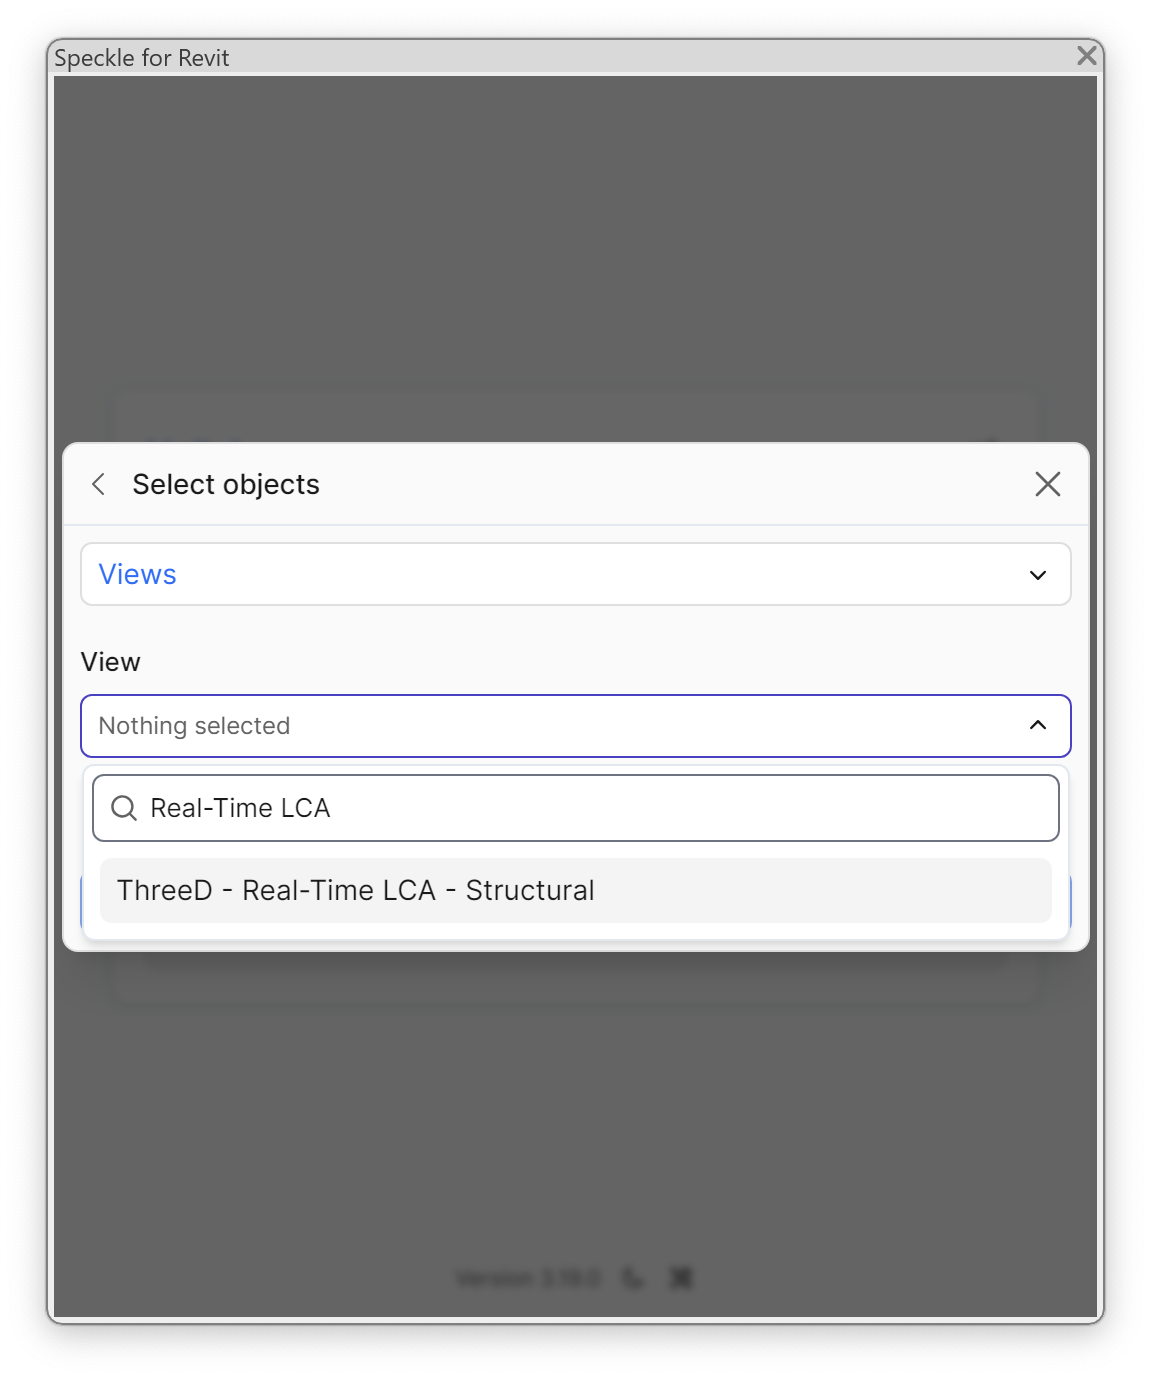
### Step 3: Choose what to send
The **Select objects** dialog lets you decide which part of the Revit model is sent.
Click the model you want to publish into.
### Step 3: Choose what to send
The **Select objects** dialog lets you decide which part of the Revit model is sent.
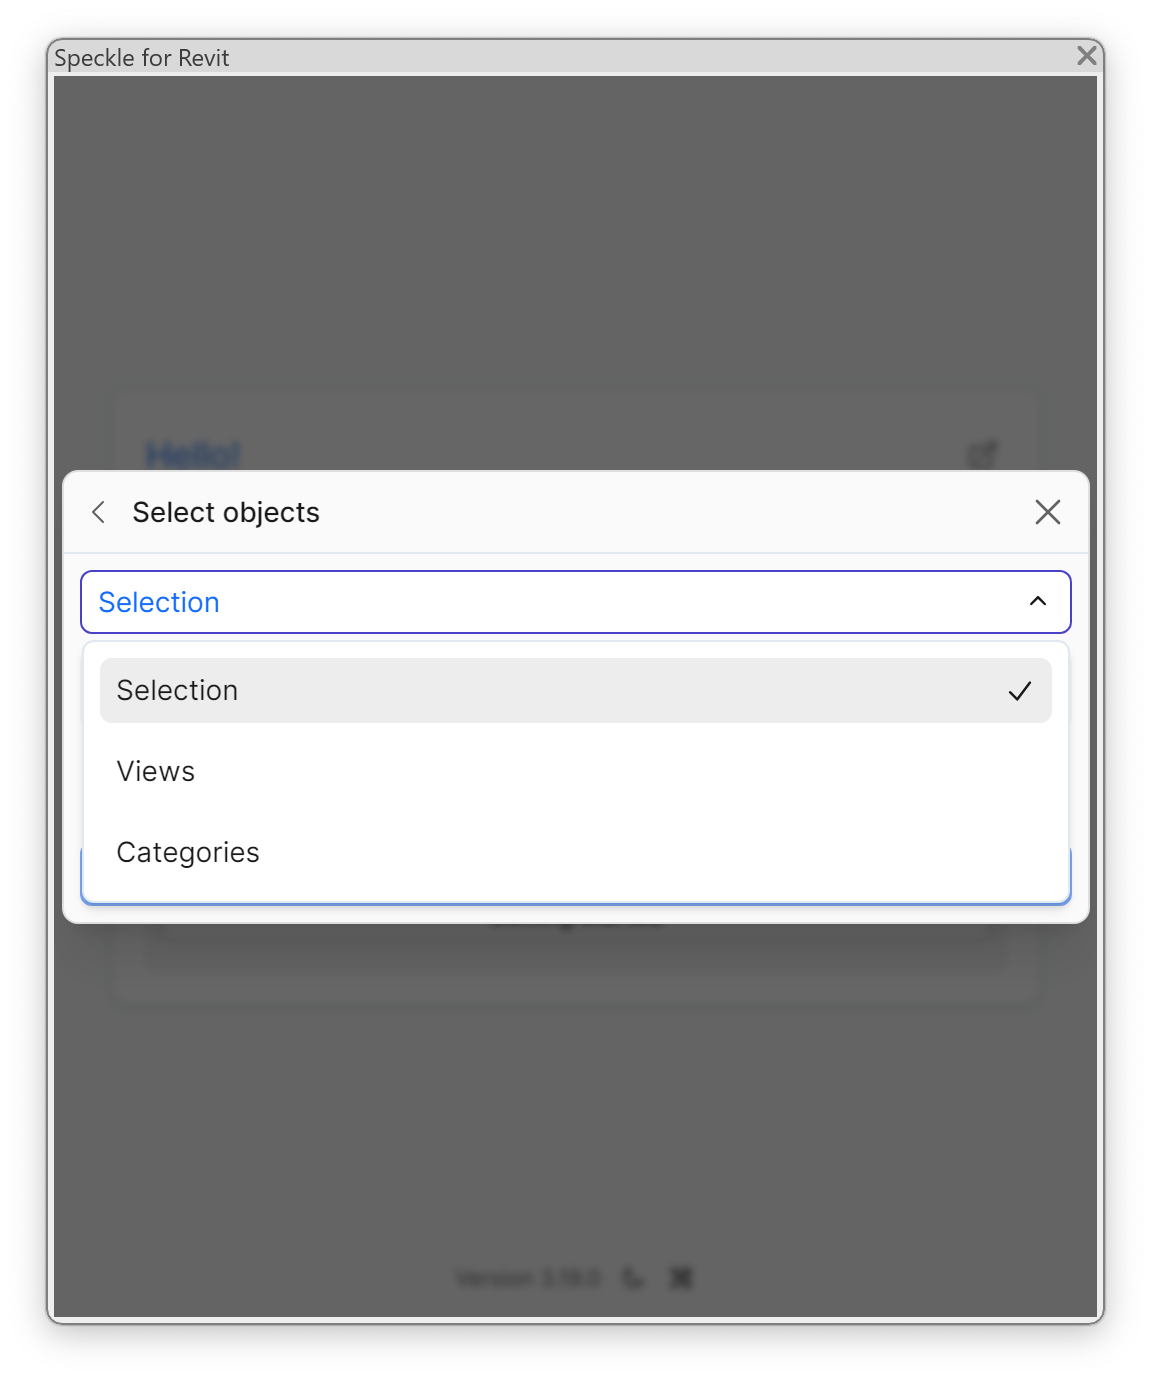 You can publish from:
* **Selection** — the elements currently selected in Revit.
* **Views** — every element visible in a specific view (the recommended option for Real-Time LCA, because the view defines the scope of the calculation).
* **Categories** — every element of one or more Revit categories (for example, *Walls*, *Floors*, *Columns*).
For Real-Time LCA we recommend creating a dedicated 3D view that contains only the elements you want to assess, then publishing **Views → that view**.
You can publish from:
* **Selection** — the elements currently selected in Revit.
* **Views** — every element visible in a specific view (the recommended option for Real-Time LCA, because the view defines the scope of the calculation).
* **Categories** — every element of one or more Revit categories (for example, *Walls*, *Floors*, *Columns*).
For Real-Time LCA we recommend creating a dedicated 3D view that contains only the elements you want to assess, then publishing **Views → that view**.
 ### Step 4: Confirm publish settings
Scroll down in the dialog to review the publish settings before sending.
### Step 4: Confirm publish settings
Scroll down in the dialog to review the publish settings before sending.
 | Setting | Recommended value |
| ------------------------------ | ---------------------------------------------------------------------------- |
| **Detail Level** | *Medium* — balances geometry fidelity with publish time. |
| **Reference Point** | *InternalOrigin* — keeps the geometry aligned with the Revit project origin. |
| **Send null/empty parameters** | Off — keeps payload small. |
| **Include Linked Models** | On if your assessment covers linked models. |
| **Send Rebars As Volumetric** | Off — better performance. |
| **Send Areas As Mesh** | Off unless you specifically need mesh-based areas. |
Click **Publish** to send the model. The Real-Time LCA project receives the new version automatically and refreshes the BIM types and quantities.
## Parameter mapping
Real-Time LCA looks for the parameter configured on the project (by default `BIMTypeCode`) to group elements into BIM types. Make sure this parameter is populated on your Revit elements before publishing — see [Speckle model configuration](/user-guide/project/create-new-project#configure-the-speckle-models) for how the mapping is set on the project side.
| Setting | Recommended value |
| ------------------------------ | ---------------------------------------------------------------------------- |
| **Detail Level** | *Medium* — balances geometry fidelity with publish time. |
| **Reference Point** | *InternalOrigin* — keeps the geometry aligned with the Revit project origin. |
| **Send null/empty parameters** | Off — keeps payload small. |
| **Include Linked Models** | On if your assessment covers linked models. |
| **Send Rebars As Volumetric** | Off — better performance. |
| **Send Areas As Mesh** | Off unless you specifically need mesh-based areas. |
Click **Publish** to send the model. The Real-Time LCA project receives the new version automatically and refreshes the BIM types and quantities.
## Parameter mapping
Real-Time LCA looks for the parameter configured on the project (by default `BIMTypeCode`) to group elements into BIM types. Make sure this parameter is populated on your Revit elements before publishing — see [Speckle model configuration](/user-guide/project/create-new-project#configure-the-speckle-models) for how the mapping is set on the project side.