> ## Documentation Index
> Fetch the complete documentation index at: https://docs.realtimelca.com/llms.txt
> Use this file to discover all available pages before exploring further.
# Connect to RTLCA
> Wire your AI client to the Real-Time LCA MCP server
Pick your client below. Every client connects to the same hosted endpoint
(`https://mcp.realtimelca.com/mcp`) and authenticates with your Real-Time
LCA account via OAuth — no API key, no token to paste.
Using **Autodesk Forma** or **Revit** tools? See
[Connect to RTLCA × Autodesk](/ai-tools/autodesk-mcp) — it uses a
different endpoint and requires an Autodesk account + active Forma hub.
Connect the Claude web app at [claude.ai](https://claude.ai). Works in
any browser — no Claude Desktop install required.
### Prerequisites
* Claude account
* Real-Time LCA account
* On **Team** or **Enterprise** plans, you need to be an **admin** to
add servers
Go to [claude.ai/customize/connectors](https://claude.ai/customize/connectors).
Click the **+** sign → **Add custom connector**. Paste the URL:
```
https://mcp.realtimelca.com/mcp
```
Complete any authentication steps Claude prompts for, signing in with your Real-Time LCA account.
The next time you mention **RTLCA** in a chat, Claude will detect
the connector and ask you for permission to execute tools.
Connect the Claude Desktop app. The flow is the same as
[Claude.ai](#claude-ai) — done through the in-app **Connectors** UI,
not a config file.
### Prerequisites
* Claude Desktop installed (macOS or Windows)
* Real-Time LCA account
* On **Team** or **Enterprise** plans, you need to be an **admin** to
add servers
In Claude Desktop, open **Settings → Connectors**.
Click the **+** sign → **Add custom connector**. Paste the URL:
```
https://mcp.realtimelca.com/mcp
```
Complete any authentication steps Claude prompts for, signing in
with your Real-Time LCA account.
The next time you mention **RTLCA** in a chat, Claude will detect
the connector and ask you for permission to execute tools.
### Prerequisites
* Node.js ≥ 18
* Claude Code installed (`npm install -g @anthropic-ai/claude-code`)
* A Real-Time LCA account
A single command in your terminal:
```bash theme={null}
claude mcp add realtimelca --transport http https://mcp.realtimelca.com/mcp
```
Claude Code will prompt you to authenticate the first time you use a
`realtimelca` tool. Follow the link to sign in with your RTLCA
account; the token is cached for later calls.
Start a session and ask, for example:
```
List all my building projects
```
```
Show me the GWP dashboard for the project named "Aalborg Office"
```
### Prerequisites
* Codex app
* A Real-Time LCA account — you'll sign in via the browser
Launch the Codex app.
Go to **Settings → Configurations → Open `config.toml`**.
Paste the following at the very top of `config.toml`:
```toml theme={null}
mcp_oauth_callback_port = 5555
[mcp_servers.rtlca]
url = "https://mcp.realtimelca.com/mcp"
```
Quit Codex completely — make sure the process is no longer running — then start it again.
Go to **Settings → MCP Servers**. The `rtlca` connection should now be listed.
Click **Authenticate**. A browser window opens; sign in with your Real-Time LCA credentials, then return to Codex.
Start a chat and ask, for example:
What projects do I have in RTLCA?
### Prerequisites
* Cursor installed ([cursor.com](https://cursor.com/))
* Real-Time LCA account
In Cursor, go to **Settings → Tools & MCP** and select
**New MCP Server**. `mcp.json` opens for editing.
```json theme={null}
{
"mcpServers": {
"realtimelca": {
"url": "https://mcp.realtimelca.com/mcp"
}
}
}
```
Save the file.
Cursor lists the server as **Needs authentication**. Click the
**Connect** button — your browser opens to the Real-Time LCA
sign-in page. Sign in; the token returns to Cursor automatically.
Open a new chat and ask, for example:
```
List all my building projects
```
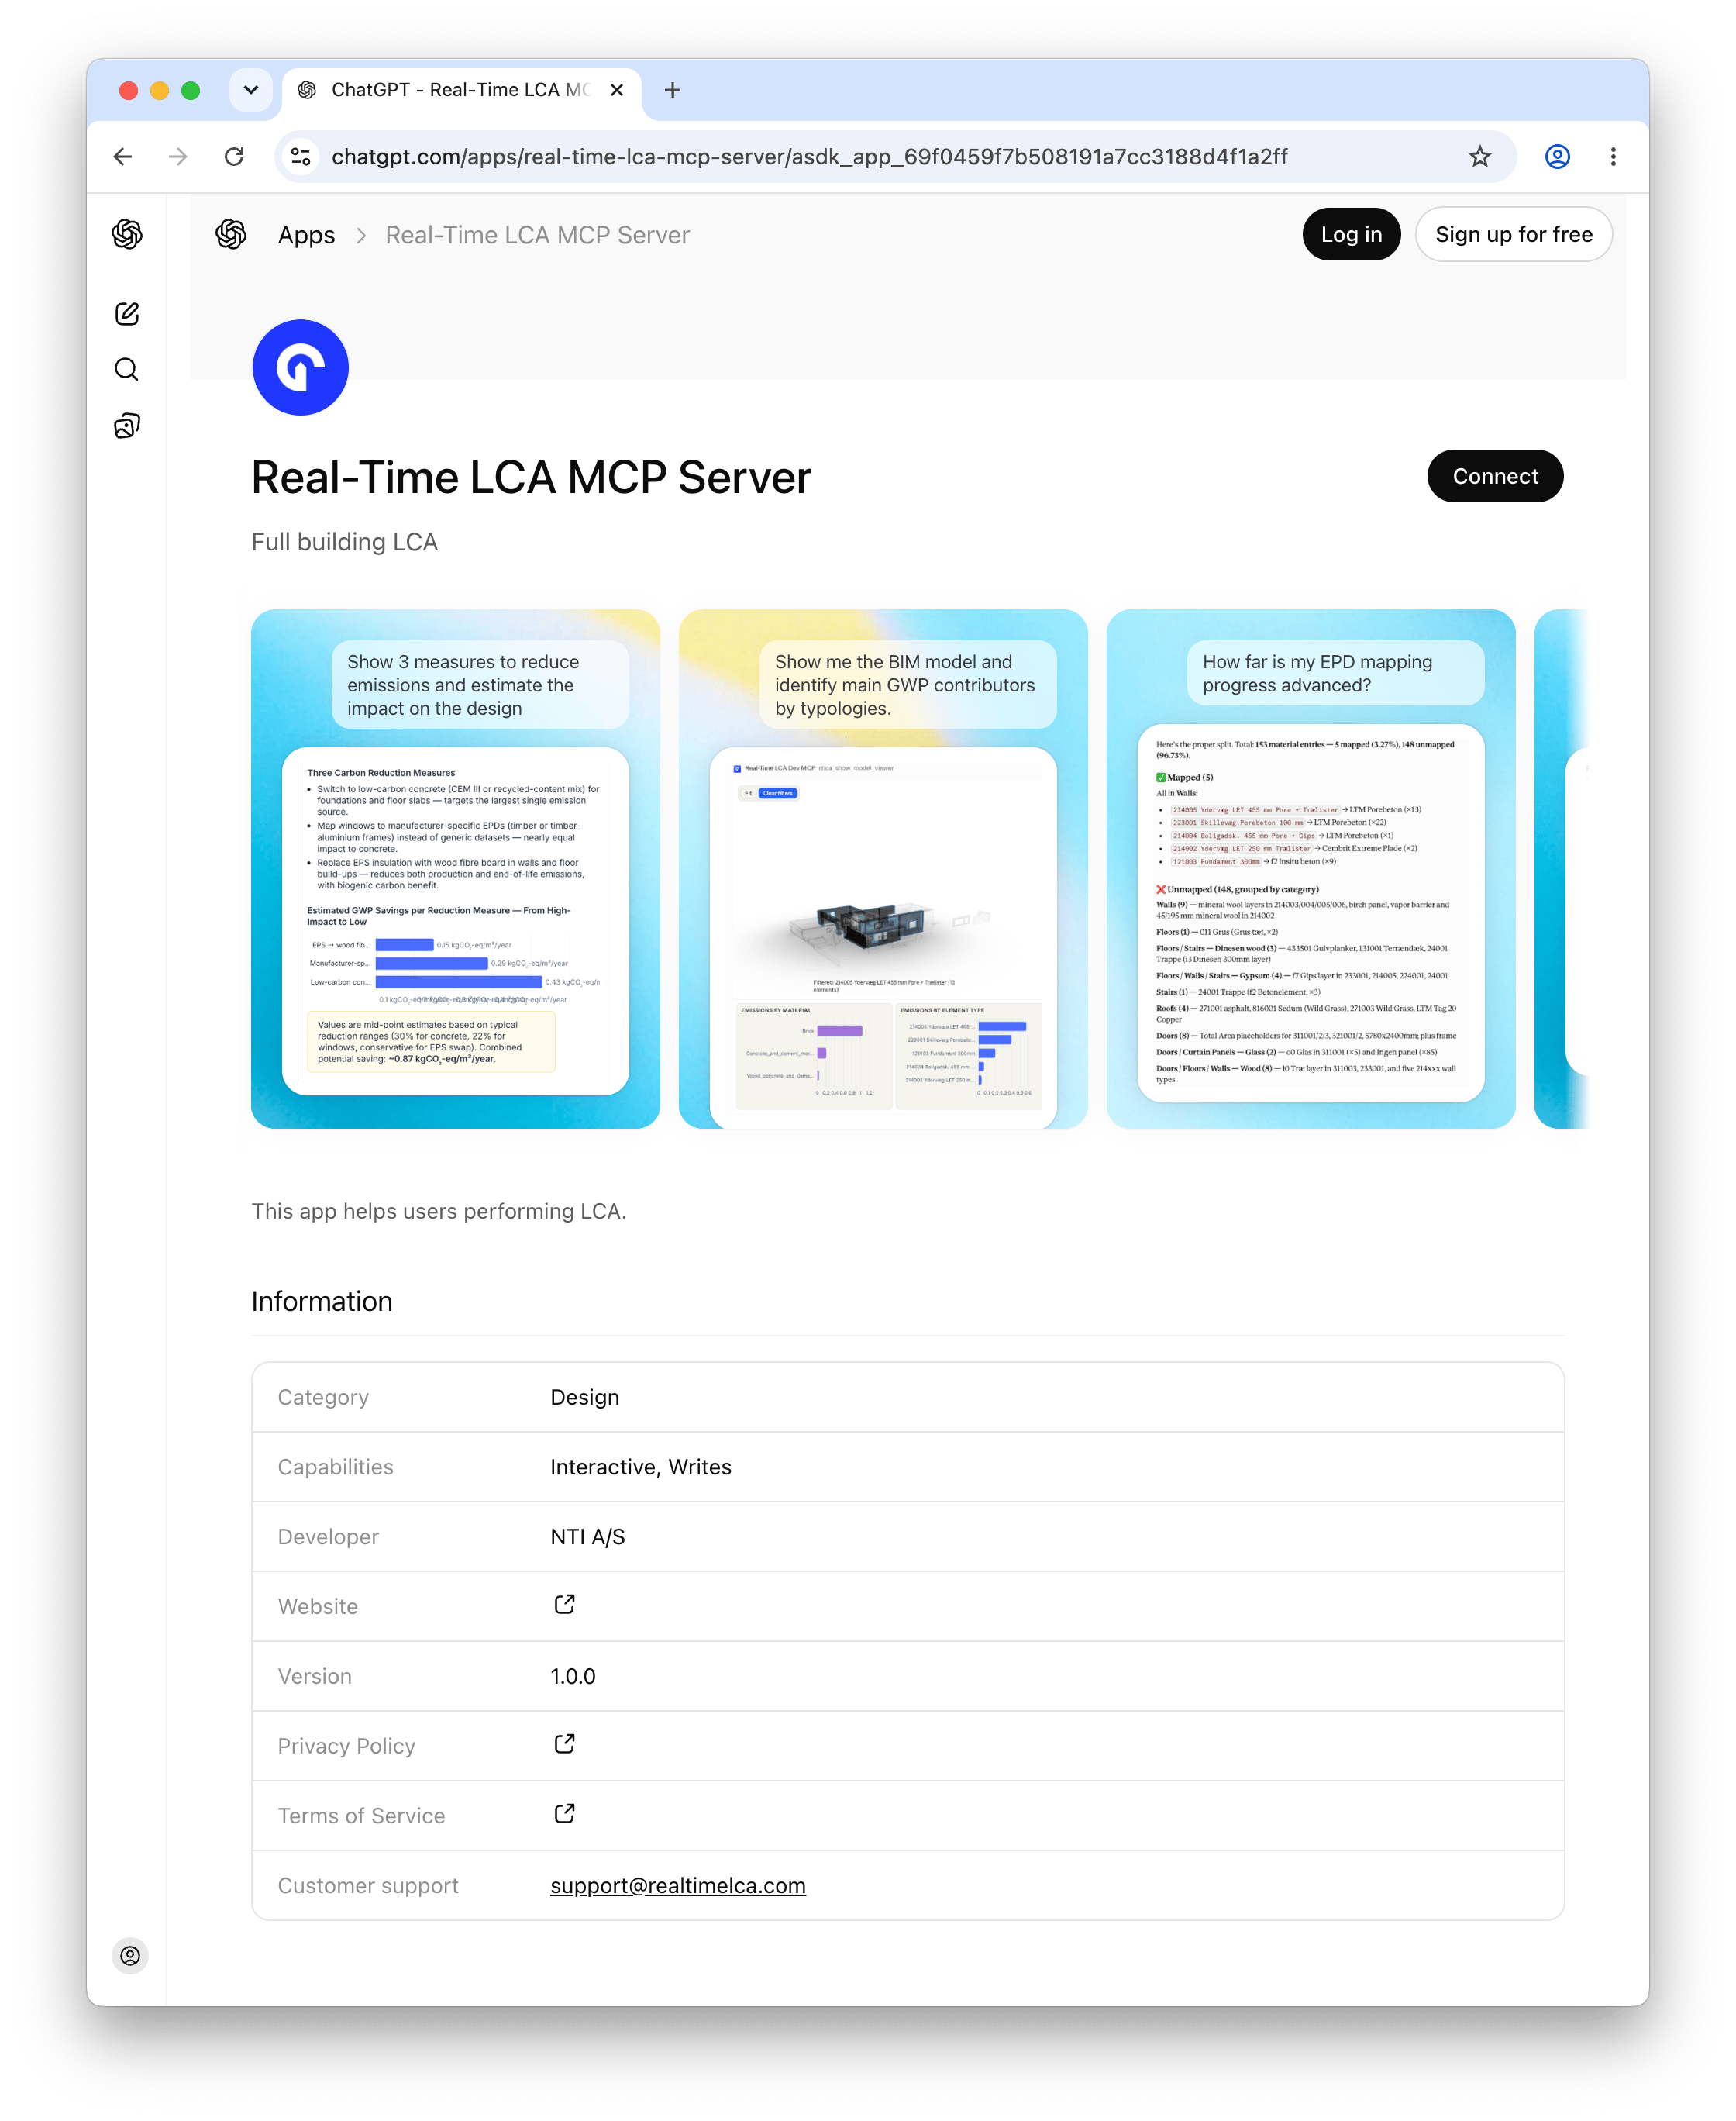
Real-Time LCA is published on the [ChatGPT App Store](https://chatgpt.com/apps/real-time-lca-mcp-server/asdk_app_69f0459f7b508191a7cc3188d4f1a2ff) — install it in a couple of clicks, no custom connector required.
### Prerequisites
* A ChatGPT account
* A Real-Time LCA account — you'll sign in via the browser
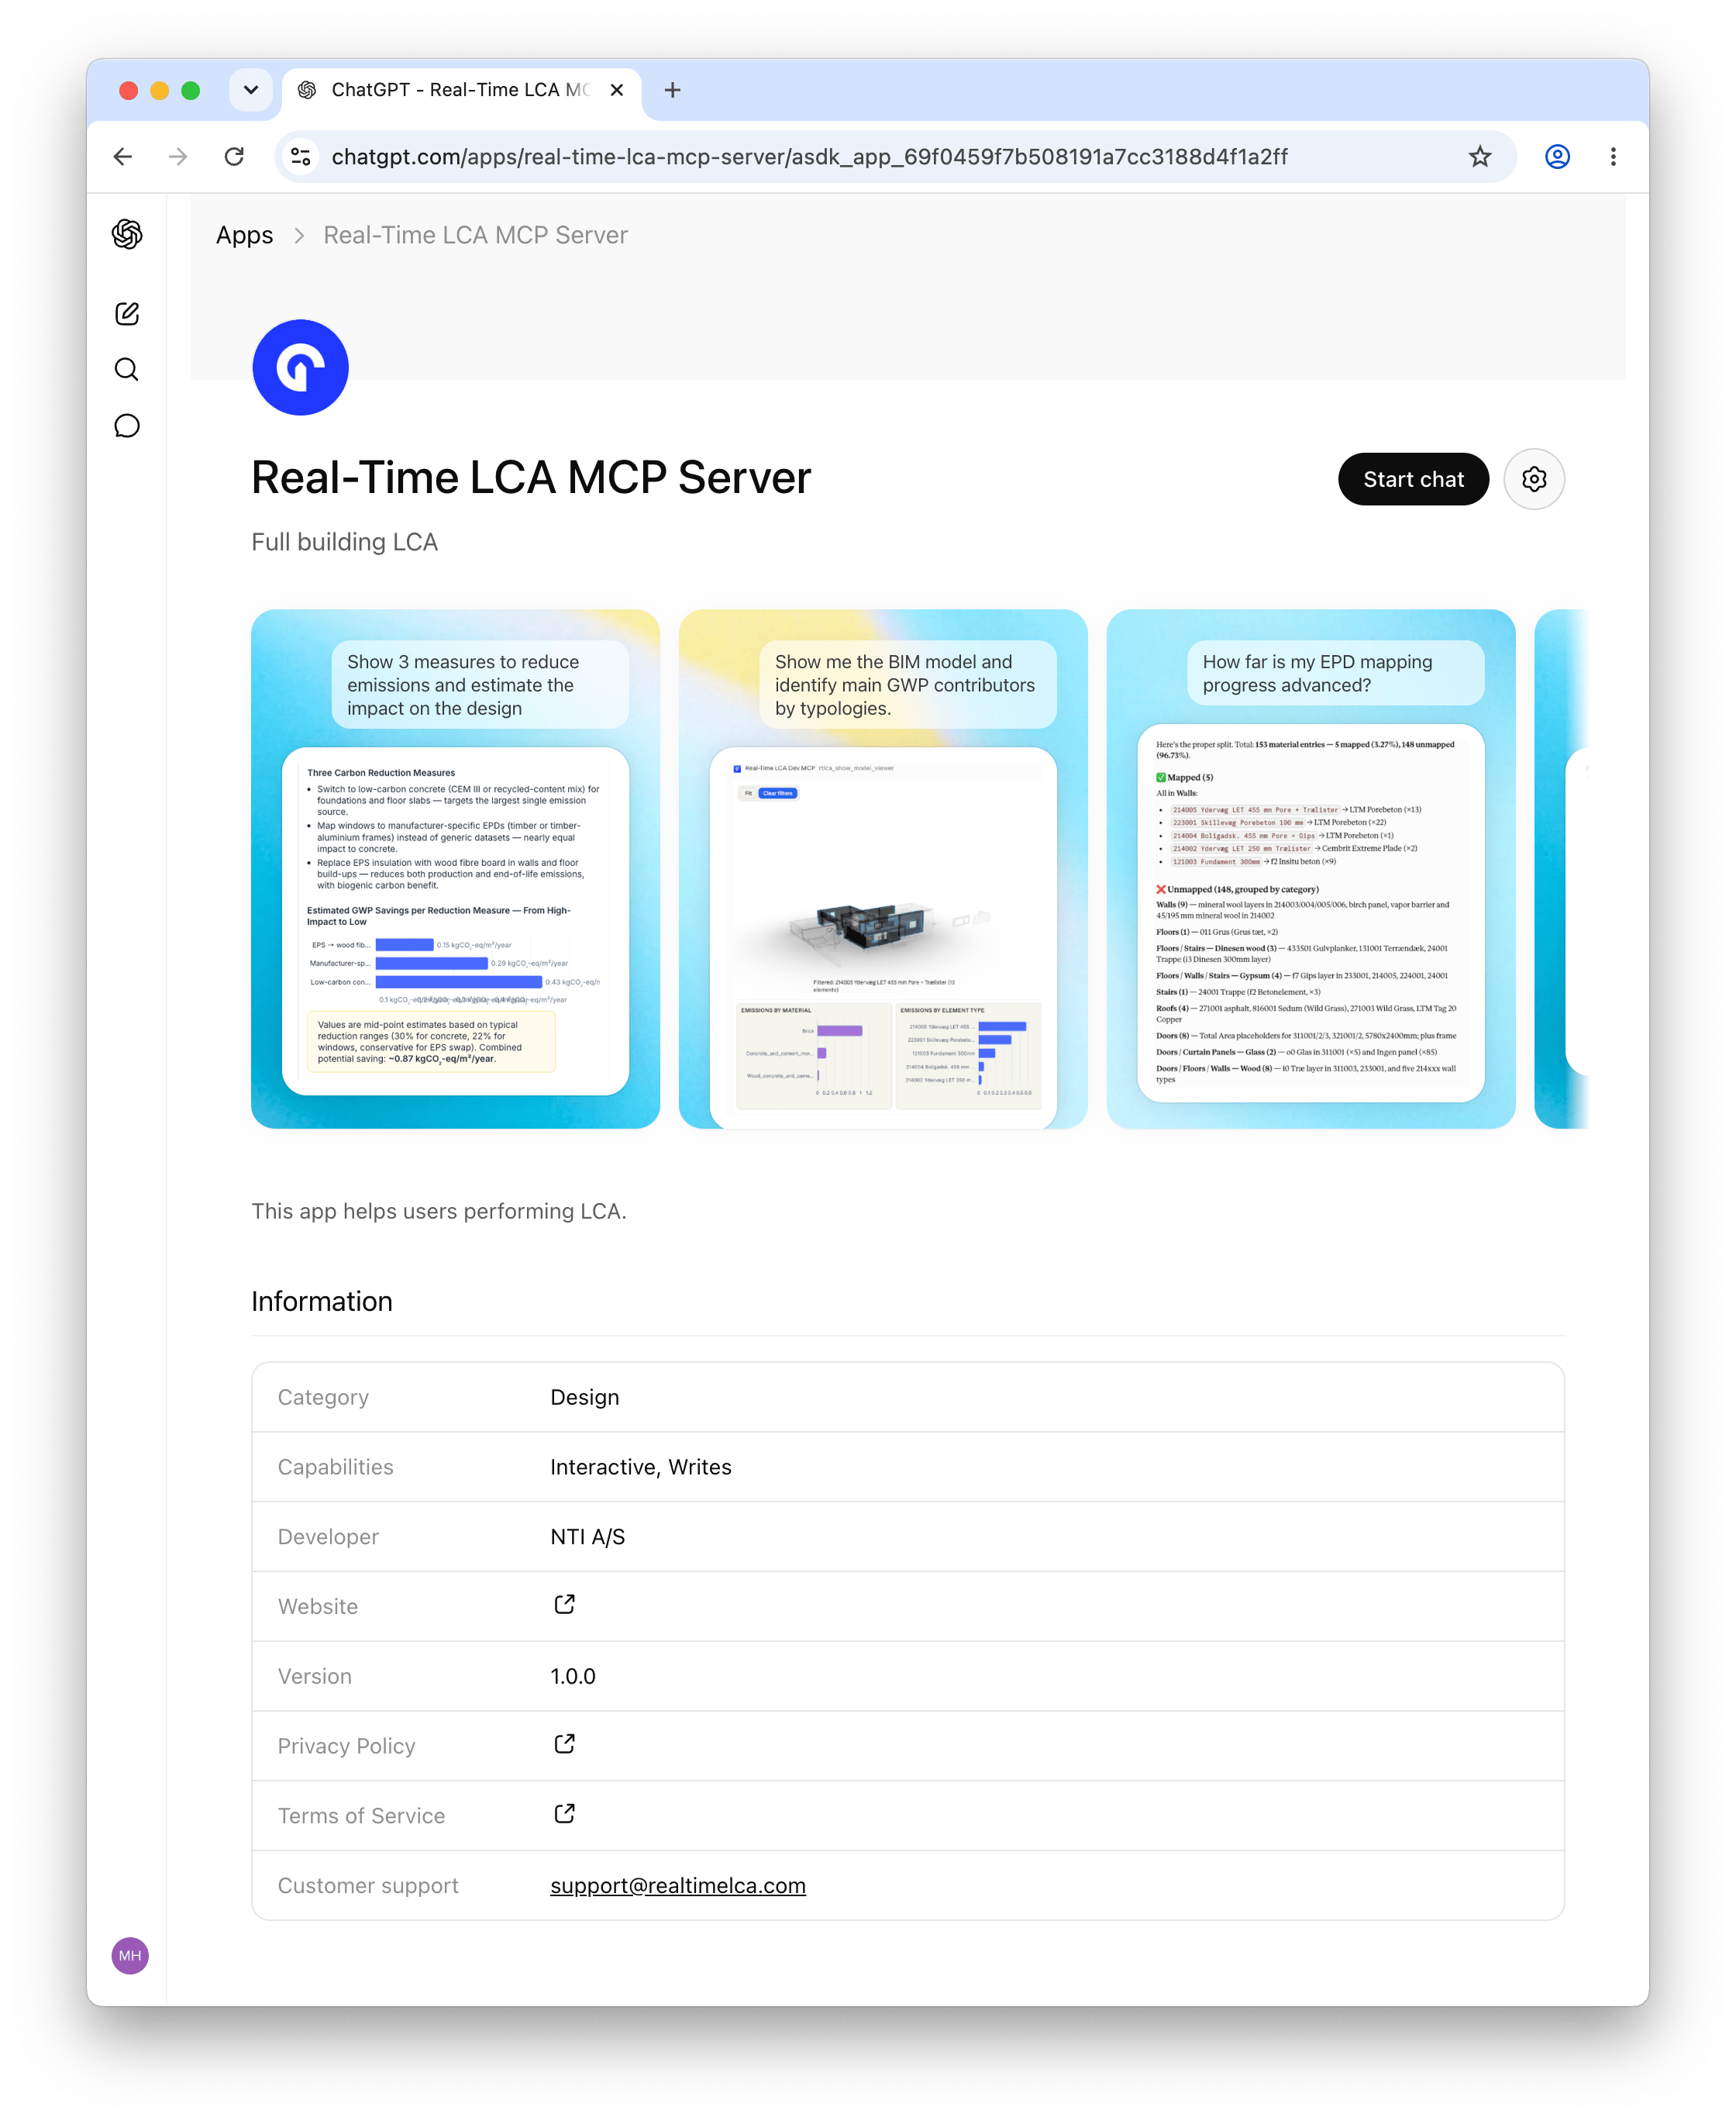
Go to the [Real-Time LCA MCP Server listing](https://chatgpt.com/apps/real-time-lca-mcp-server/asdk_app_69f0459f7b508191a7cc3188d4f1a2ff) on the ChatGPT App Store, then click **Connect** in the top right.
 In the **Add Real-Time LCA MCP Server to ChatGPT** dialog, click **Sign in with Real-Time LCA MCP Server**.
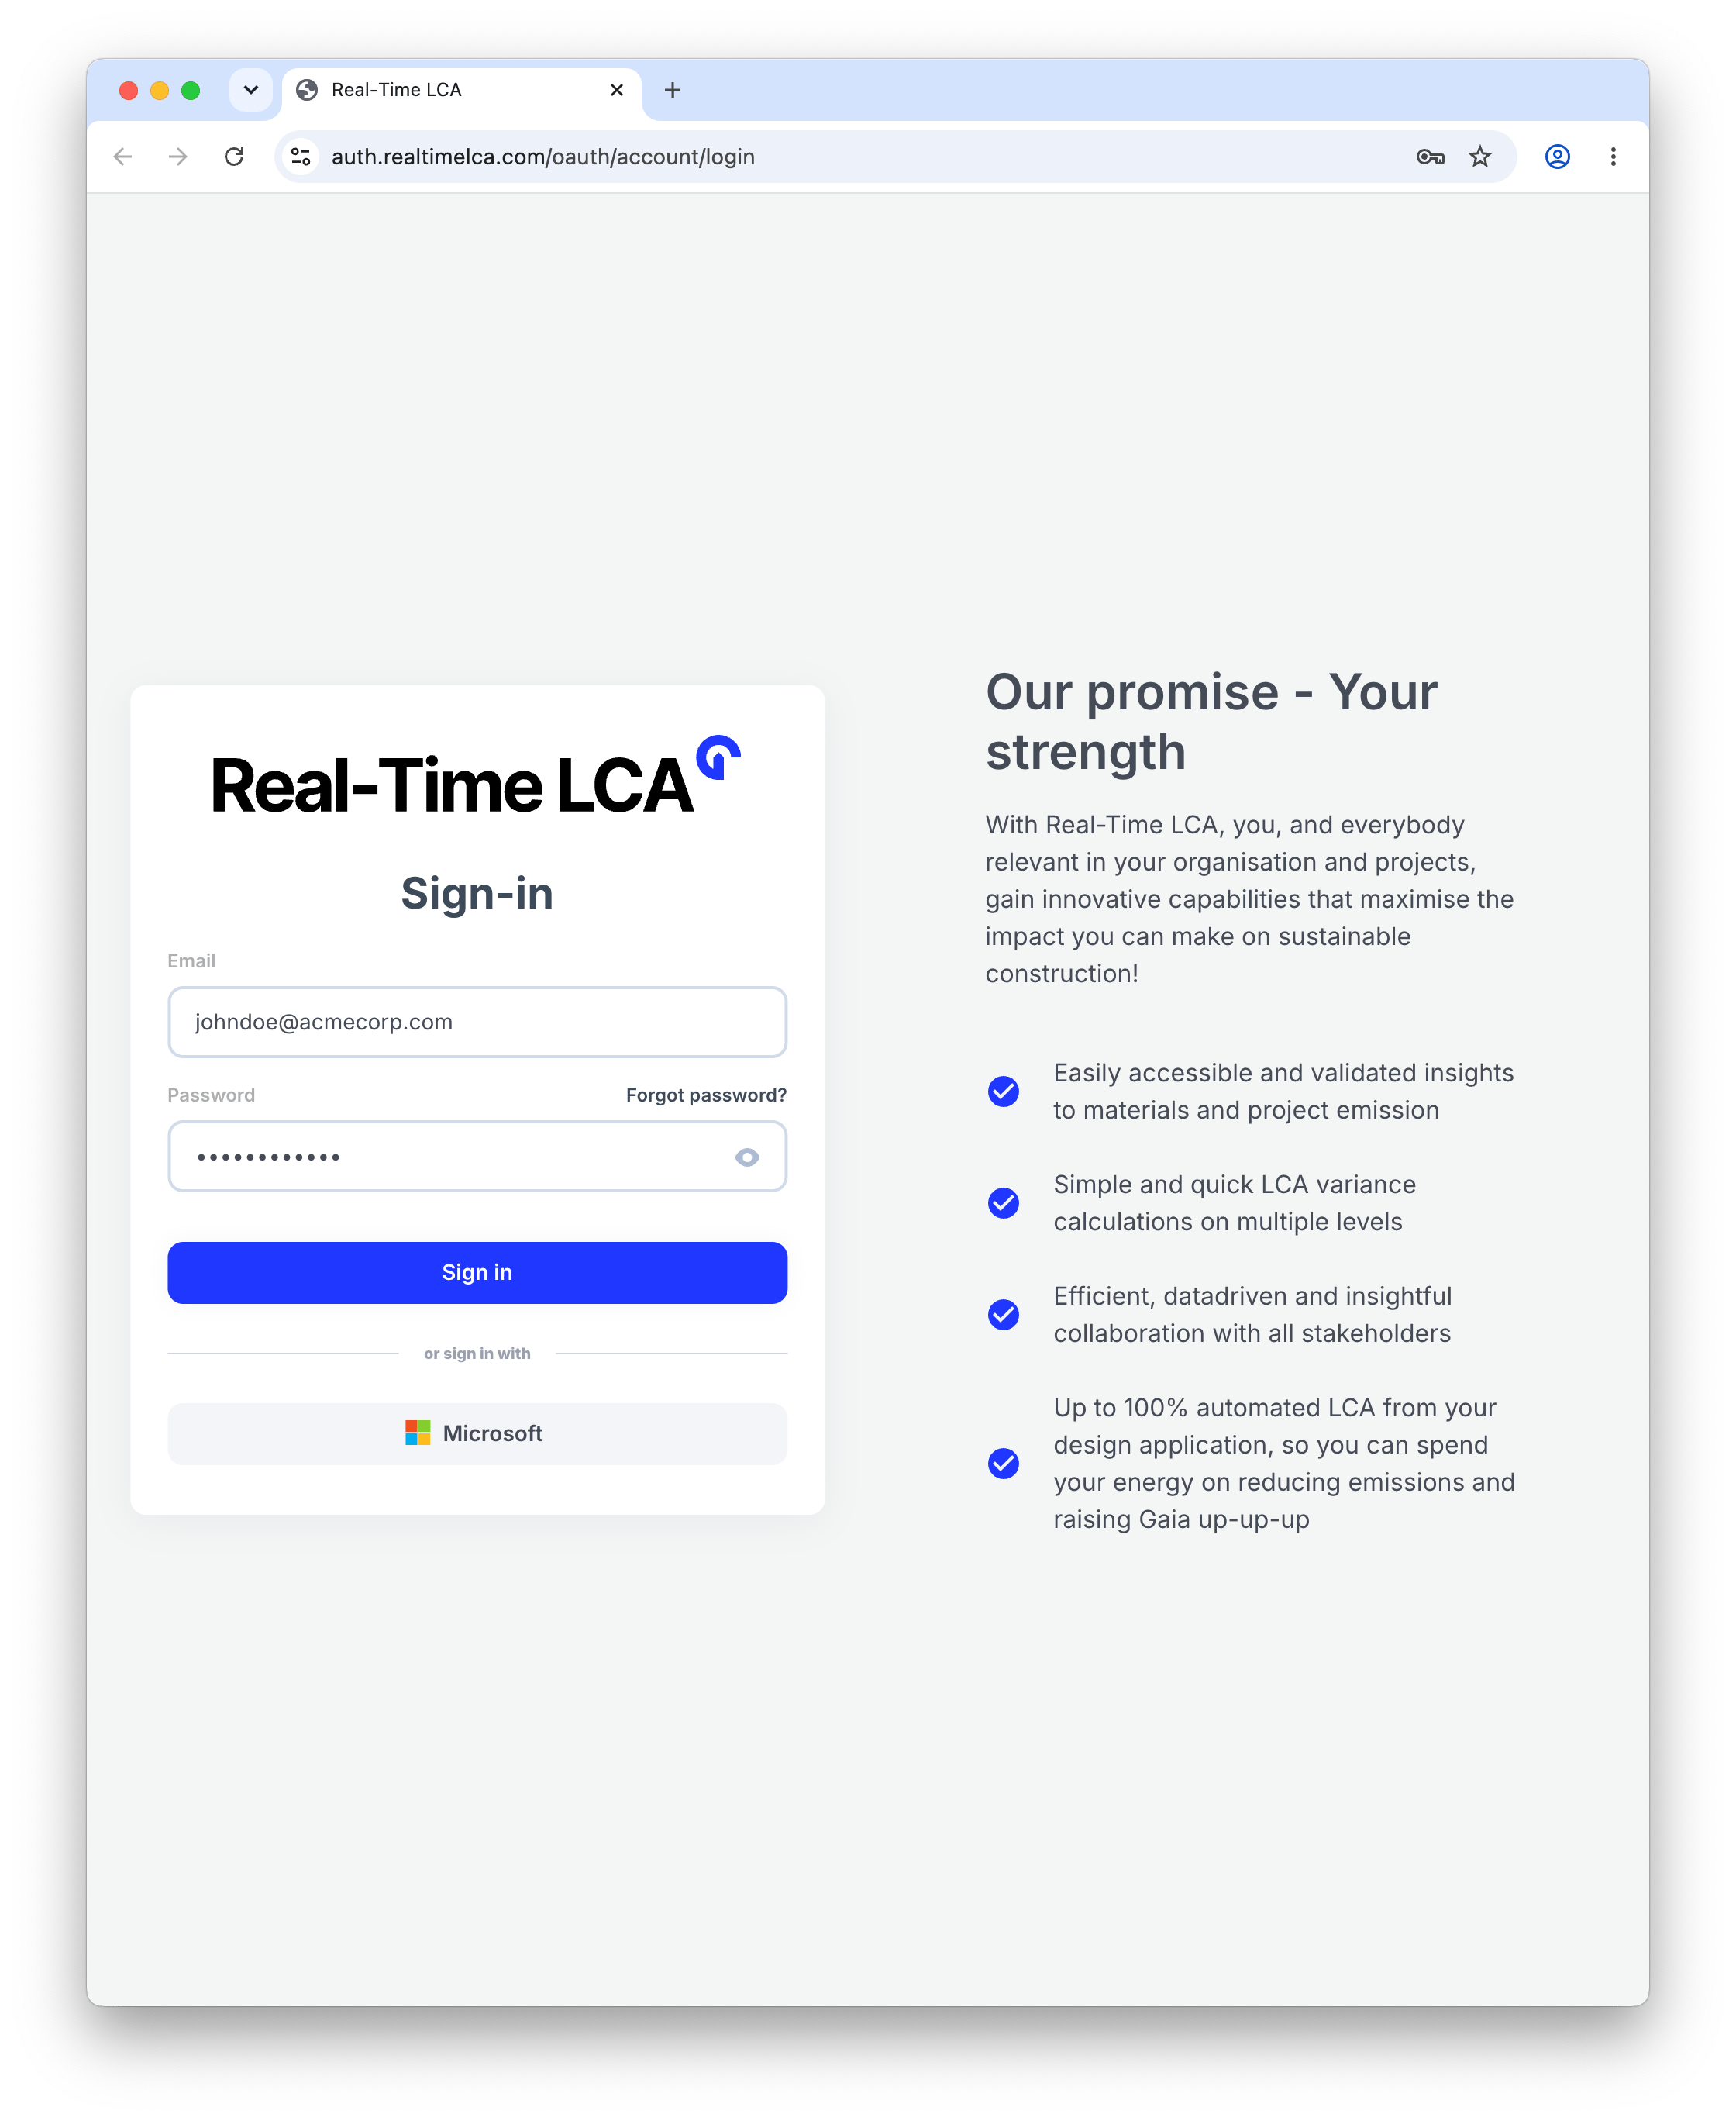
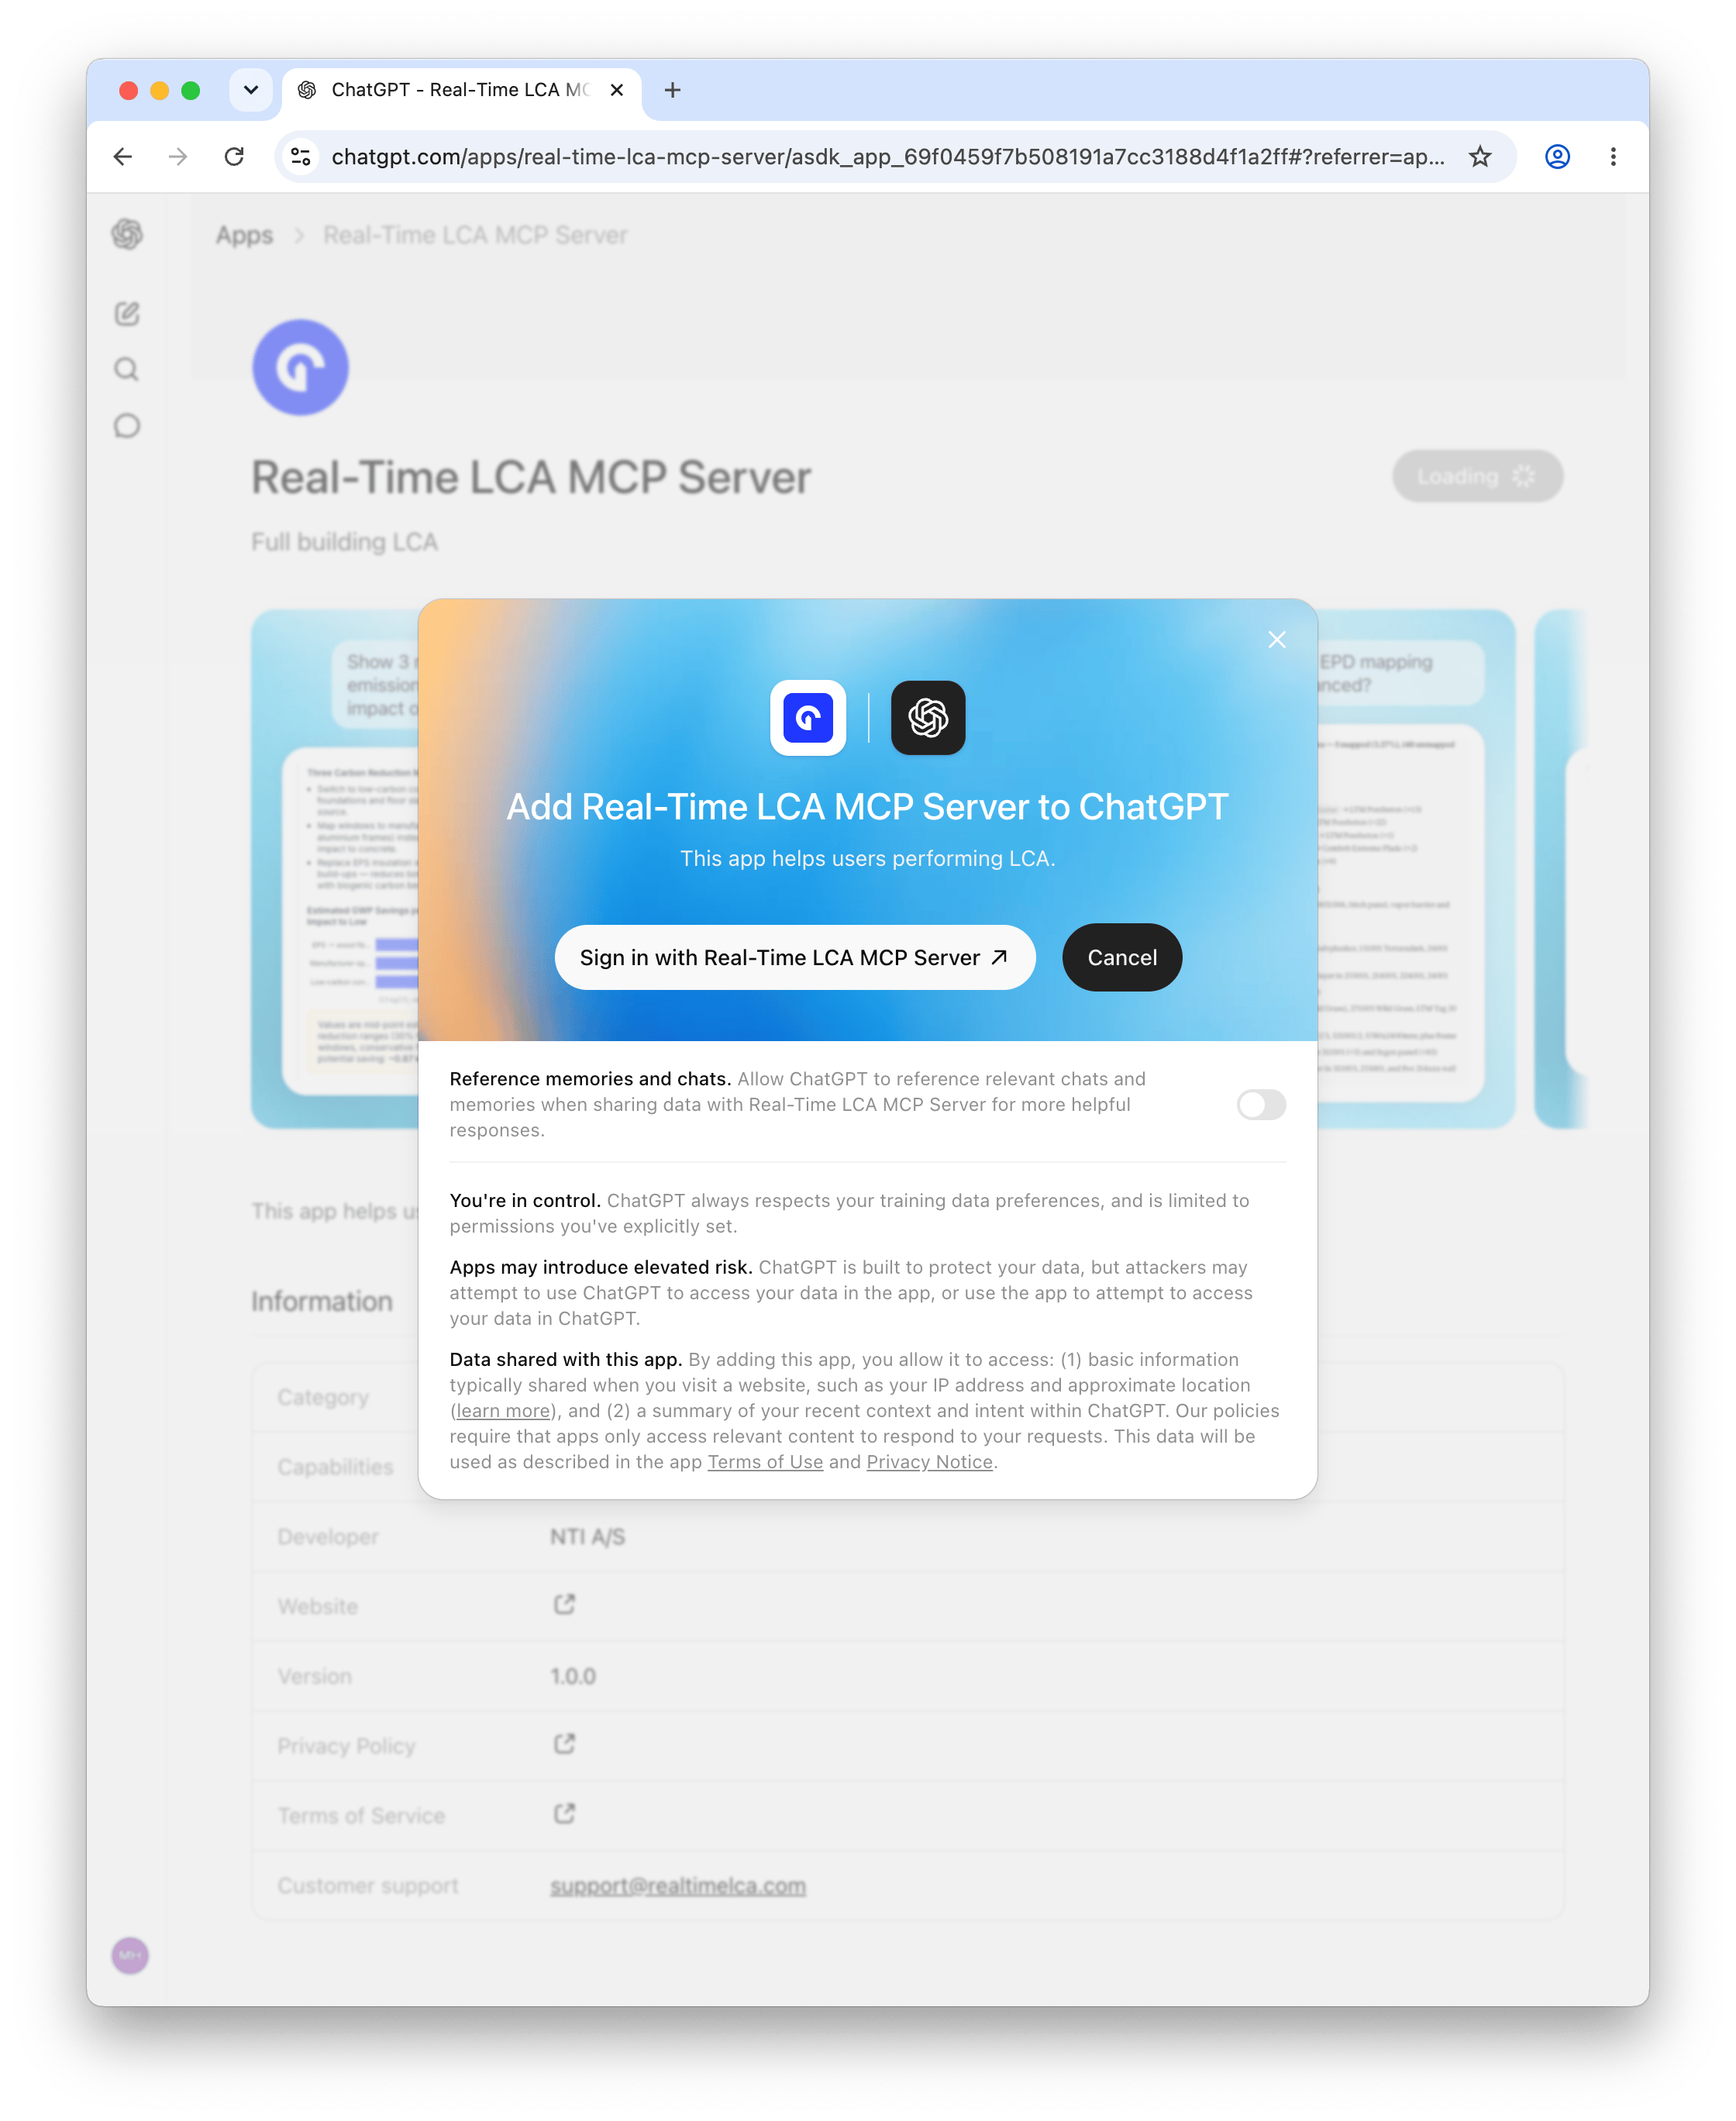 A browser window opens to the Real-Time LCA sign-in page. Sign in with your RTLCA credentials, then return to ChatGPT.
 ChatGPT confirms with a **Real-Time LCA MCP Server is now connected.** banner, and the **Connect** button changes to **Start chat**.
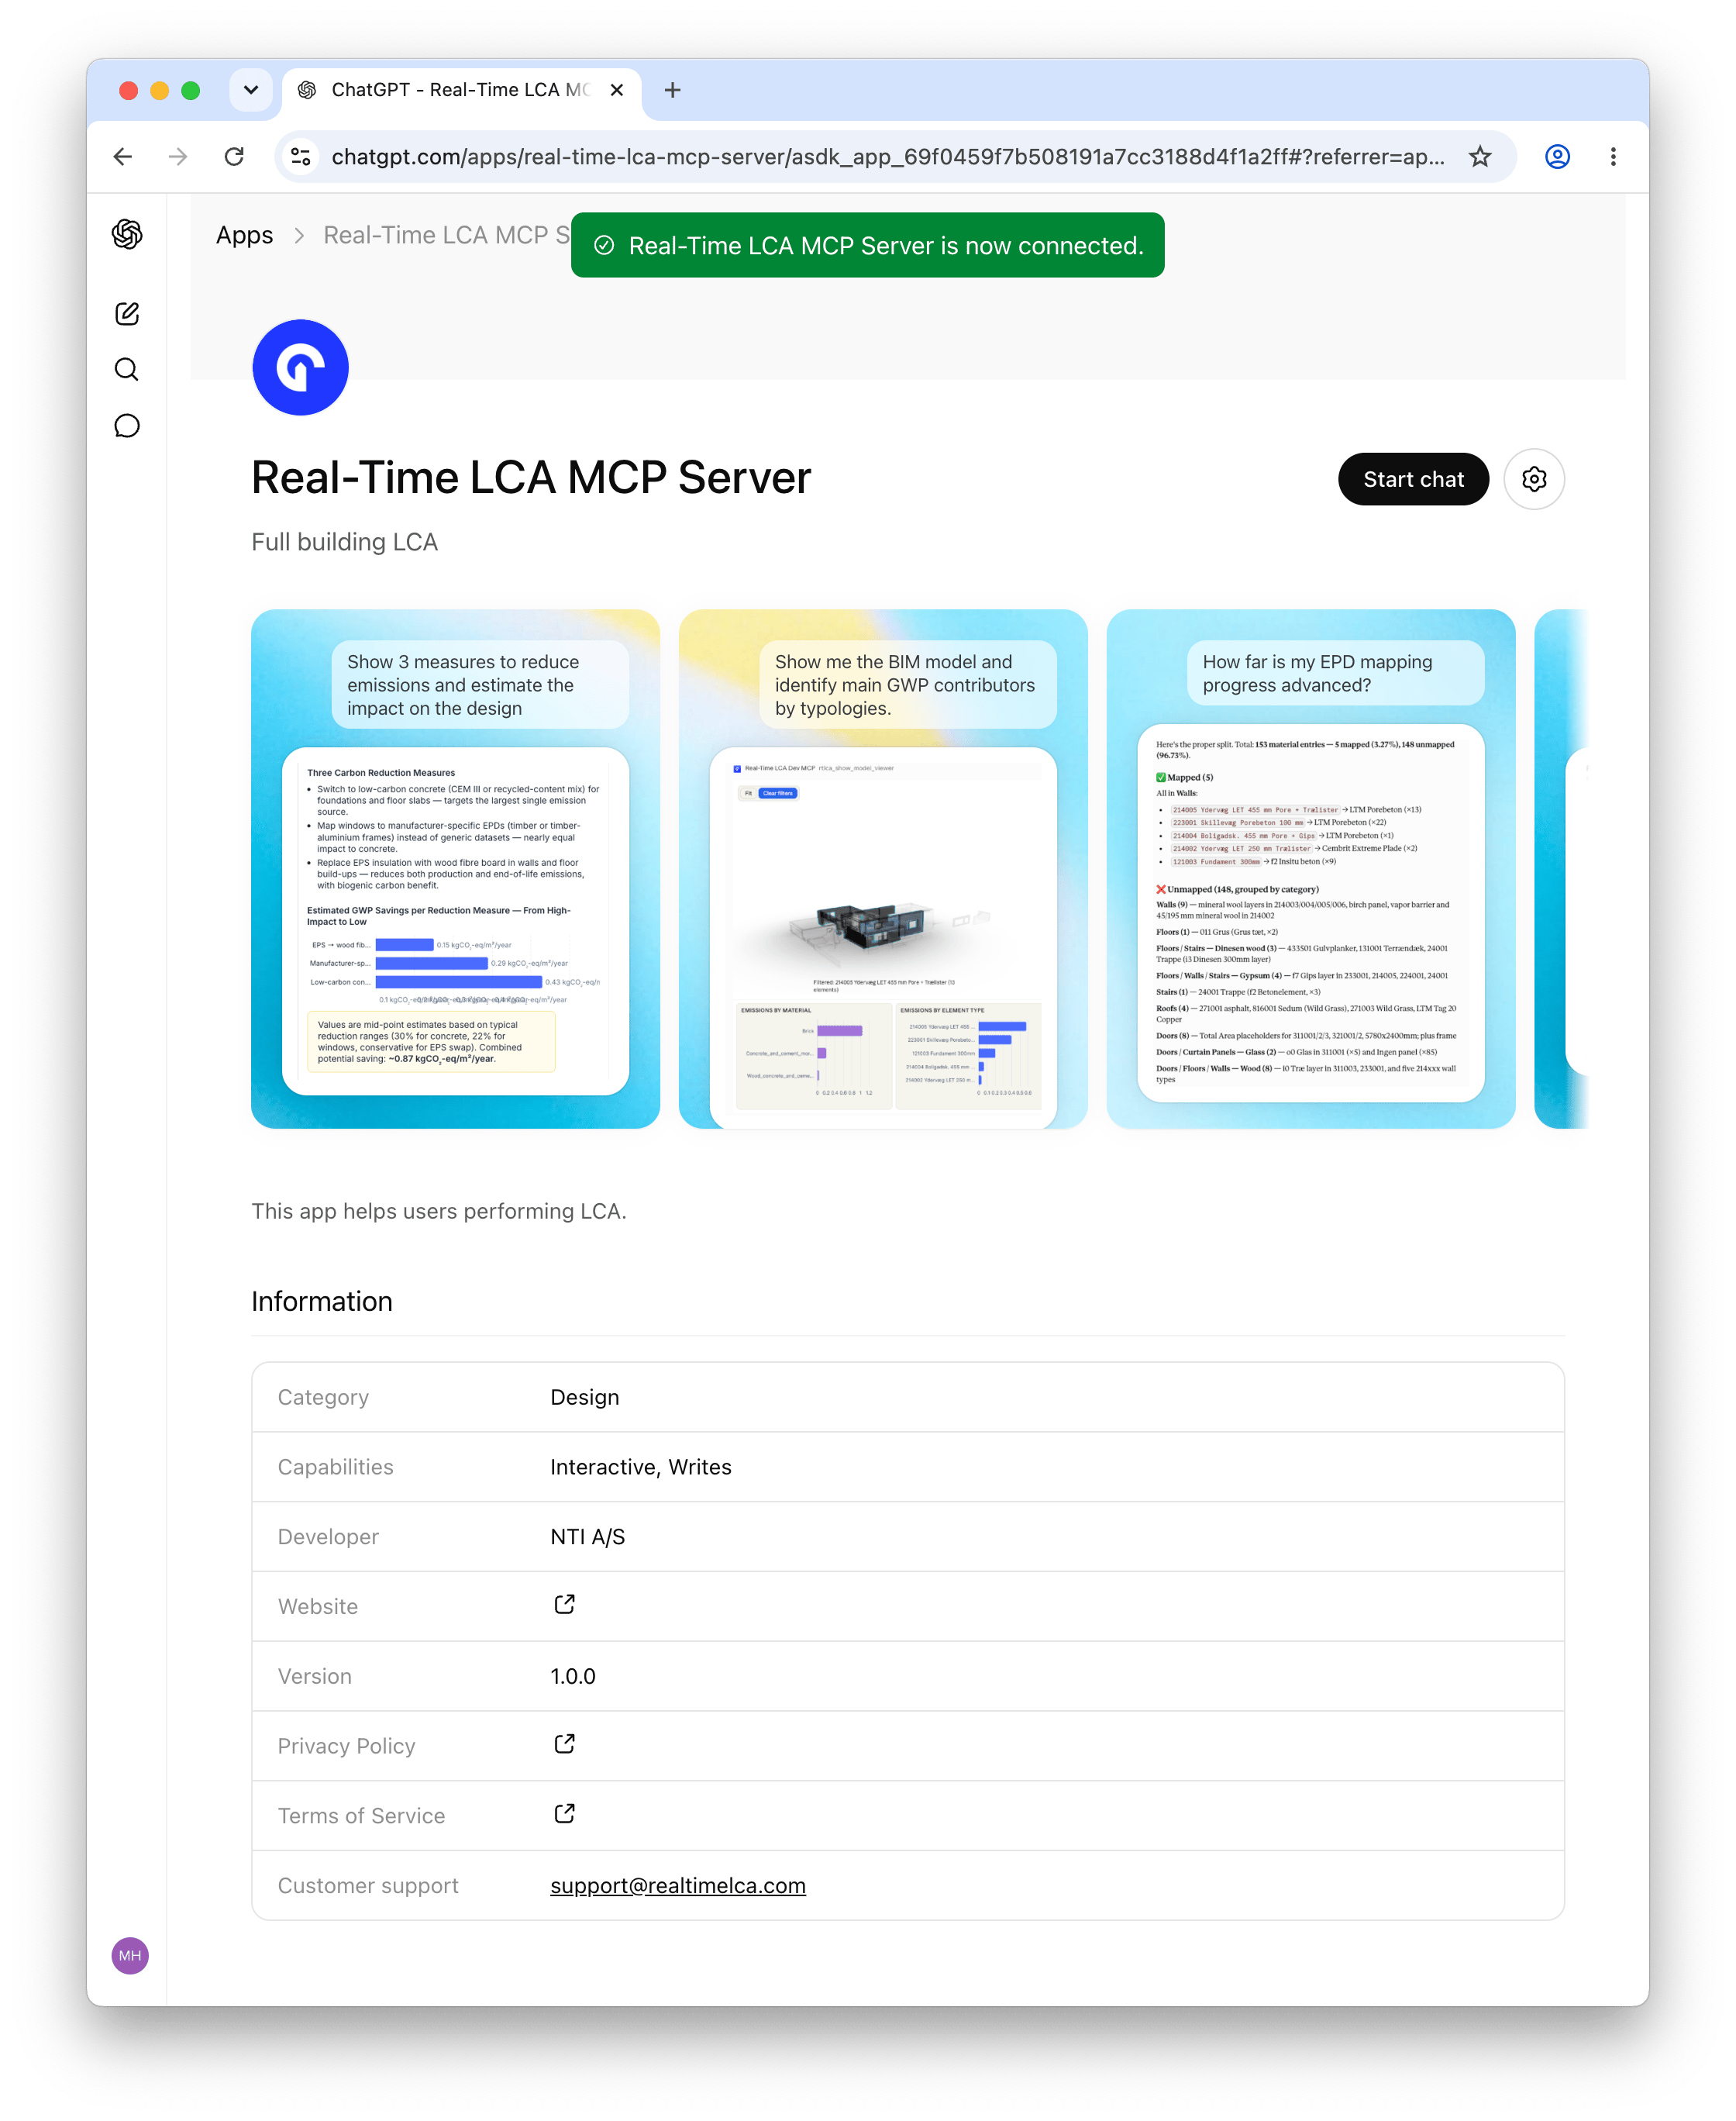 Click **Start chat** and ask, for example:
```
List all my building projects
```
### Manage or review the connection
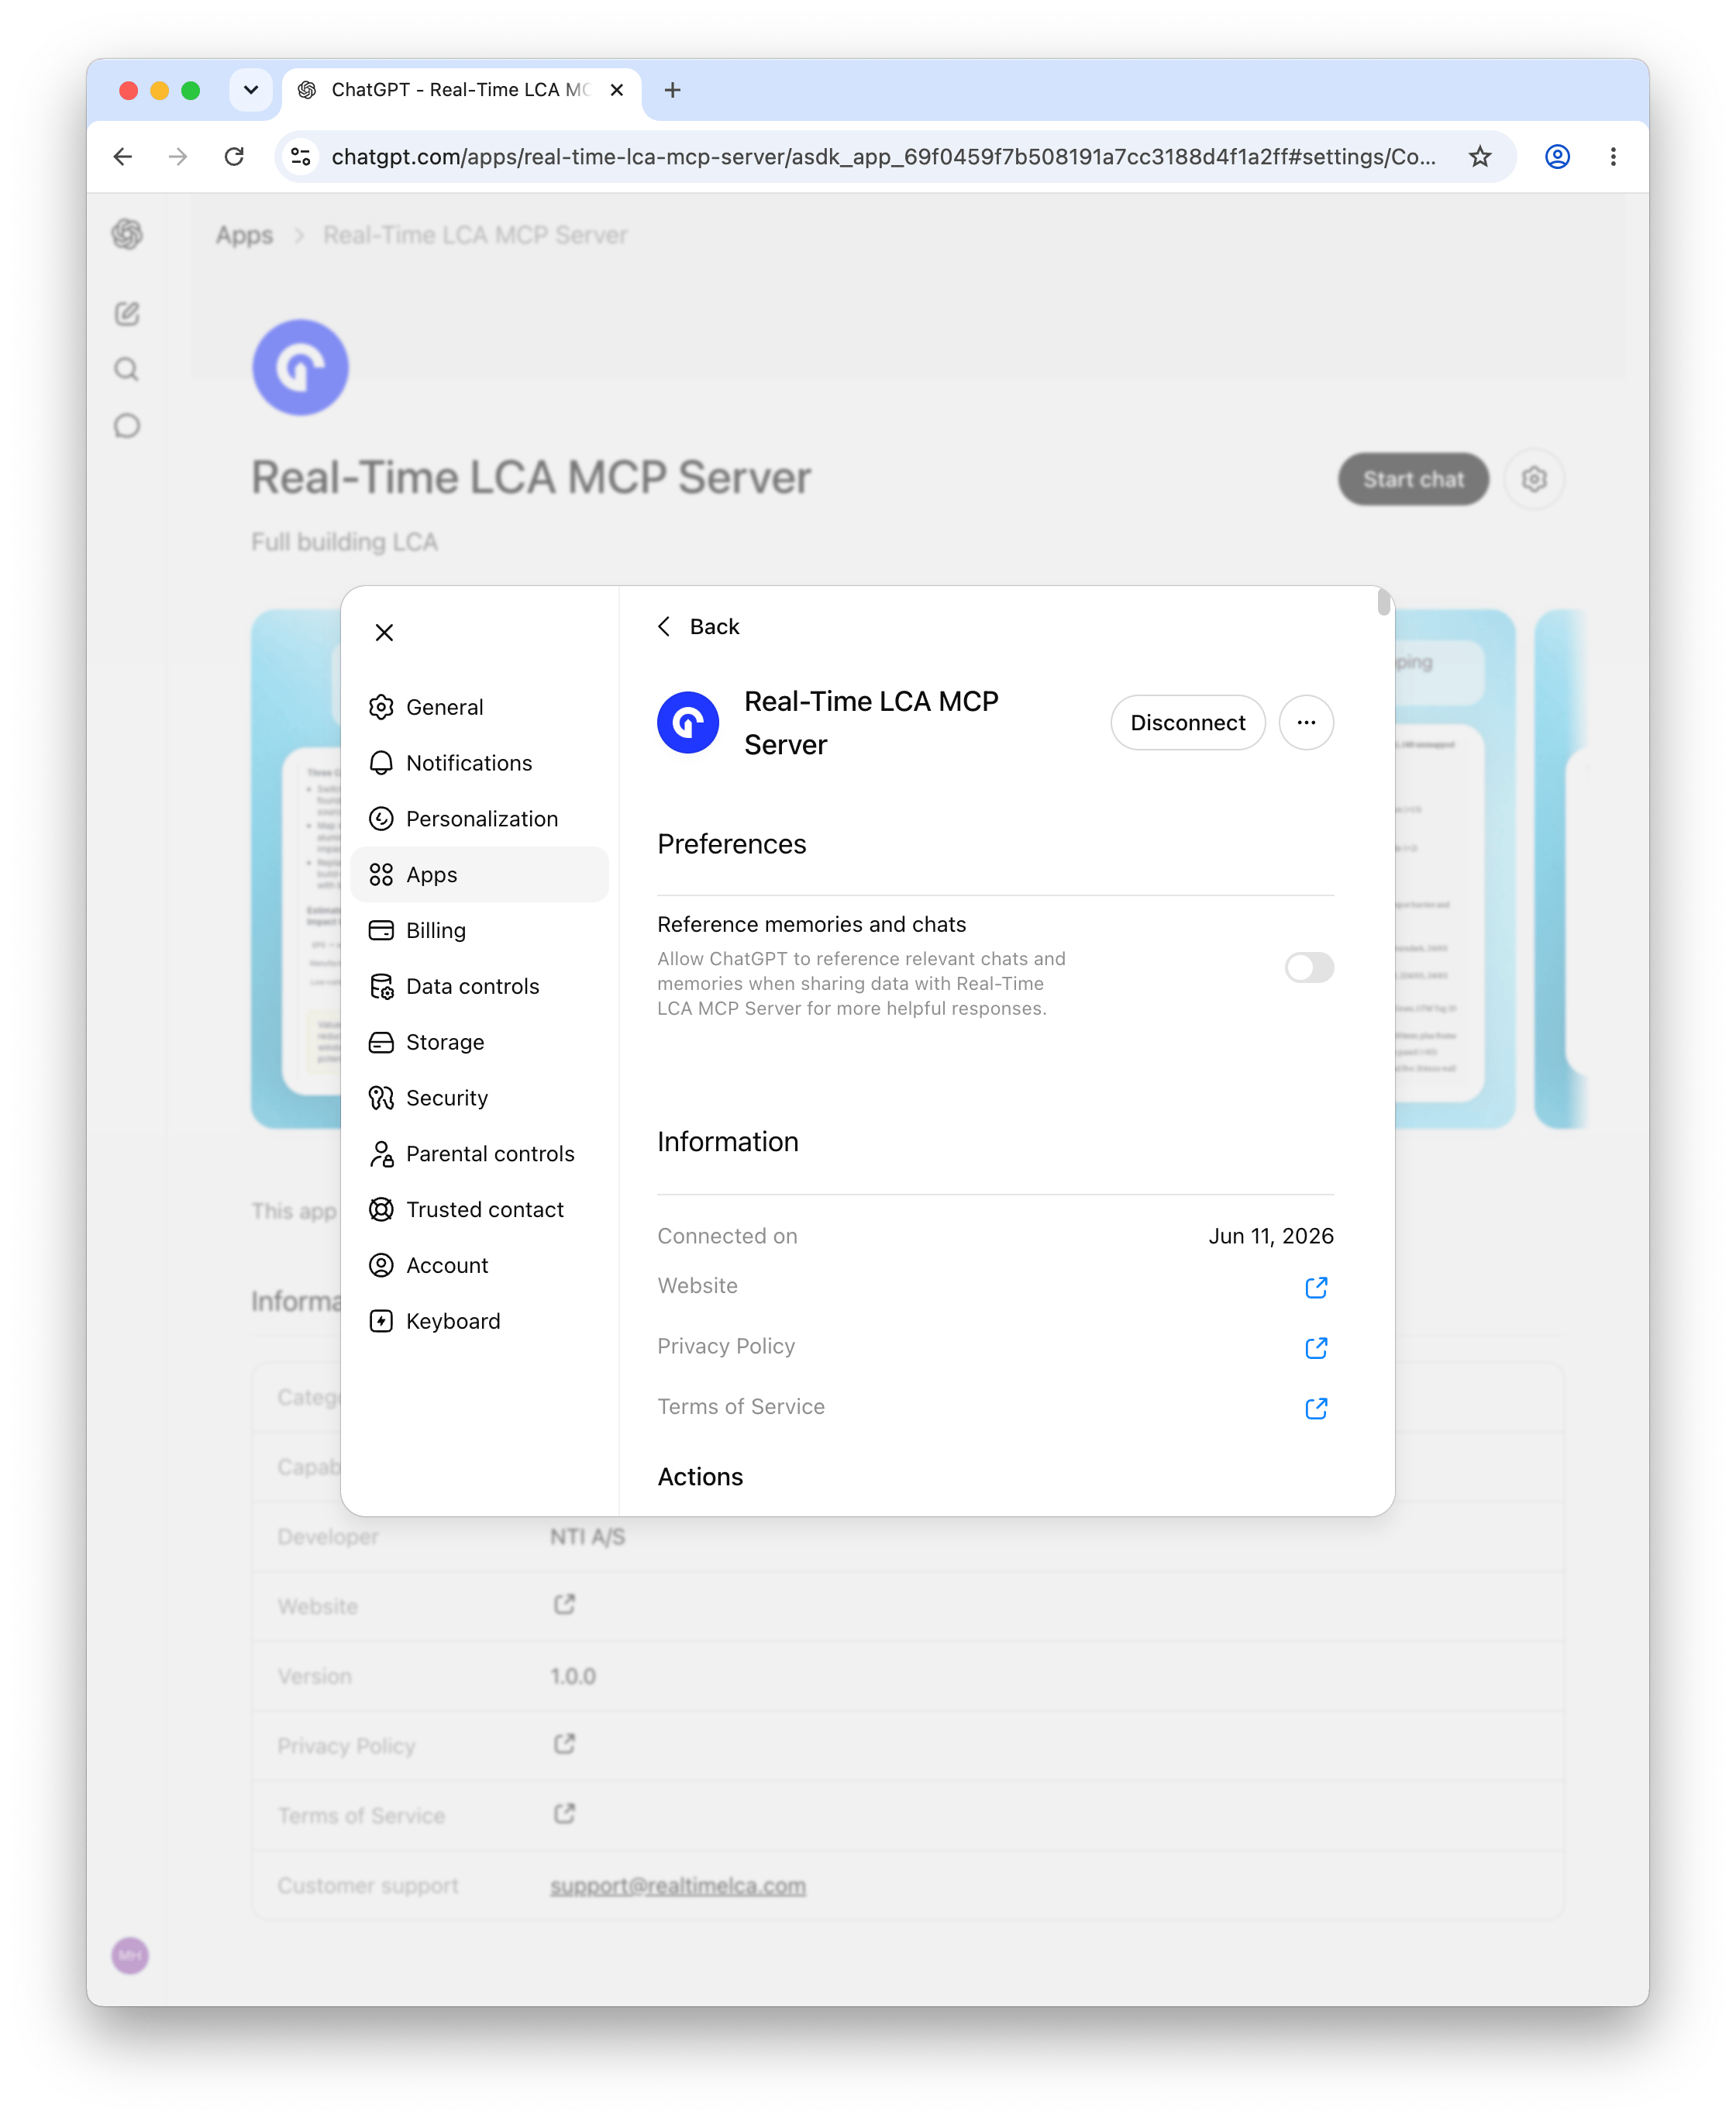
Open the gear icon next to **Start chat** on the listing, or go to **Settings → Apps → Real-Time LCA MCP Server** from anywhere in ChatGPT.
Click **Start chat** and ask, for example:
```
List all my building projects
```
### Manage or review the connection
Open the gear icon next to **Start chat** on the listing, or go to **Settings → Apps → Real-Time LCA MCP Server** from anywhere in ChatGPT.
 From here you can toggle **Reference memories and chats**, review the connection details, or **Disconnect** the app.
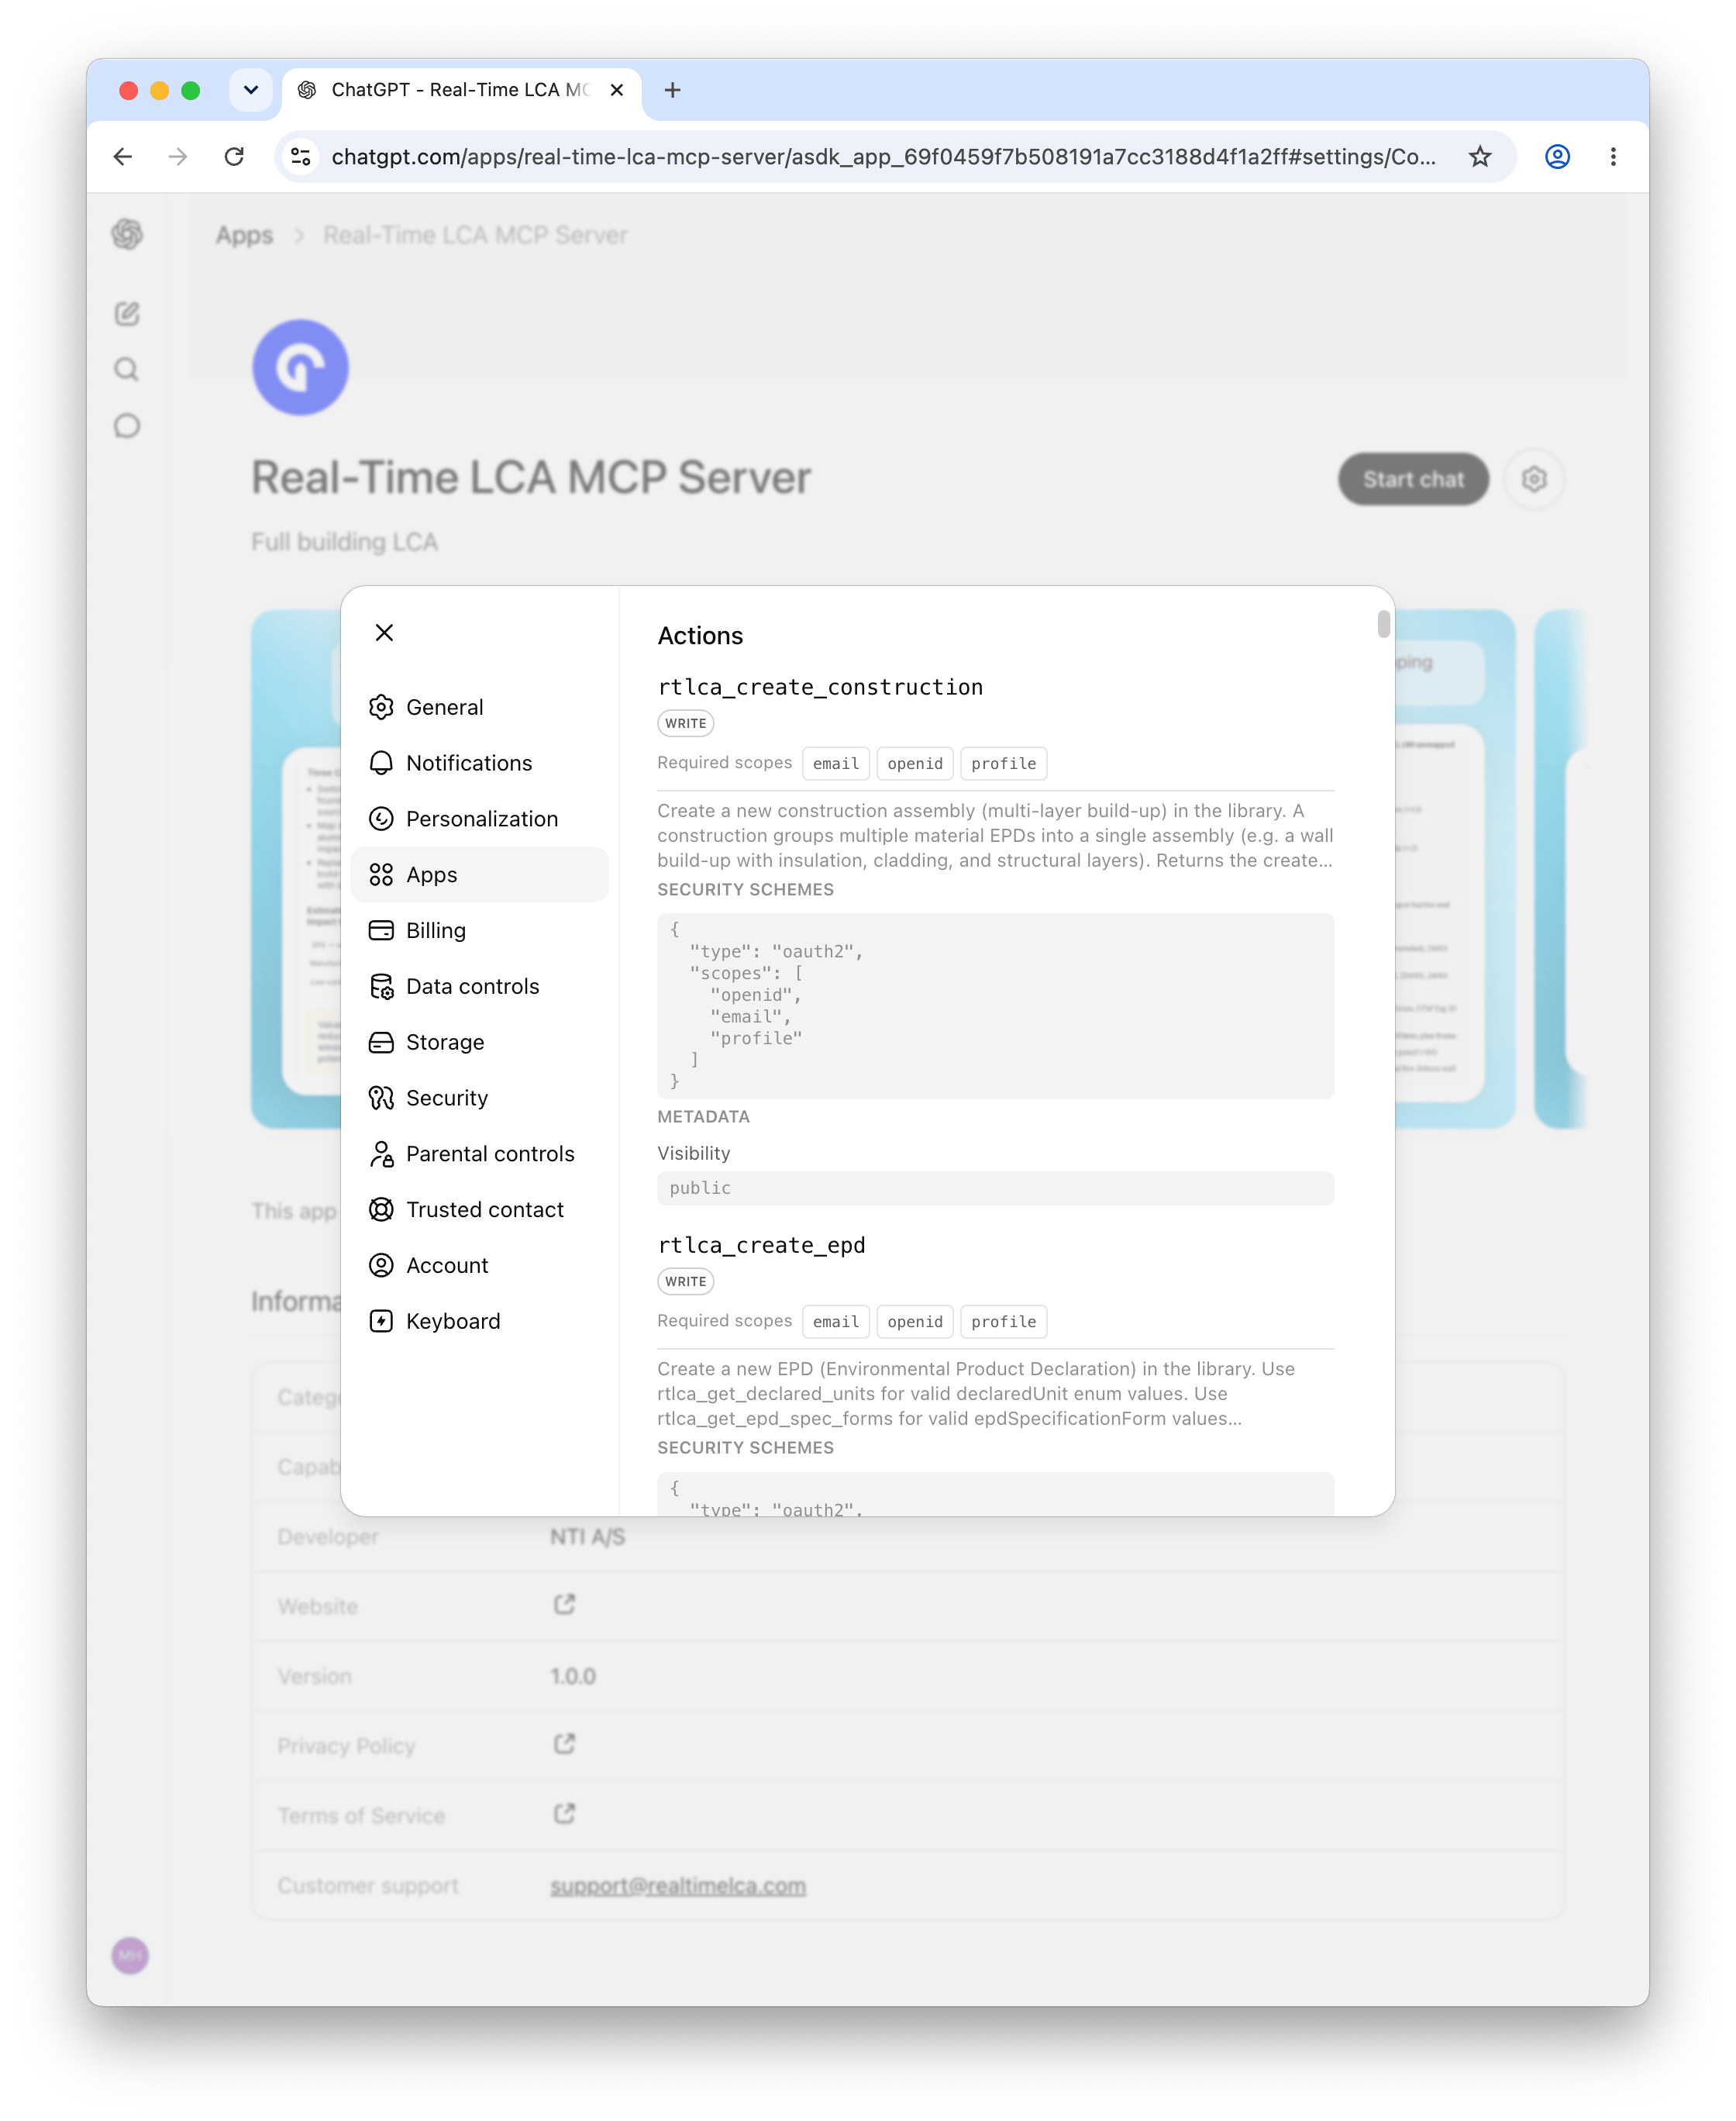
 Scroll down to **Actions** for the full list of MCP tools the app exposes and the scopes each one needs.
 Create the connector in **AI Studio**, then attach it to any chat in
[Le Chat](https://chat.mistral.ai).
### Prerequisites
* Mistral plan with MCP connector support
* Real-Time LCA account
In AI Studio, go to **Connectors → Add Connector**.
* **Name**: any (e.g. `Real-Time LCA`)
* **Server URL**: `https://mcp.realtimelca.com/mcp`
* **Workspace**: `Private`
Click **Create**.
Creating the connector opens a browser window to the Real-Time LCA
sign-in page. Sign in; once successful you're redirected back to
AI Studio.
Start a new chat in [Le Chat](https://chat.mistral.ai). Click the
**+** symbol, open the **Connectors** tab, and select the RTLCA
connector. Then prompt, for example:
```
List all my building projects
```
Run a local LLM via [LM Studio](https://lmstudio.ai/) and connect it
to the RTLCA MCP server — no Claude or other subscription required,
no token limits, no chat data leaving your machine.
### Prerequisites
* LM Studio installed ([lmstudio.ai](https://lmstudio.ai/))
* A locally downloaded model that supports tool / function calling
* A Real-Time LCA account
Download and install LM Studio from
[lmstudio.ai](https://lmstudio.ai/). Launch the app once
installation completes.
In the **Discover** tab, download a tool-capable model, then load
it from the **Chat** tab's model selector. **Recommended:**
`Gemma 4` or `Qwen 3.5` — go larger if your machine can run it.
When loading, increase the context size to **at least 15k** —
the MCP tool responses need the headroom.
Open LM Studio's **Program** / **MCP** panel and edit `mcp.json`:
```json theme={null}
{
"mcpServers": {
"rtlca-mcp-server": {
"url": "https://mcp.realtimelca.com/mcp"
}
}
}
```
Save the file. LM Studio will pick up the new server and list its
tools.
Once the server is in `mcp.json`, LM Studio shows an
**Authenticate** button on the `rtlca-mcp-server` entry. Click it
— your default browser opens to the Real-Time LCA sign-in page.
Sign in with your RTLCA credentials; LM Studio receives the token
automatically.
Back in LM Studio's Chat tab, ask:
```
List all my building projects
```
Tool-calling quality varies a lot between local models. If the
model ignores the available tools or hallucinates arguments, try a
larger variant or one explicitly tuned for function calling.
Create the connector in **AI Studio**, then attach it to any chat in
[Le Chat](https://chat.mistral.ai).
### Prerequisites
* Mistral plan with MCP connector support
* Real-Time LCA account
In AI Studio, go to **Connectors → Add Connector**.
* **Name**: any (e.g. `Real-Time LCA`)
* **Server URL**: `https://mcp.realtimelca.com/mcp`
* **Workspace**: `Private`
Click **Create**.
Creating the connector opens a browser window to the Real-Time LCA
sign-in page. Sign in; once successful you're redirected back to
AI Studio.
Start a new chat in [Le Chat](https://chat.mistral.ai). Click the
**+** symbol, open the **Connectors** tab, and select the RTLCA
connector. Then prompt, for example:
```
List all my building projects
```
Run a local LLM via [LM Studio](https://lmstudio.ai/) and connect it
to the RTLCA MCP server — no Claude or other subscription required,
no token limits, no chat data leaving your machine.
### Prerequisites
* LM Studio installed ([lmstudio.ai](https://lmstudio.ai/))
* A locally downloaded model that supports tool / function calling
* A Real-Time LCA account
Download and install LM Studio from
[lmstudio.ai](https://lmstudio.ai/). Launch the app once
installation completes.
In the **Discover** tab, download a tool-capable model, then load
it from the **Chat** tab's model selector. **Recommended:**
`Gemma 4` or `Qwen 3.5` — go larger if your machine can run it.
When loading, increase the context size to **at least 15k** —
the MCP tool responses need the headroom.
Open LM Studio's **Program** / **MCP** panel and edit `mcp.json`:
```json theme={null}
{
"mcpServers": {
"rtlca-mcp-server": {
"url": "https://mcp.realtimelca.com/mcp"
}
}
}
```
Save the file. LM Studio will pick up the new server and list its
tools.
Once the server is in `mcp.json`, LM Studio shows an
**Authenticate** button on the `rtlca-mcp-server` entry. Click it
— your default browser opens to the Real-Time LCA sign-in page.
Sign in with your RTLCA credentials; LM Studio receives the token
automatically.
Back in LM Studio's Chat tab, ask:
```
List all my building projects
```
Tool-calling quality varies a lot between local models. If the
model ignores the available tools or hallucinates arguments, try a
larger variant or one explicitly tuned for function calling.